• House Plans
  • Recipes
  • About Us
  • Contact

The Homegrown Apple

Homesteading Our Apple Orchard and Life Along the Way

Recipes

Apple+Pear Crisp {Gluten+Sugar Free}

November 26, 2020

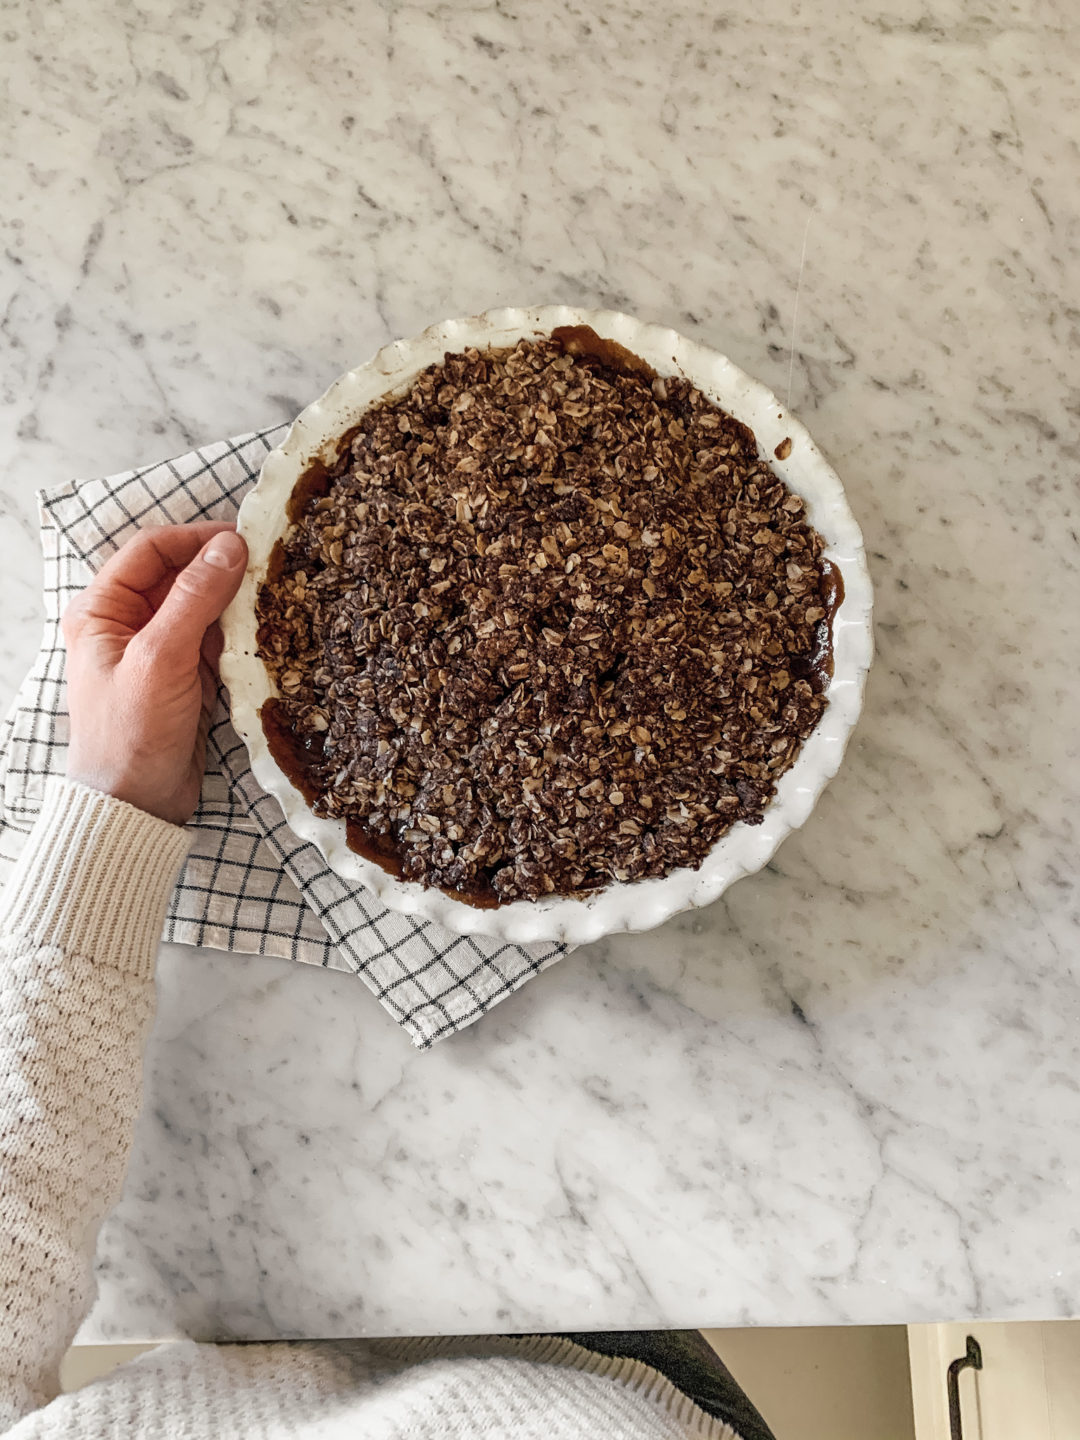
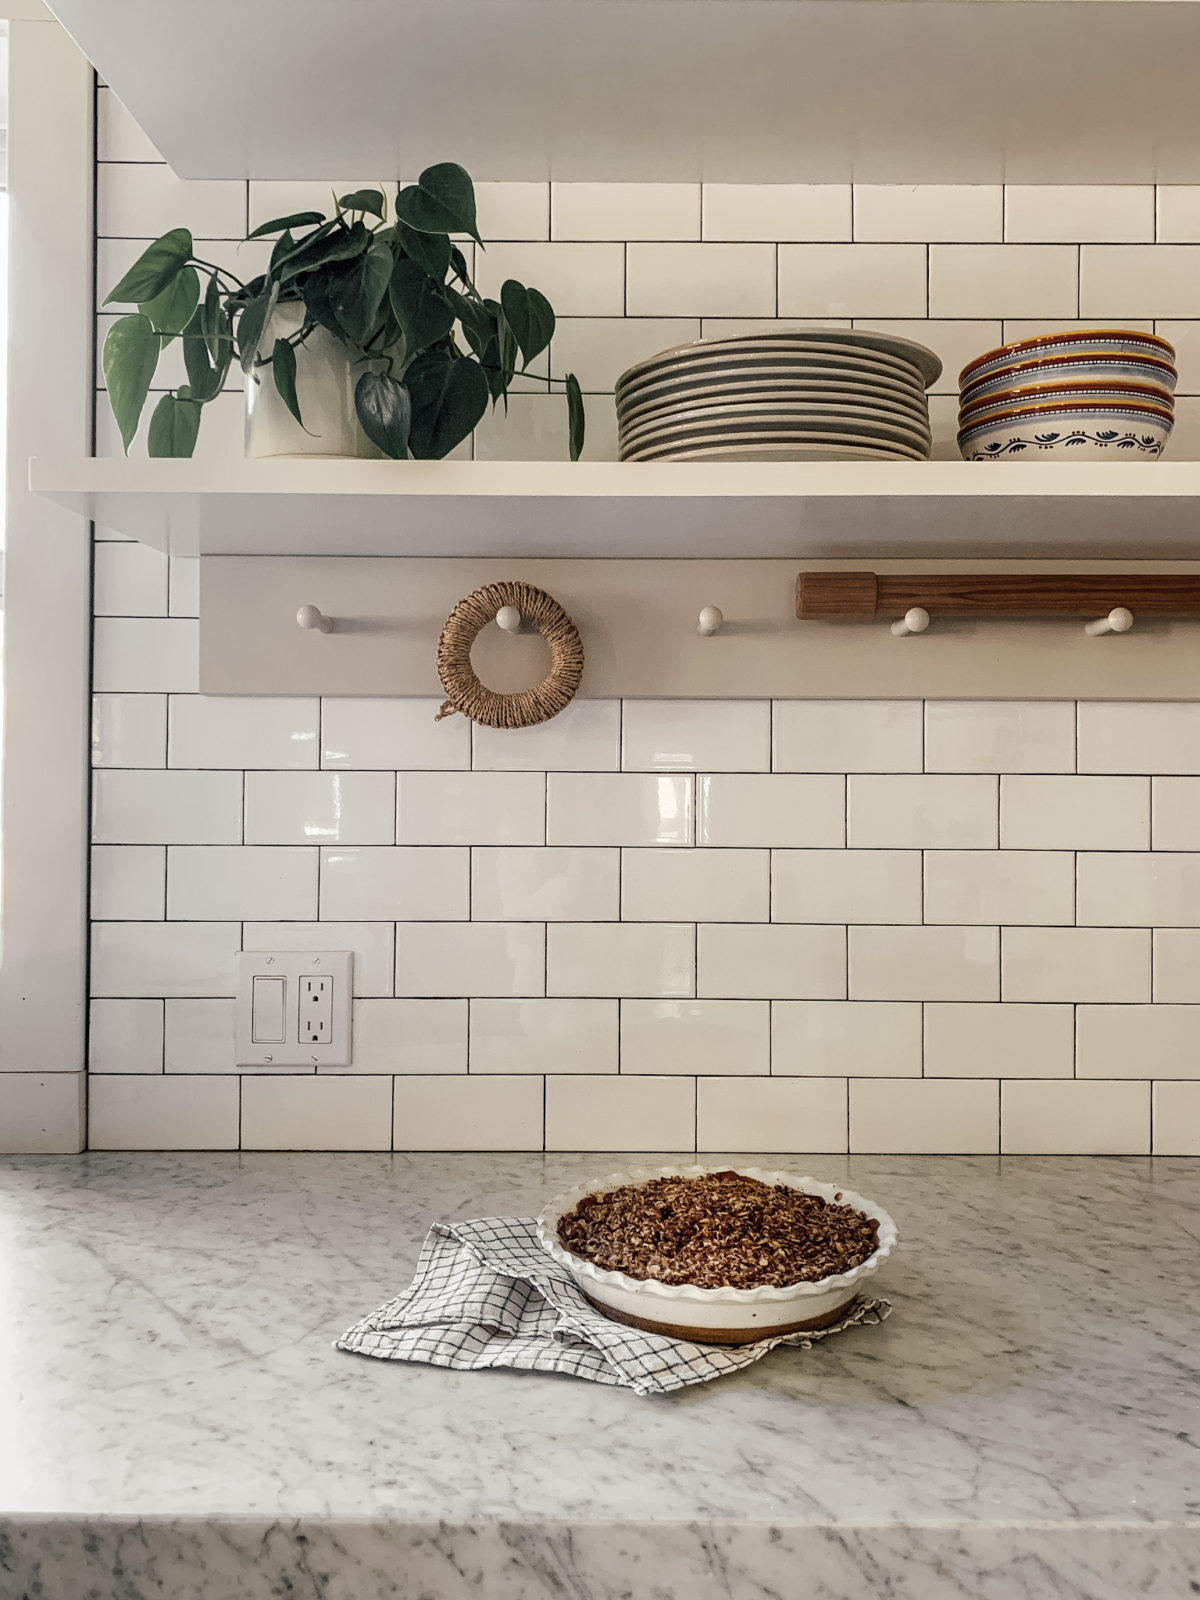
Since I have been gluten free (and a lot of other things free too) this year, I’ve been experimenting with recipes that fit my dietary needs and desserts are always tough. This recipe has no gluten or sugar and instead is filled with healthy alternatives that don’t skimp on the flavor and sweetness. I made this alternative to apple pie in my favorite pie dish to make it feel more traditional rather than in a baking dish and it really did the trick. I hope you like it too!

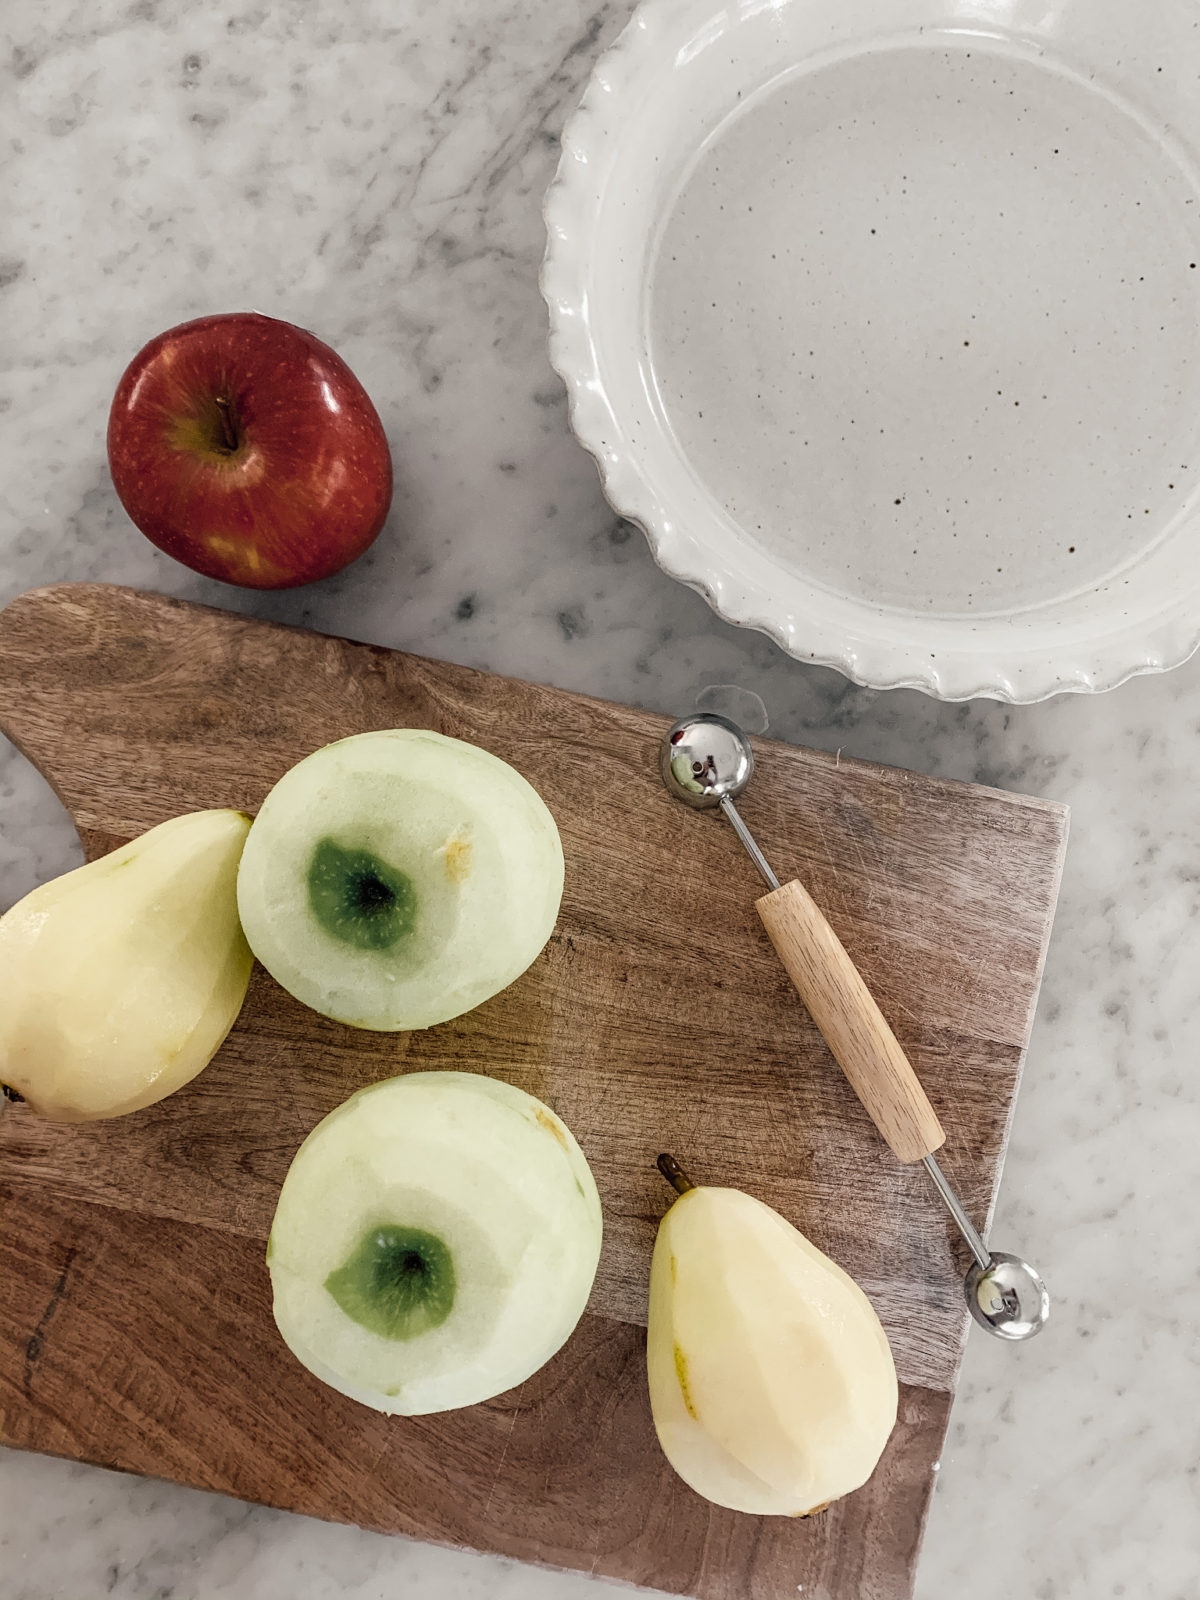
I absolutely love pears so I decided to throw in some pears this year. I pealed them and then I like to chop my apples and pears smaller so they cook quicker and are easy to take bites of. I used 2 pears, 2 granny smith apples and one fuji. I like the mixtures of tart and sweet but you could use any combination of about 5 apples or pears.

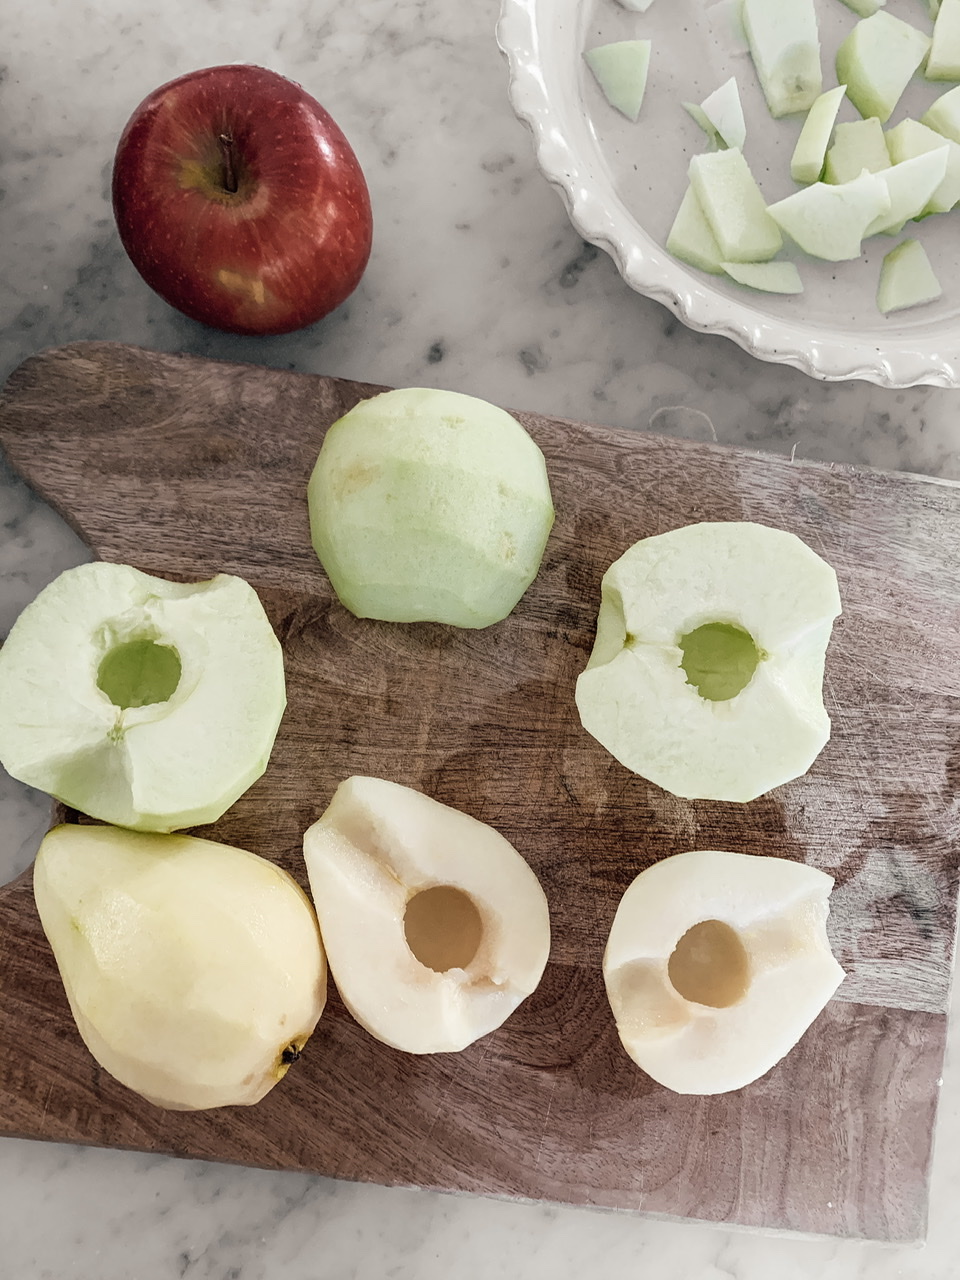
One kitchen trick I always use when cutting up apples or pears is after I cut them in half, I always us a melon baller to hollow out the core. It works great and cuts back on time. Then slice them pretty thin.

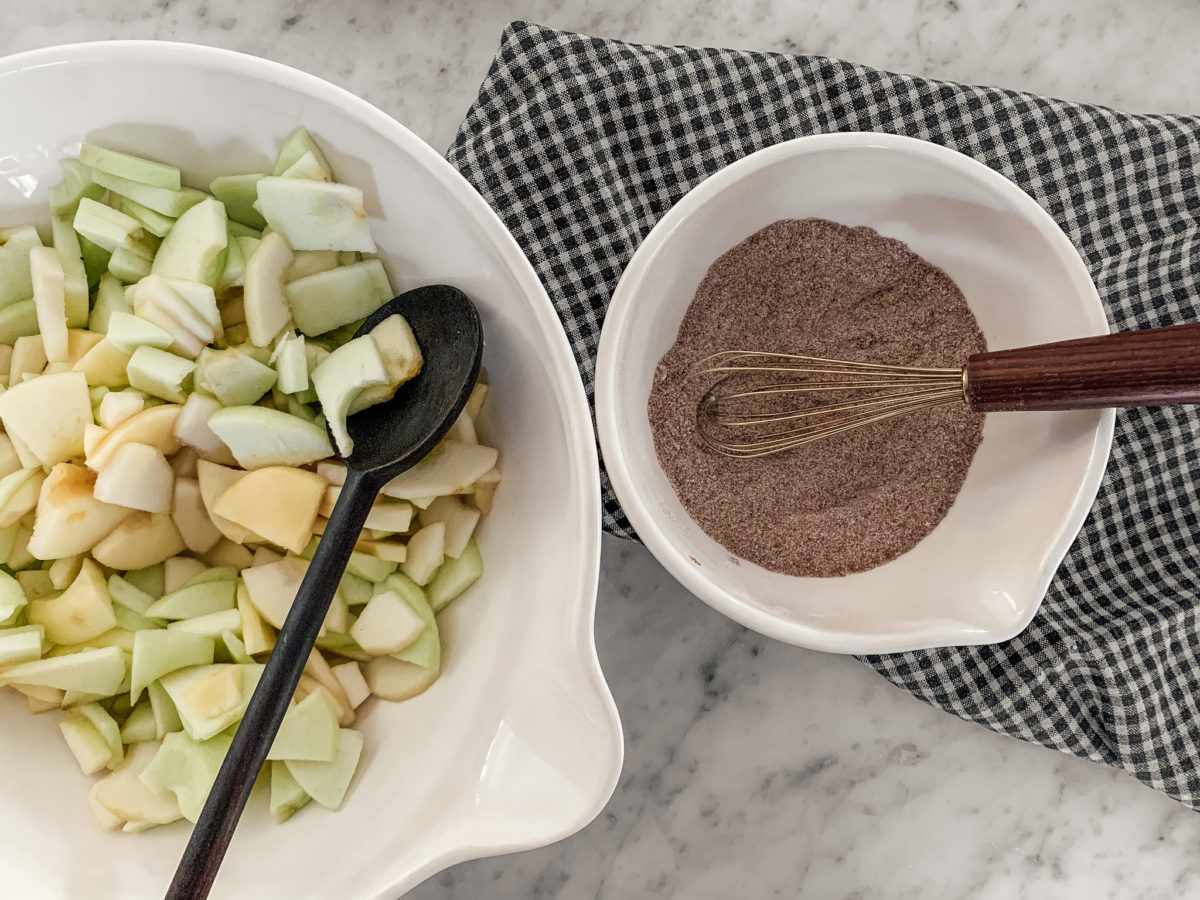
My sugar substitute go-to has always been coconut sugar. I love the nuttiness it adds, sort of like a brown sugar would. I coat the apples with coconut sugar, gluten free flour (a blend I use from Bob’s Red Mill) and cinnamon.

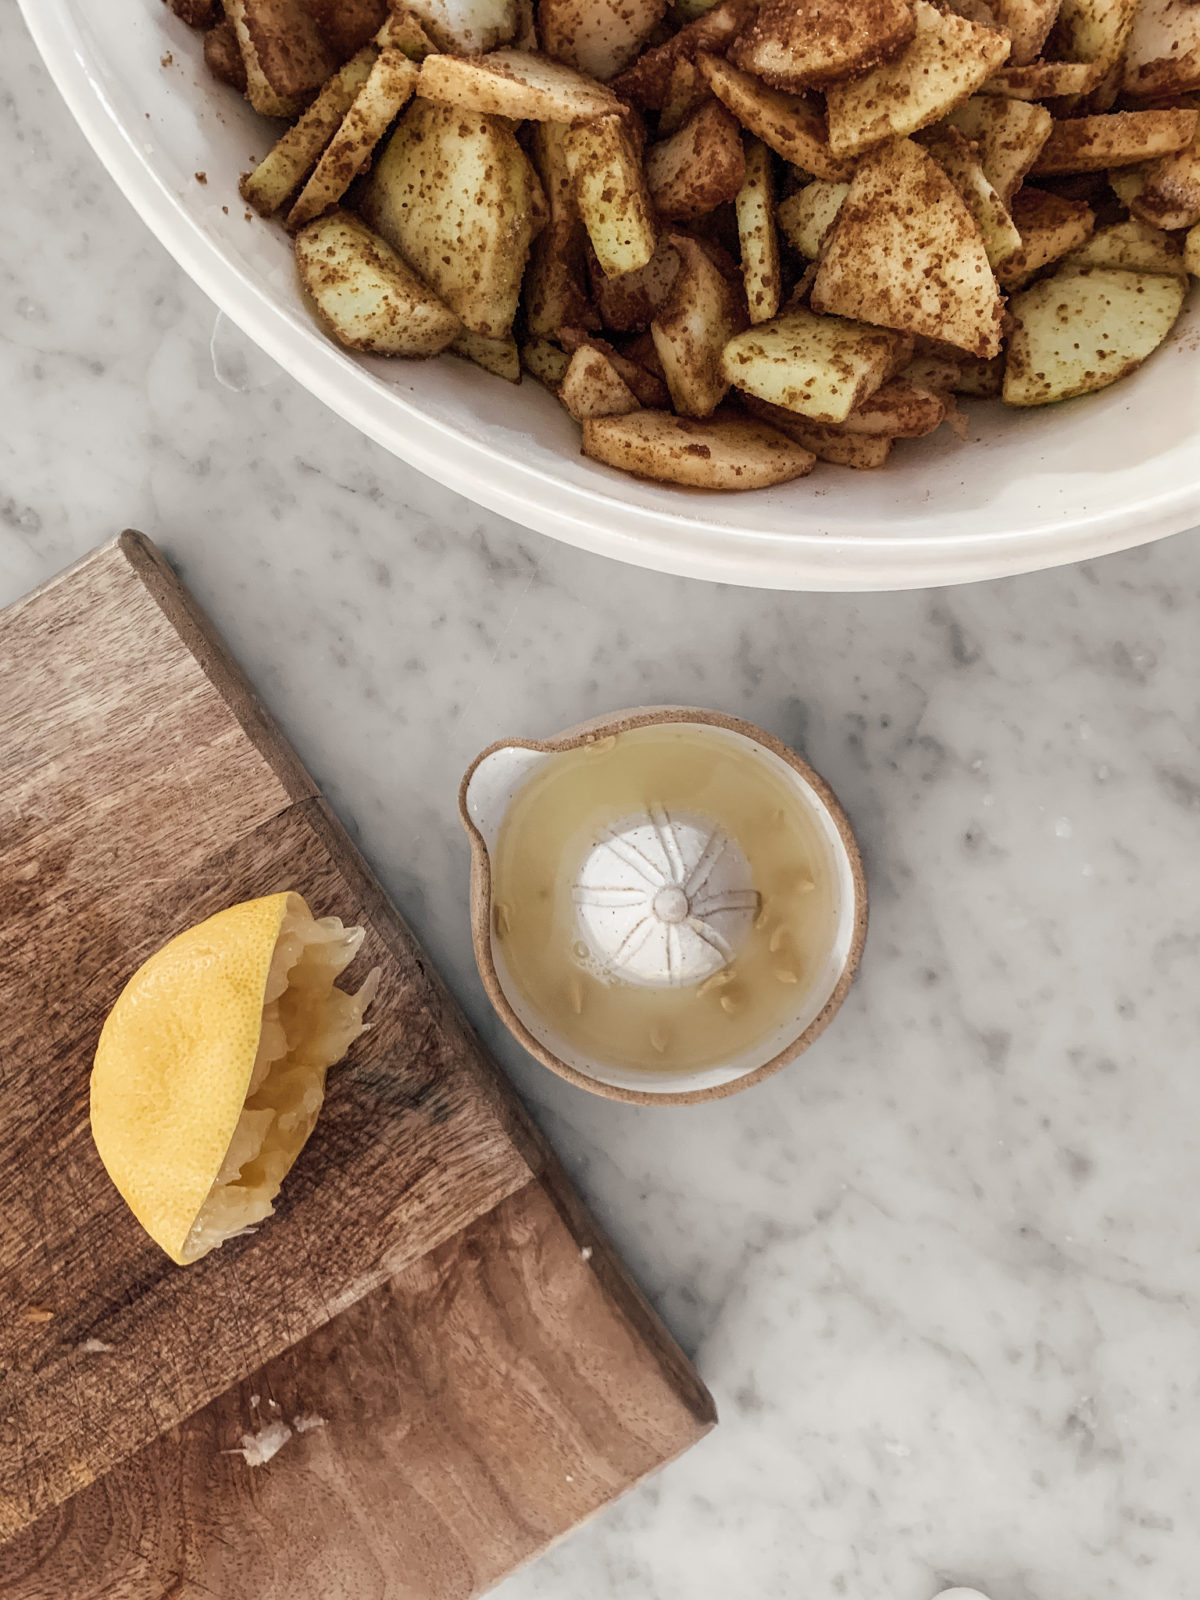
Once it’s coated in the dry mixture, I add in the juice of half a lemon to bind it all and add some moisture.

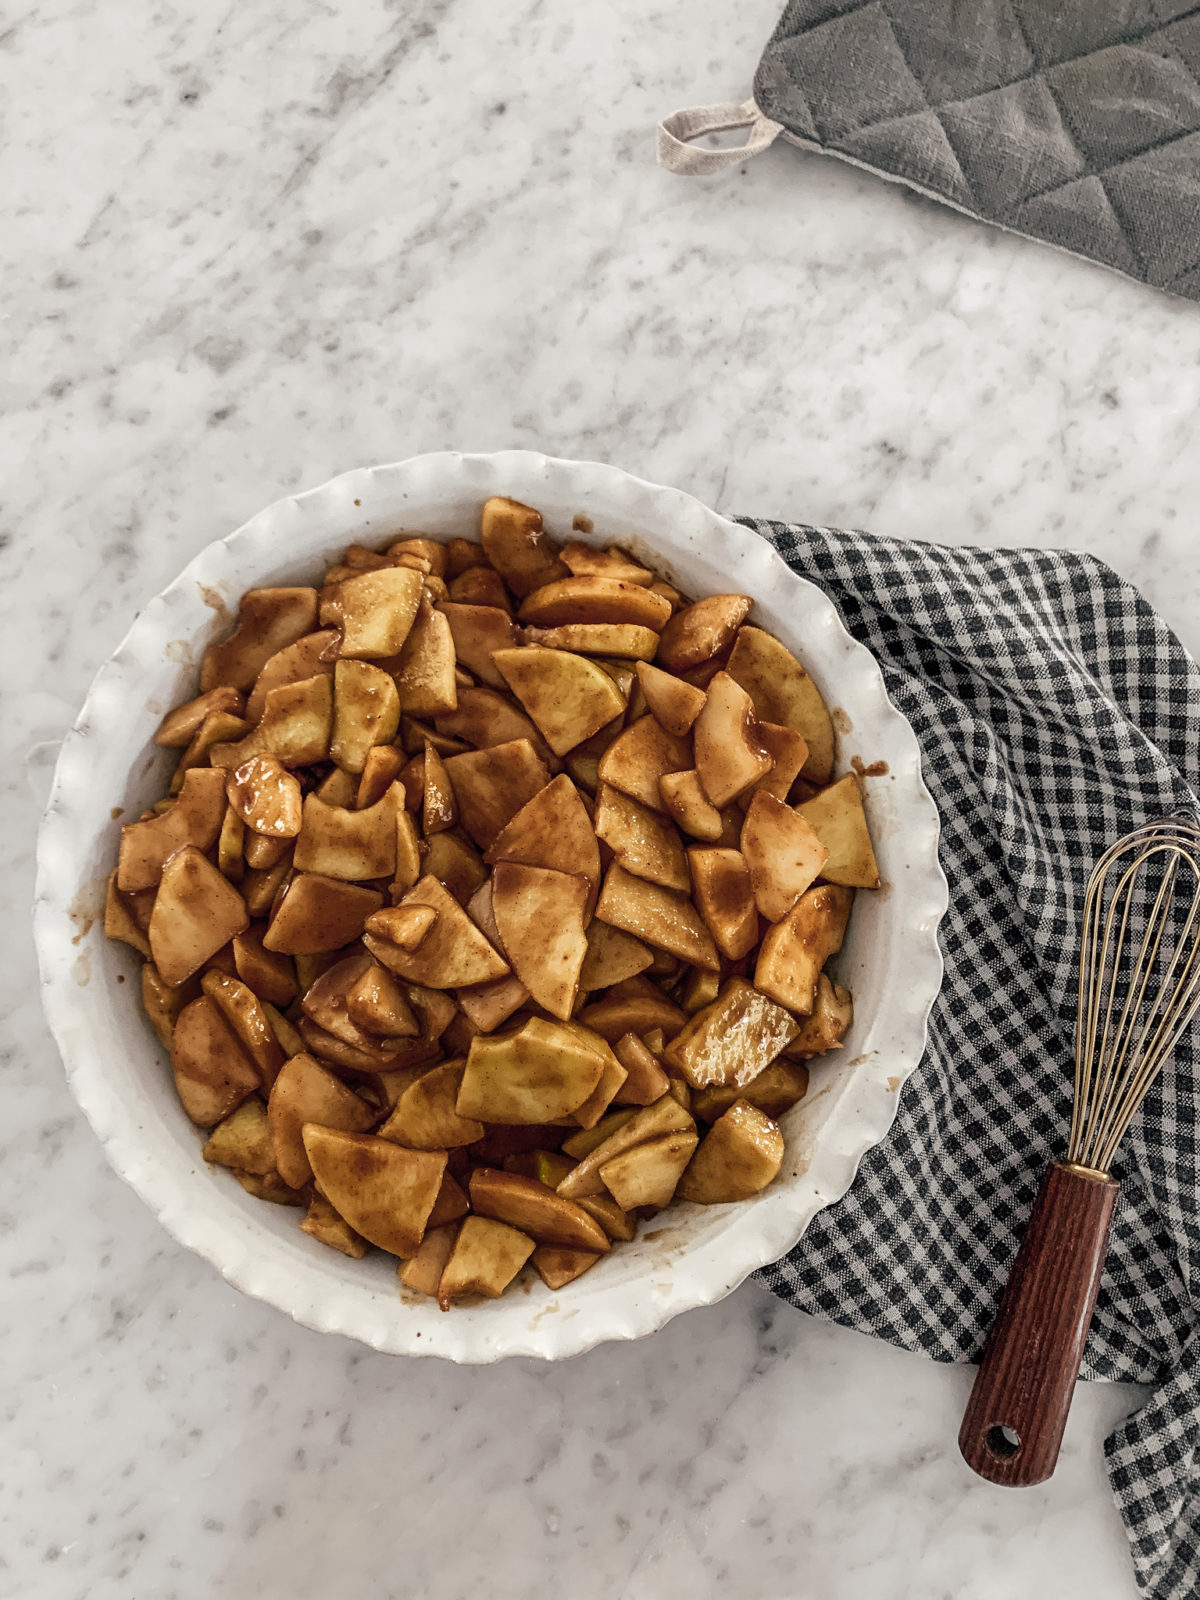
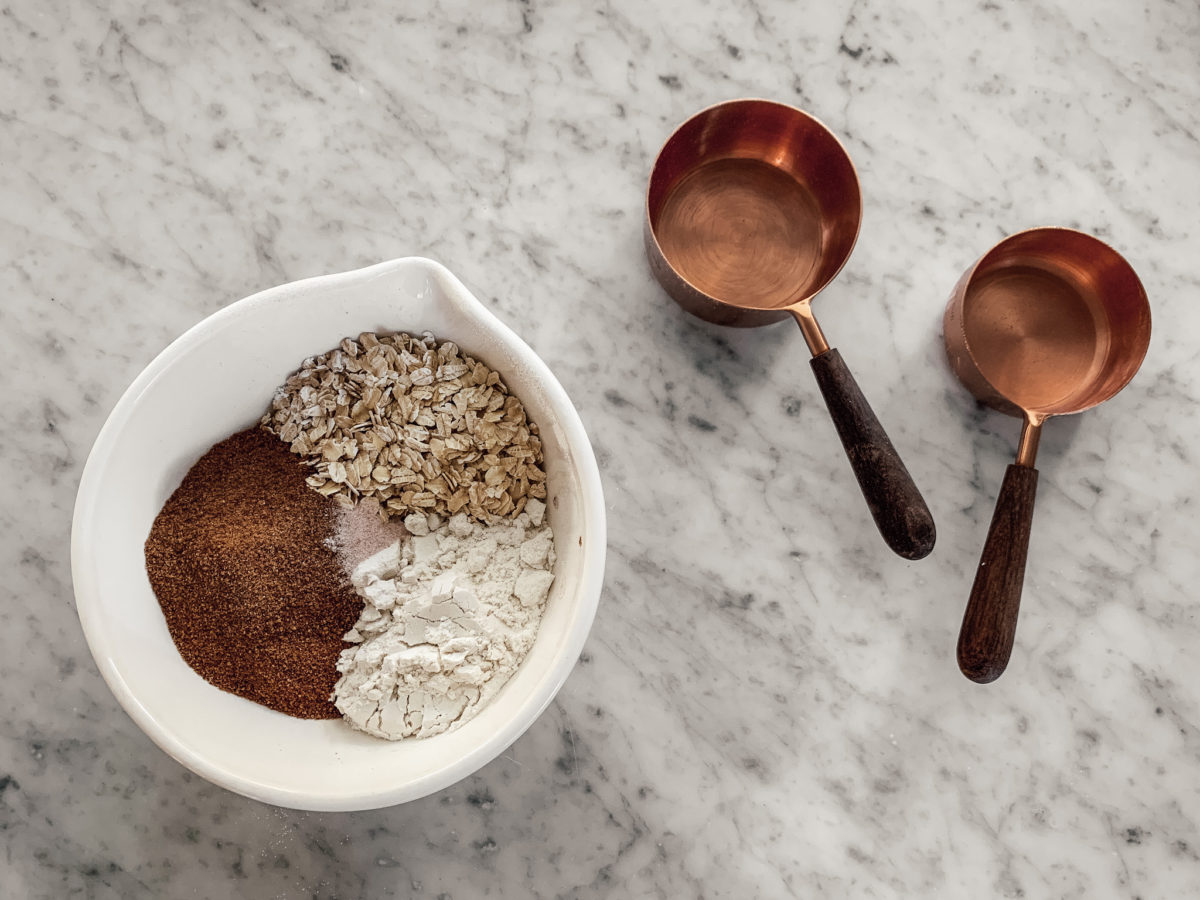
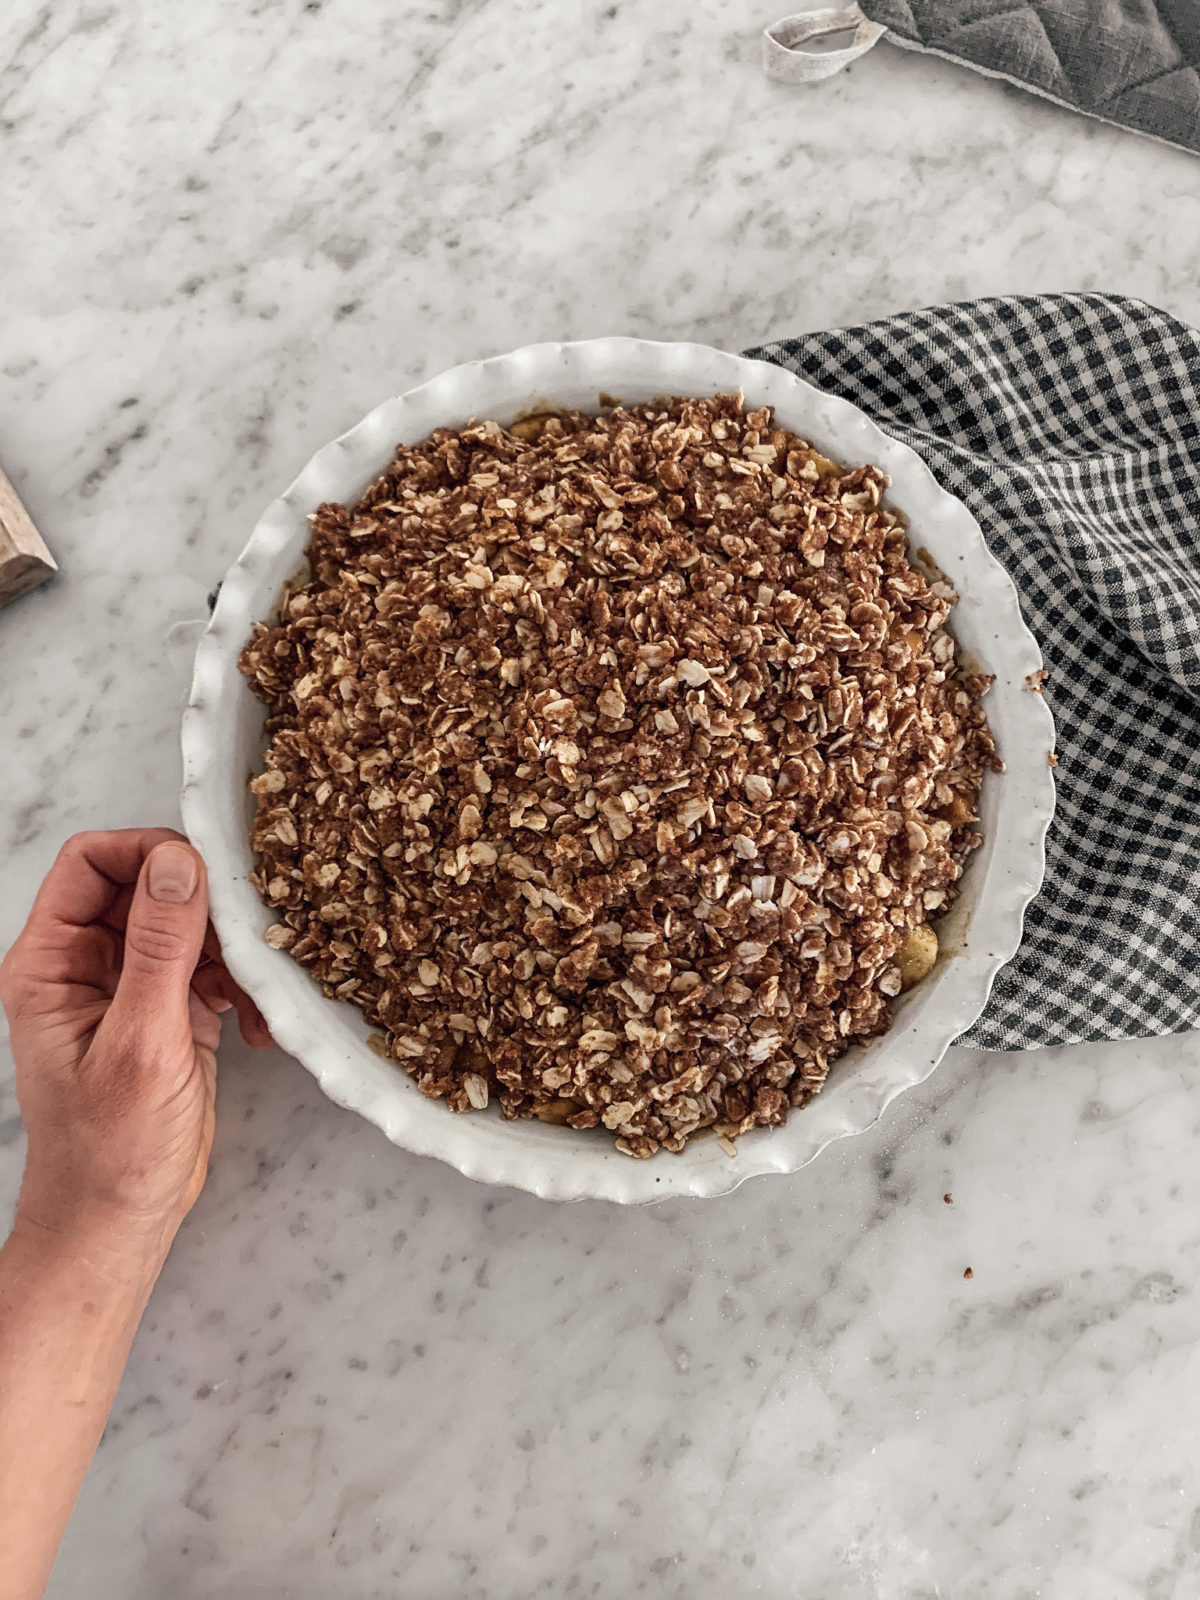
Then, I put the apple mixture into the pie dish and set it aside while I make up a quick crumble for the top. It super simple with gluten free oats, coconut sugar, gluten free flour, salt and coconut oil.

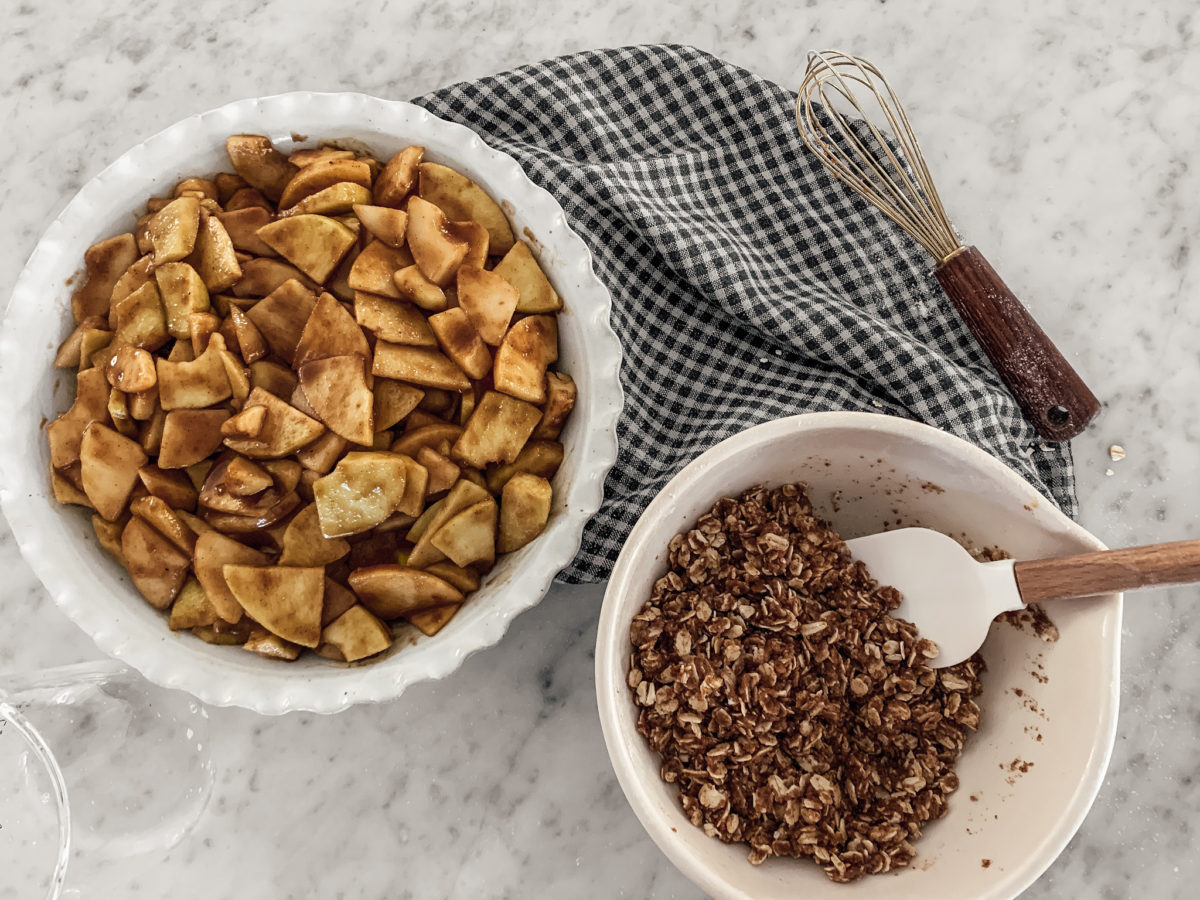
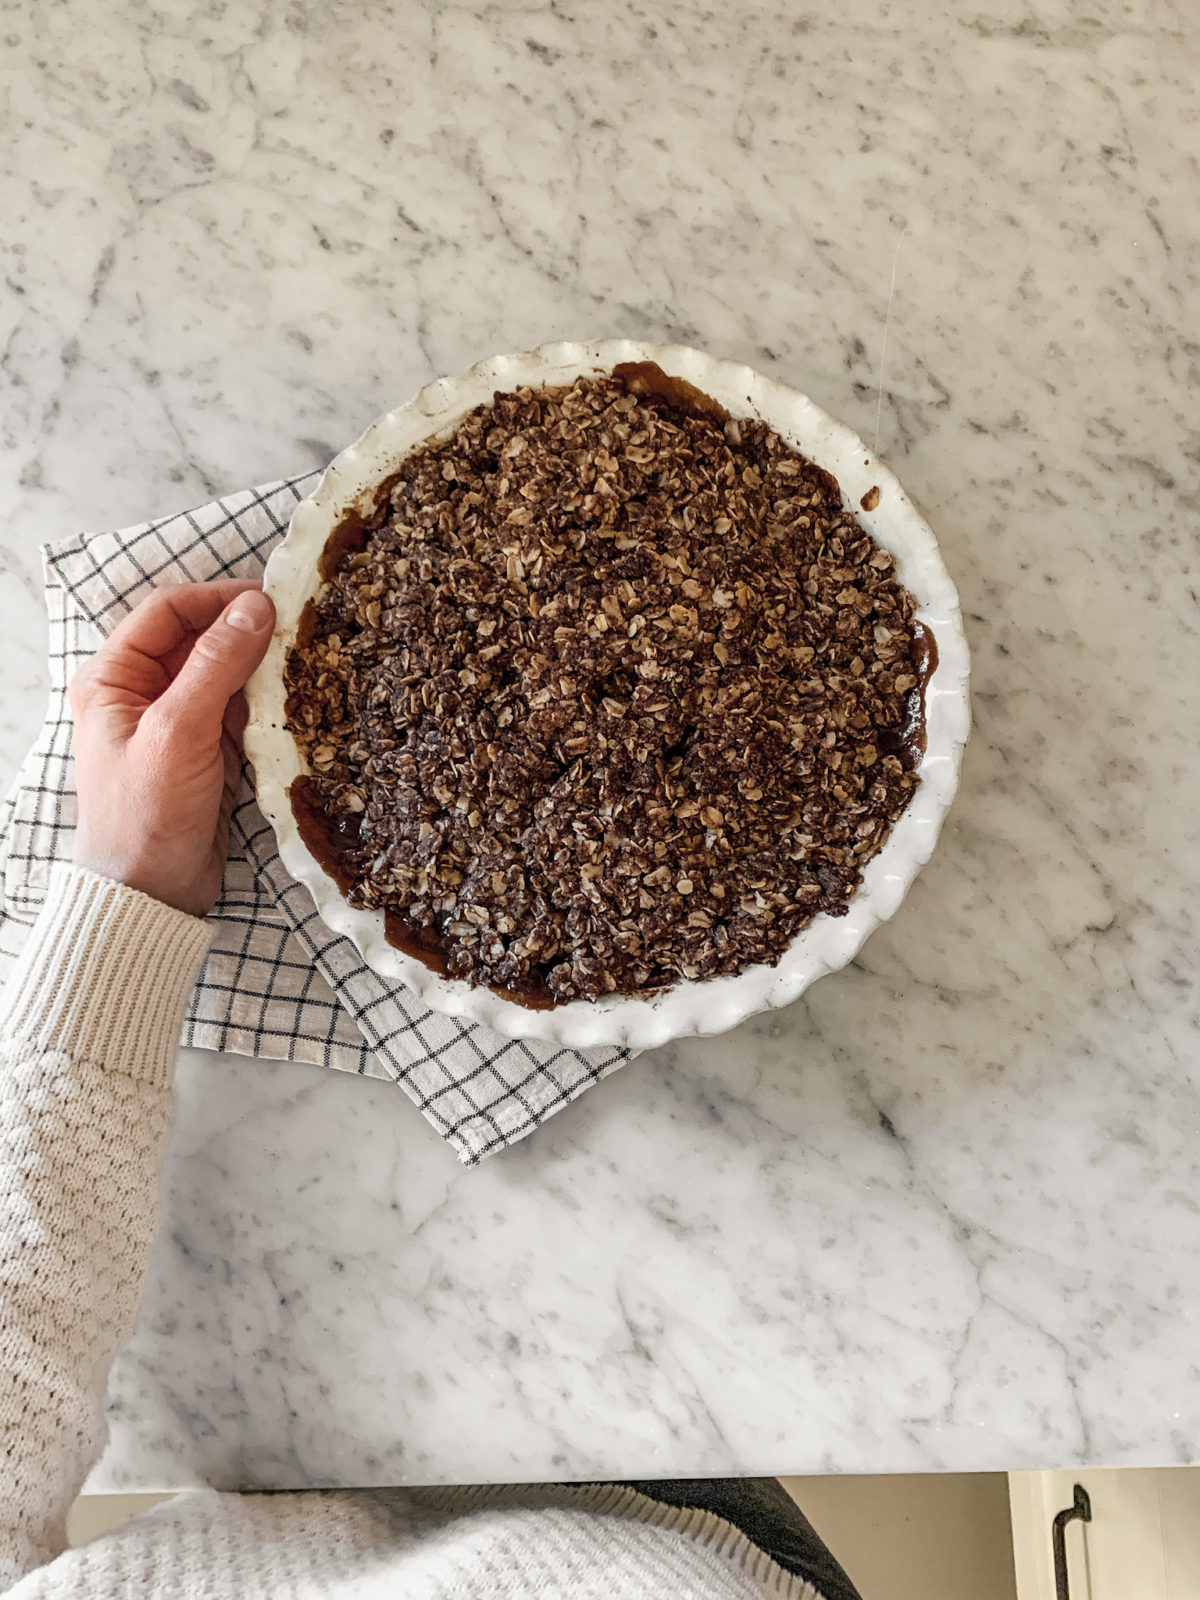
I simply mix all the topping ingredients together and layer it over the apples. Then I bake it in the oven at 350 for about 30-40 minutes or until I can tell the apples are cooked and soft. I usually just insert a sharp knife into the center to check for this. If it needs more time and the topping is brown enough for me, I’ll just cover it with some foil for the remaining 10-15 minutes or so until it’s just how I like it.

Apple+Pear Crisp {Gluten+Sugar Free}

Filling Ingredients:

2 Pears, 2 Granny Smith Apples, 1 Fuji Apple (or any combination of 5 apples or pears)

1/4 cup coconut sugar

1/4 cup gluten free flour

1/4 tsp cinnamon

Juice of half a lemon

Topping Ingredients:

1 cup gf oats

1/2 cup gf flour

1/2 cup coconut sugar

pinch of salt

1/2 cup coconut oil (warmed to a liquid)

Directions:

Peel and core and thinly slice apples and pears.

Mix together the dry filling ingredients in a separate bowl, then coat the apples and pears with the dry ingredients. Pour the lemon juice over everything until it all comes together and moistens. Dump this mixture into your 10″ pie dish.

In another small bowl, mix the dry topping ingredients together, then pour the coconut oil over it and mix until well combined. Spread the topping over your apples evenly.

Bake in a 350 degree oven for about 30-40 minutes. Check it after a while to make sure the topping isn’t getting too brown and if it is, cover it with foil until its ready. I always check the apples with a sharp knife in the center to be sure they are soft. You should also see some bubbling and running of the apples underneath the topping.

If you make my recipe I’d love to hear about it! Share it on your instagram and tag me so I can see it and repost it!

Share

Share
Tweet
Email
Pin
Comment
Previous
Next

Comments Cancel reply

Your email address will not be published. Required fields are marked *

Instagram Feed

This error message is only visible to WordPress admins

Error: API requests are being delayed for this account. New posts will not be retrieved.

There may be an issue with the Instagram access token that you are using. Your server might also be unable to connect to Instagram at this time.

thehomegrownapple

Homesteading, homemaking and homeschooling. Sharing all things home.

Aimee Kirk
I did research for a while last year to find out w I did research for a while last year to find out which chickens lay these beautiful chocolate brown eggs. I finally discovered that the Marans are the best breed to get. I have Black Marans but they come in a variety including Cuckoo, Silver Cuckoo, Gold Cuckoo, Black Copper, Blue Copper, Splash Copper, Wheaten, Black-Tailed Buff, White, Black, Blue, Splash, Birchen and Columbian.

If you’re thinking of getting chicks this spring and you want some beautiful chocolate brown eggs in the mix I highly recommend! They’re a joy sparker for sure!
I added a little gallery wall over the weekend. I’ve never actually had any wall space to do something like this before in our little house. We just either had doors or windows on all the little walls 😂 And can you see the baseboards! When your husband is doing things himself and already works two busy jobs things just go slower. But we’re saving money and it’s getting done little by little. 

I love the artwork I added from the big kids here. Scroll through to see them close up. Warren did the sketch of the fish and Amelia did the embroidered bicycle 🫶🏻
It’s a cold and story first day of February and It’s a cold and story first day of February and this morning the whole property was covered in a dense fog. A nice way to start off the cozy month of February if you ask me! 

I’ll just be over here lighting all of my favorite candles in every room. It’s making it smell so good in the house.
 
These are my favorite candles for ao many reasons!
Nontoxic, 80 hours of burn time, they burn all the way down (they don’t make that hollow cylinder like some candles make down the middle ya know?), lead free cotton wicks, 100% natural soy wax from domestically grown soy beans, premium fragrance oils that won’t give you a headache and aren’t too strong, paraben, paraffin, dye, phthalate and cruelty free. 

Just so many reasons to enjoy these candles in your home! 

Comment “candles” and I’ll send you a link to them with my discount code!
I found these pretty blue floral plates a while ba I found these pretty blue floral plates a while back and knew exactly where I wanted to hang them. I had never hung a plate before and wanted to do the least damage to my newly painted walls. When I found these hanging discs made in England I bought them right away. I was so excited to try them and they ended up being so easy! 

All you do is wet them which activates a glue on the back. Then, adhere them to the back of your plate and let them dry overnight. Once they dry they’re ready to be hung up! If you ever decide you don’t want them hung anymore, just wet the back again and the glue will get released as it softens. 

Comment “plate hangers” below and I’ll send you a link to these discs along with a pretty collection of blue plates!
I can’t believe this summer will be 4 years host I can’t believe this summer will be 4 years hosting guests at our barn loft Airbnb! Creating this little space into a retreat for people to come enjoy has been so rewarding. We’ve had over 240 smashing reviews by guests from all over the world and I’m so excited to continue sharing this special space. It’s been such a joy to meet so many of you too! Comment “airbnb” below if you’d like me to send you the link  to check it out. And don’t forget to DM me and ask about my insta friends discount!
Follow on Instagram

About Us

Hi, I'm Aimee! I am a wife, mother, kindergarten teacher and blogger. Here on my blog you will follow my family through our journey of homesteading our 6 acre apple orchard , every step of the way. From learning how to care for the orchard, planting new crops, building a house from the ground up, and our family lifestyle in between. Thanks for visiting!

Never Miss A Post

Recent Posts

  • Felted Soap August 13, 2021
  • Cloth Napkin Tutorial July 10, 2021
  • Pancake Recipe February 2, 2021

The Homegrown Apple | Site design handcrafted by Station Seven