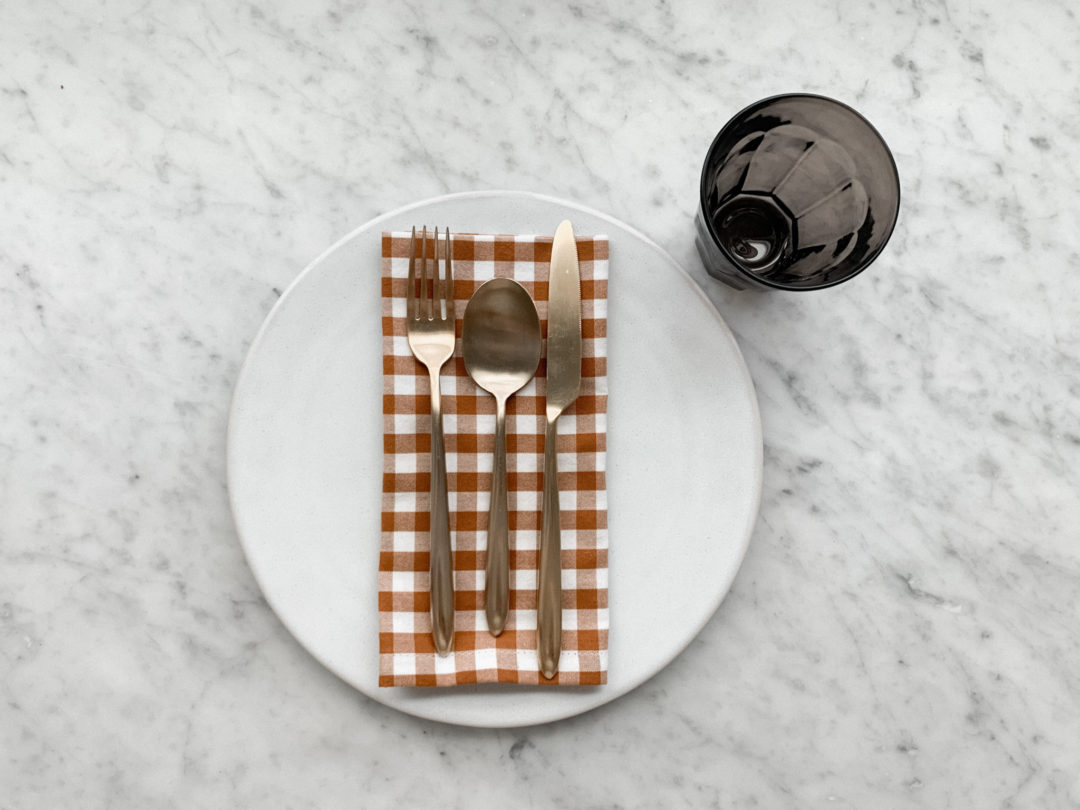
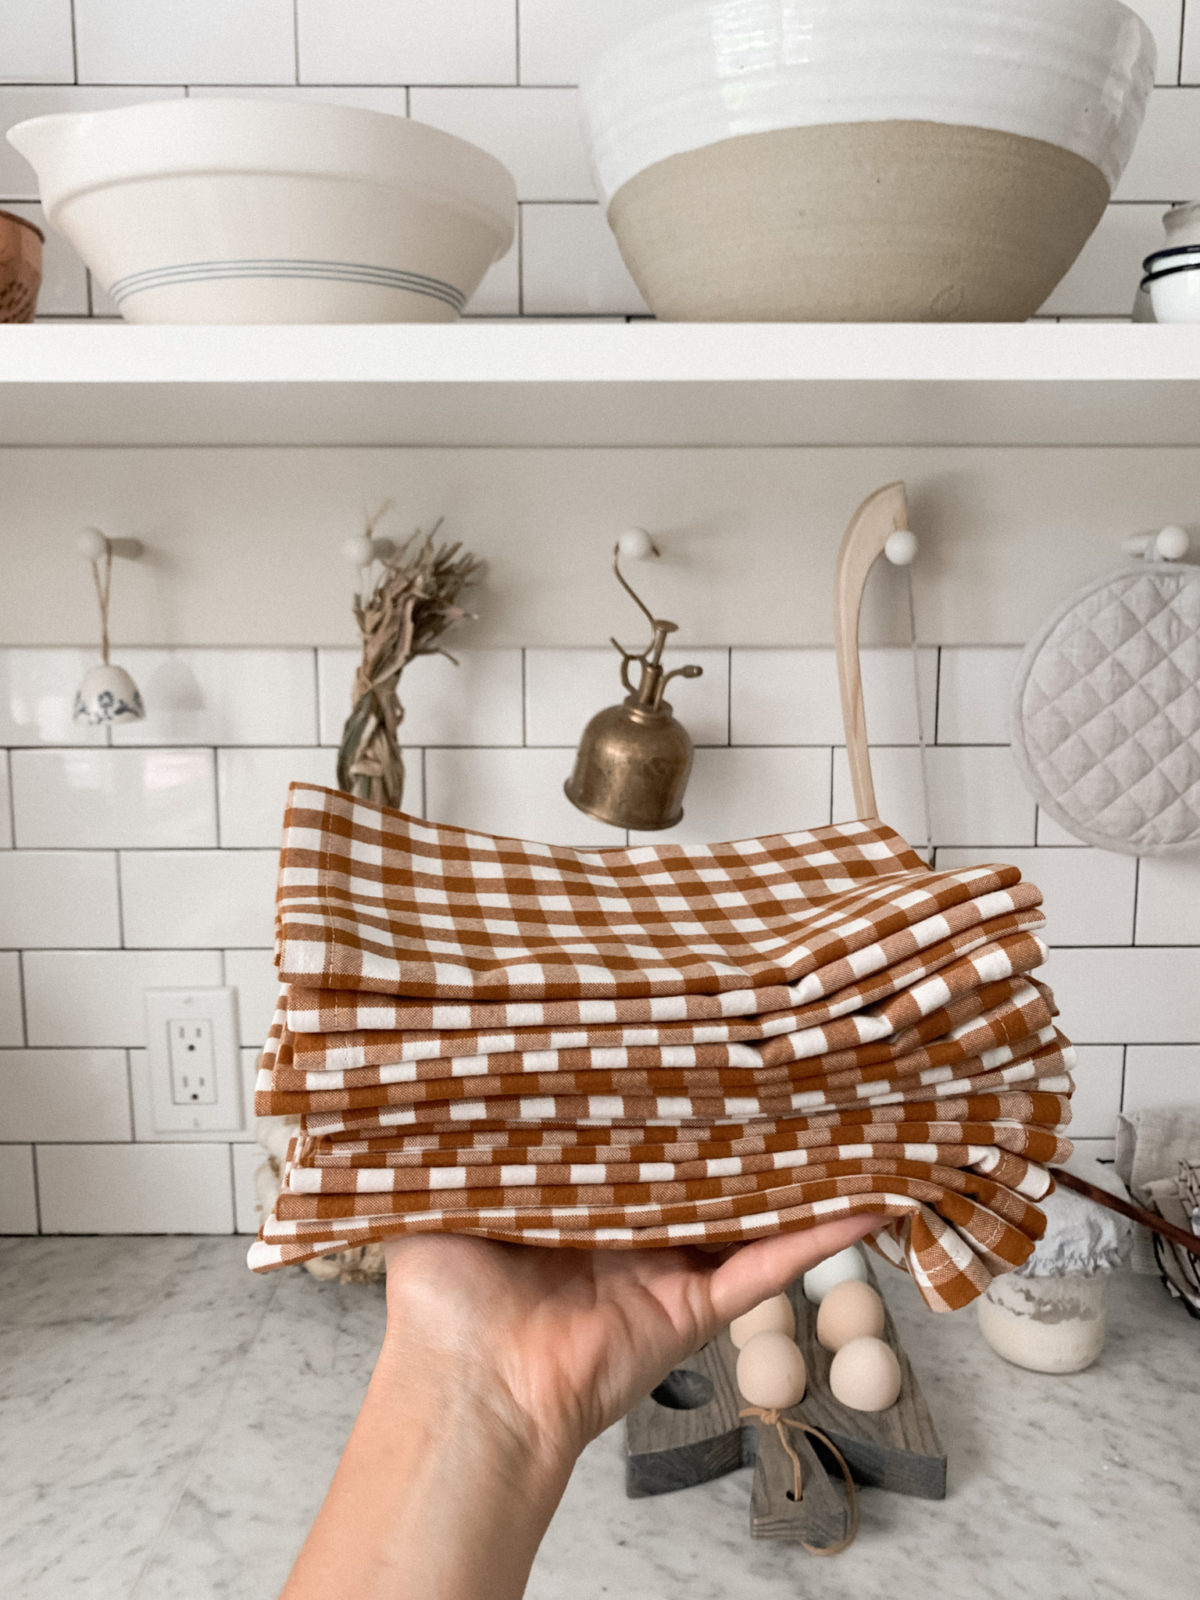
Growing up my mom always sewed her own cloth napkins and that’s just what I’ve always used. I laugh when people come over for dinner and feel like it’s super fancy to use cloth or like they don’t want to mess them up. I usually make a new batch of napkins every couple years and they are made to me used! Our kids use them and our guests use them and it’s just all we have. Trust me when I say you will never go back to paper once you’ve used cloth napkins on a daily basis. They’re more sustainable, less expensive and really do feel like one of life’s little luxuries. My mom stumbled upon this method of making the corners lay nice and flat and we’ve been doing them like this for a few years now so I thought I’d share it with you. Hope you make some of your own!
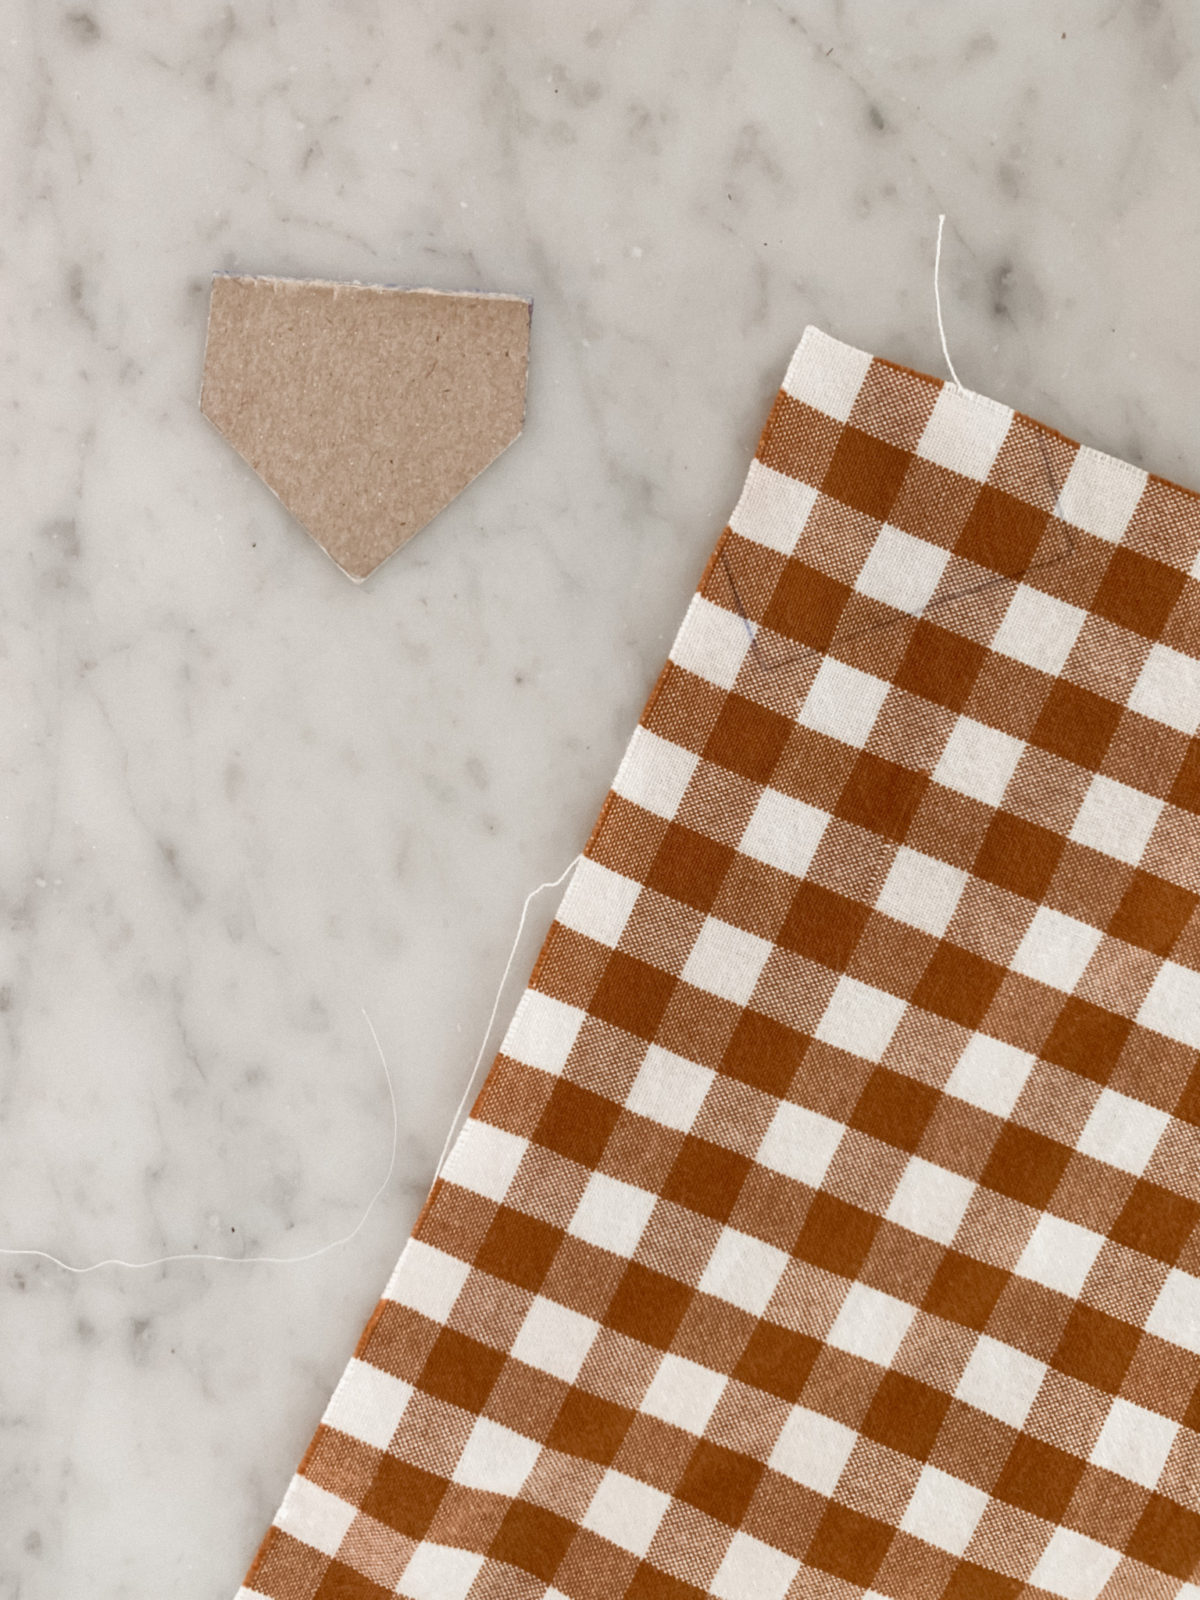
First thing you need to do is make yourself a simple cardboard template. It looks like the shape of a baseball diamond.
1 3/4” wide by 1 1/2” tall to the tip with 3/4” sides.
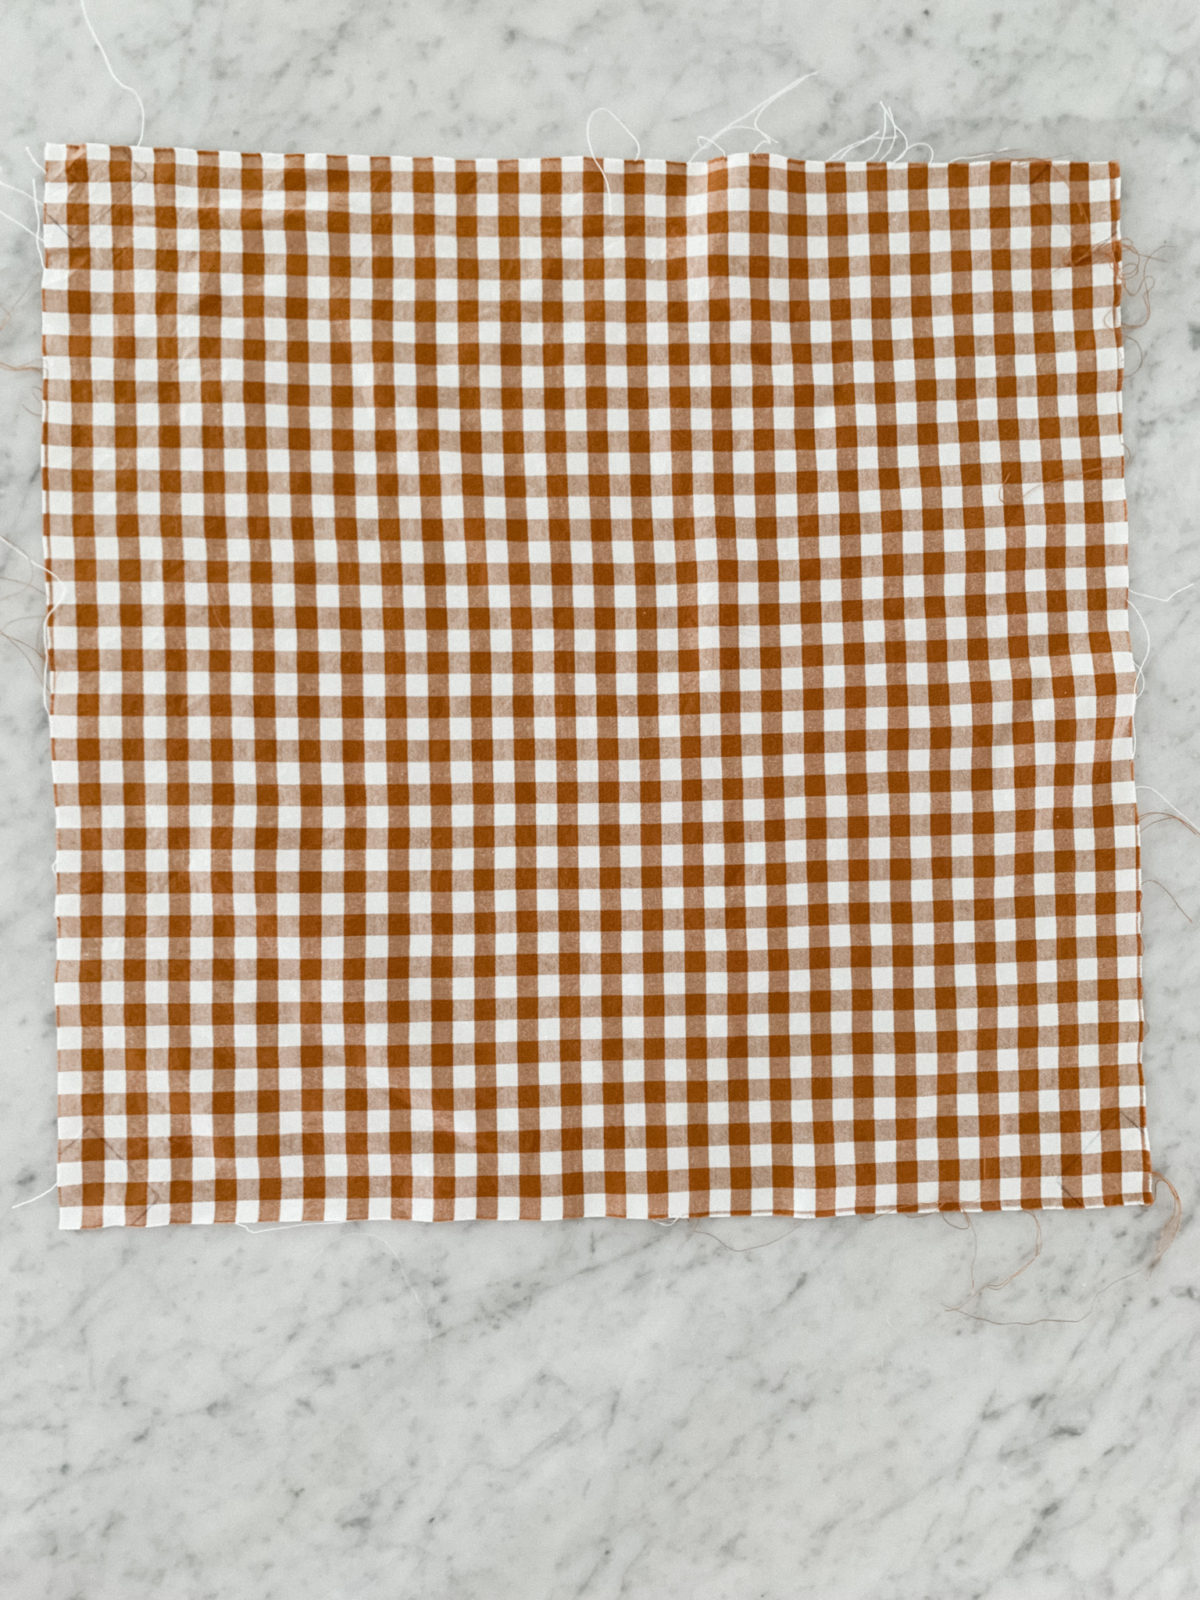
Cut your fabric in 20” by 20” squares.
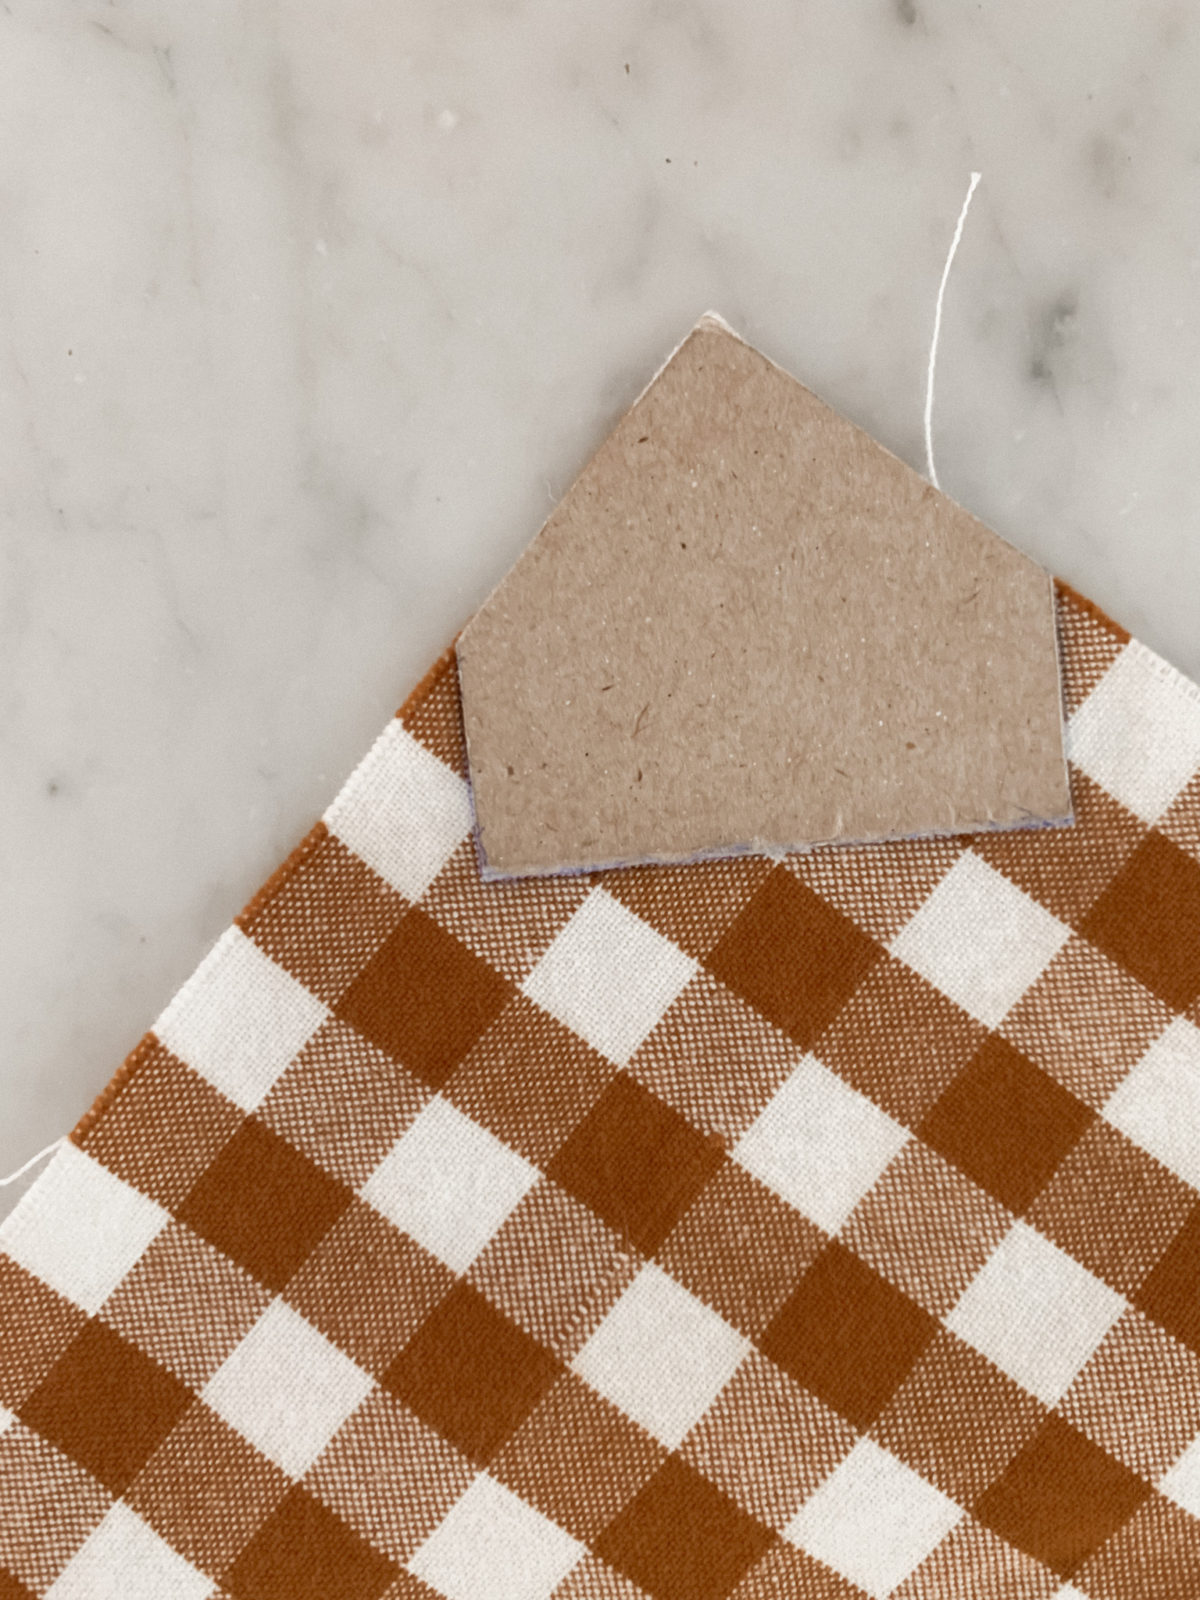
Then use your template to make a mark in the corners with a pen.
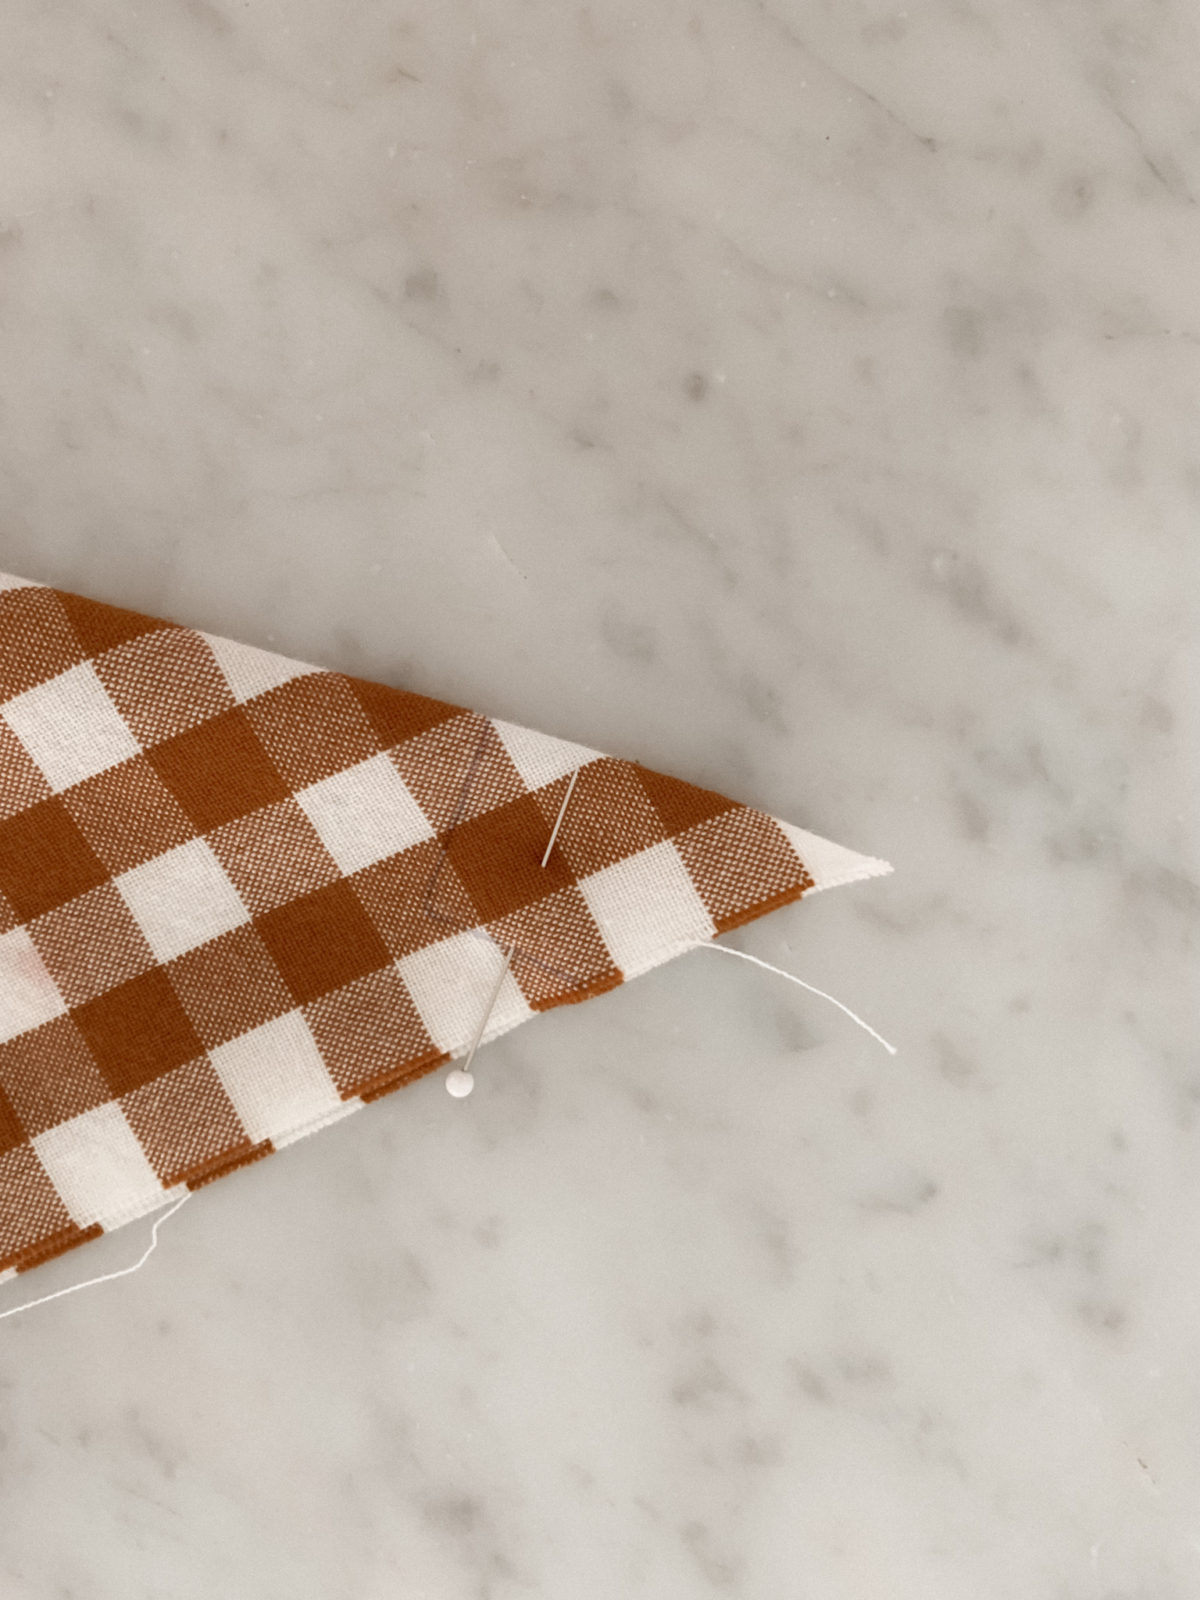
Once you’ve marked all 4 corners, fold the fabric in a diamond shape so it comes to a point and put one pin in to line up the marks on both sides of the fabric.
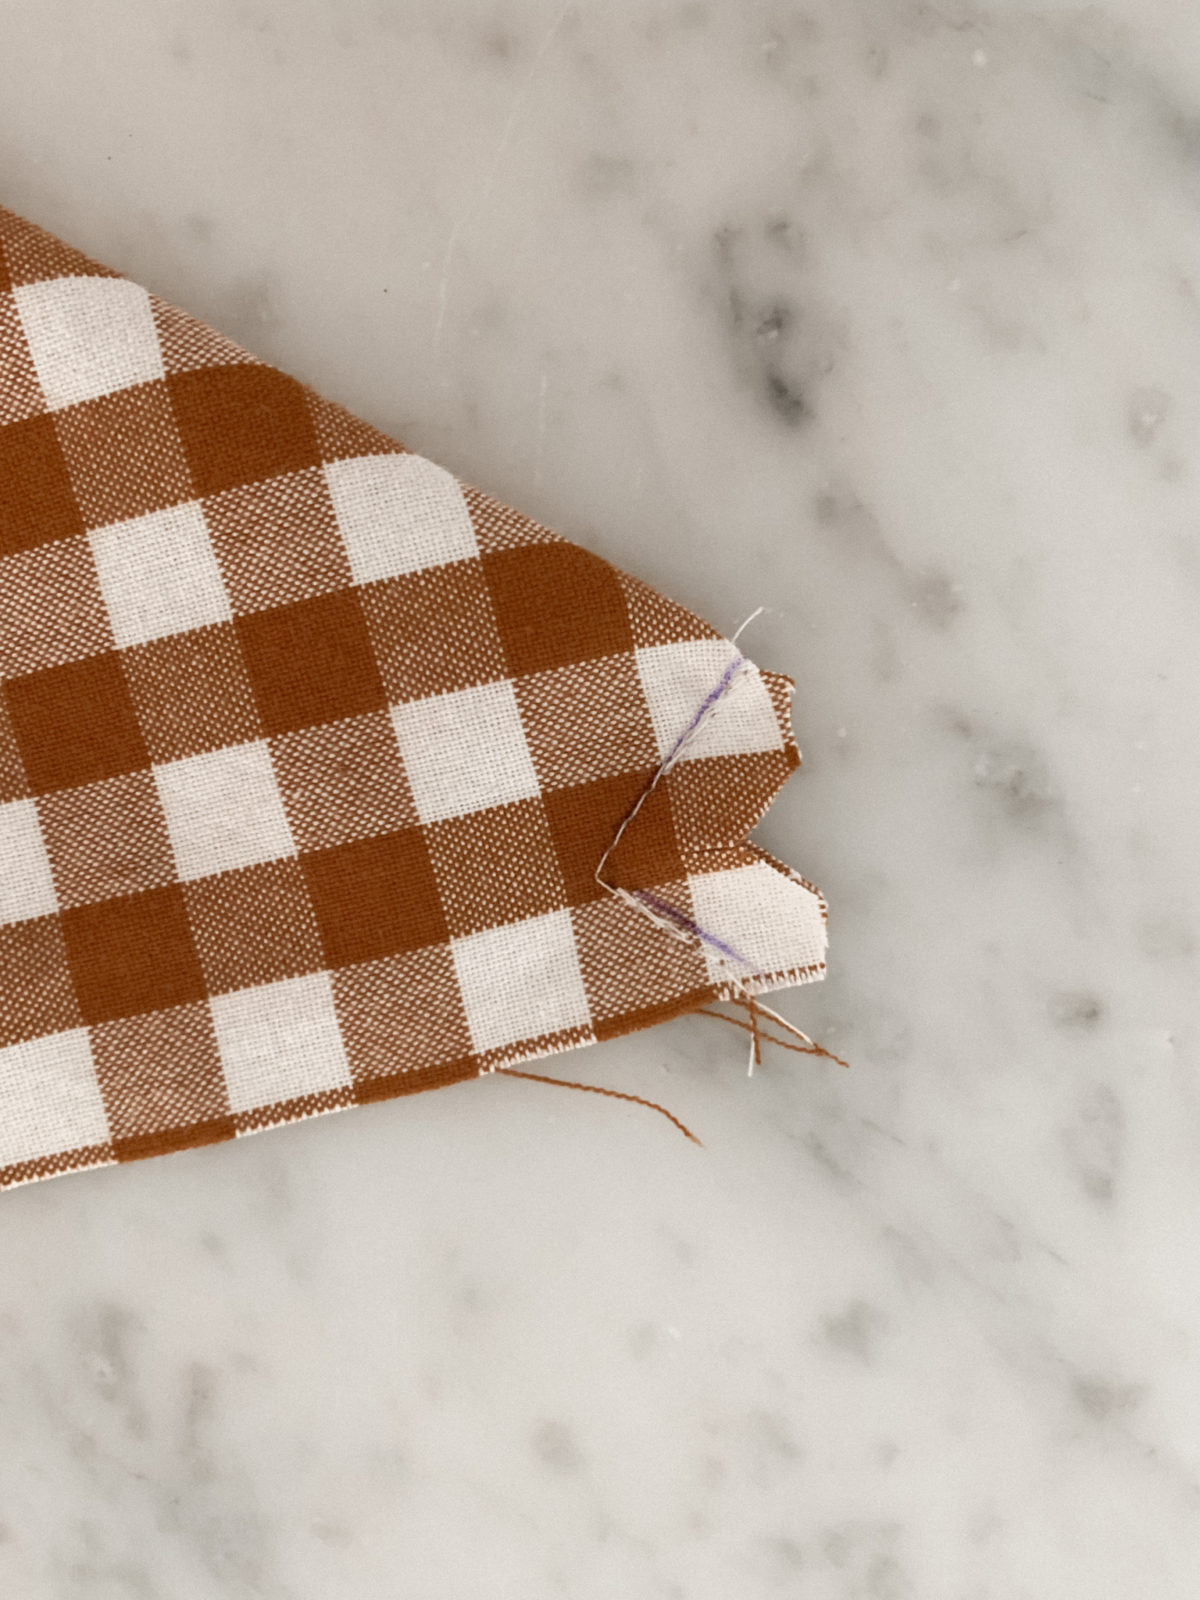
Sew that mark in a V shape. Then cut out the excess fabric (like pictures above). Cut off the corners and cut a little slit down the center.
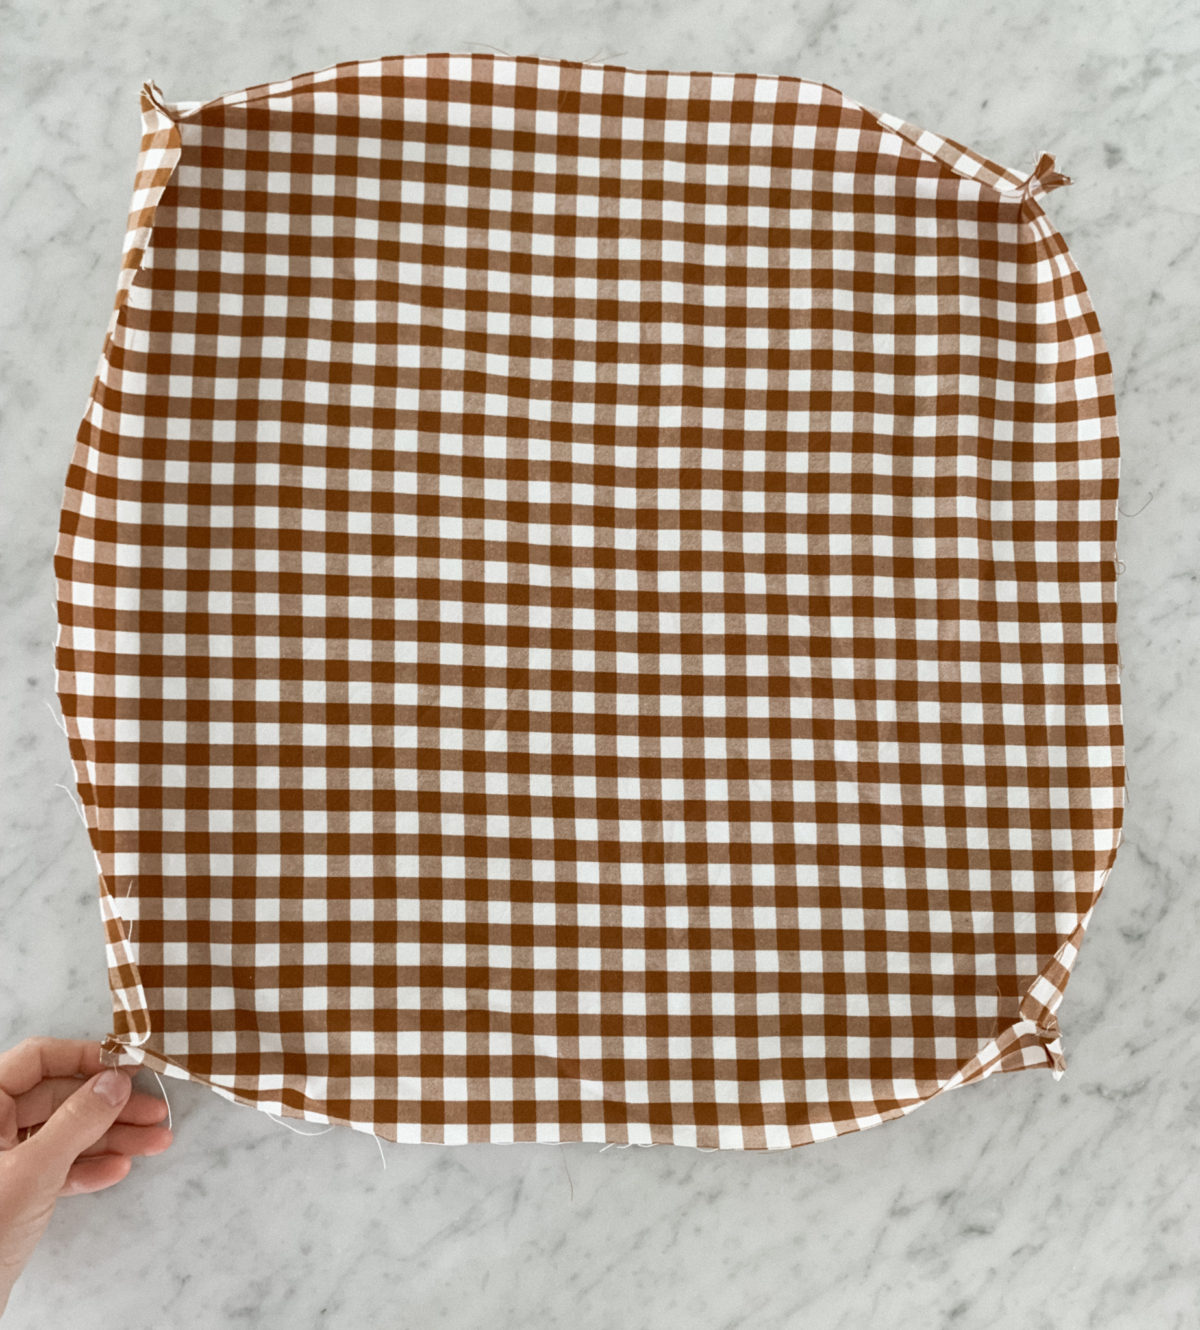
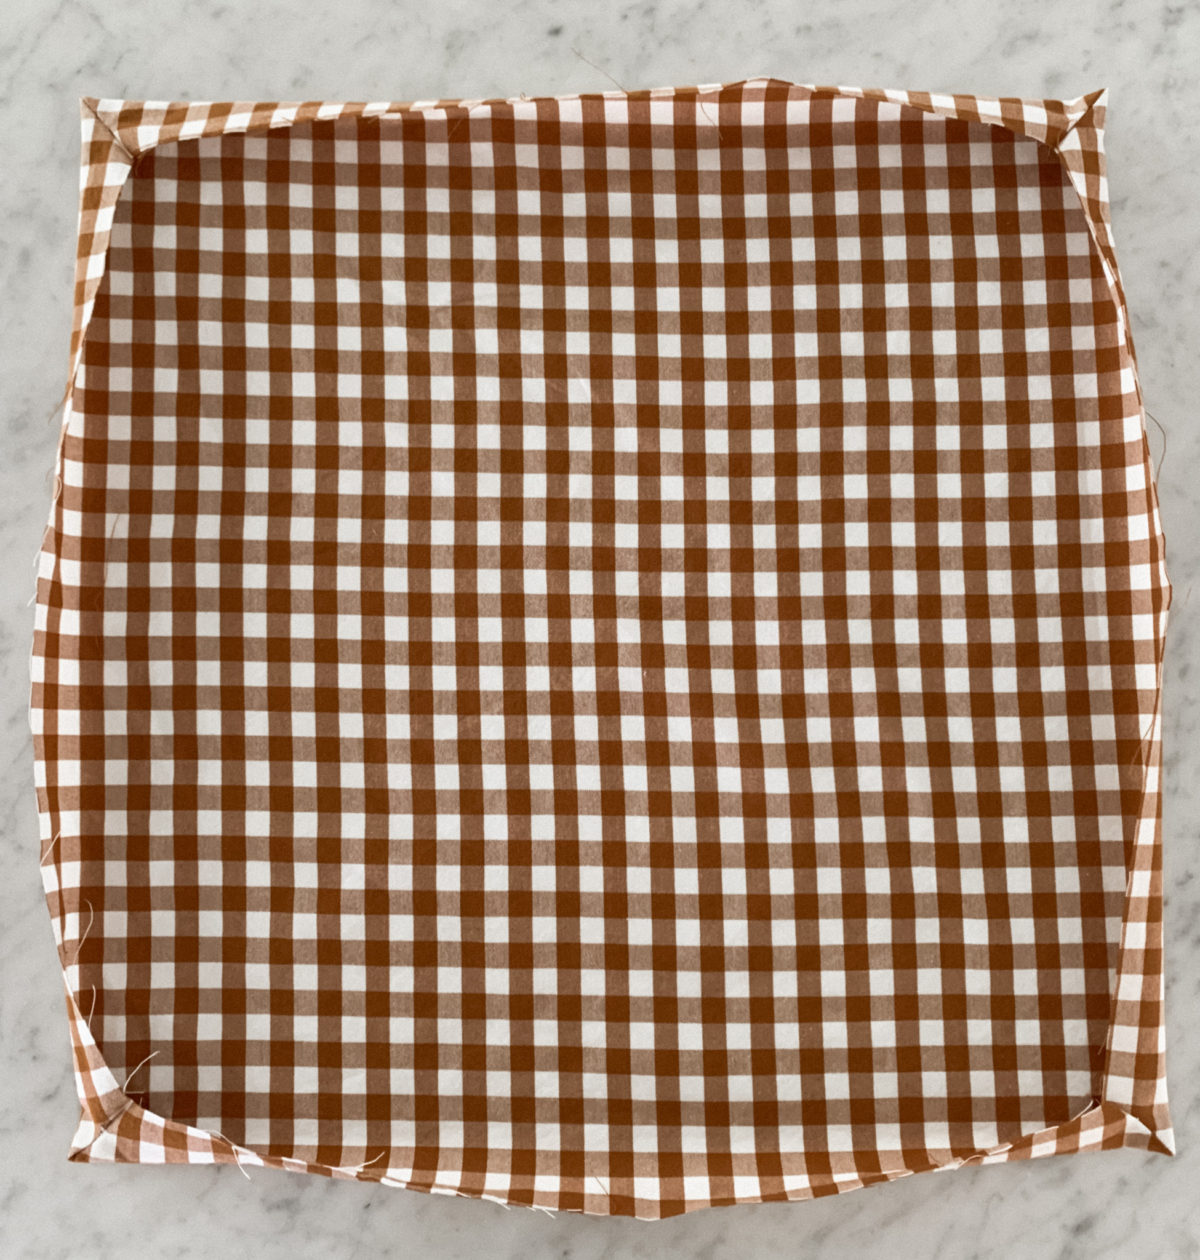
You will end up with 4 puckered corners like this!
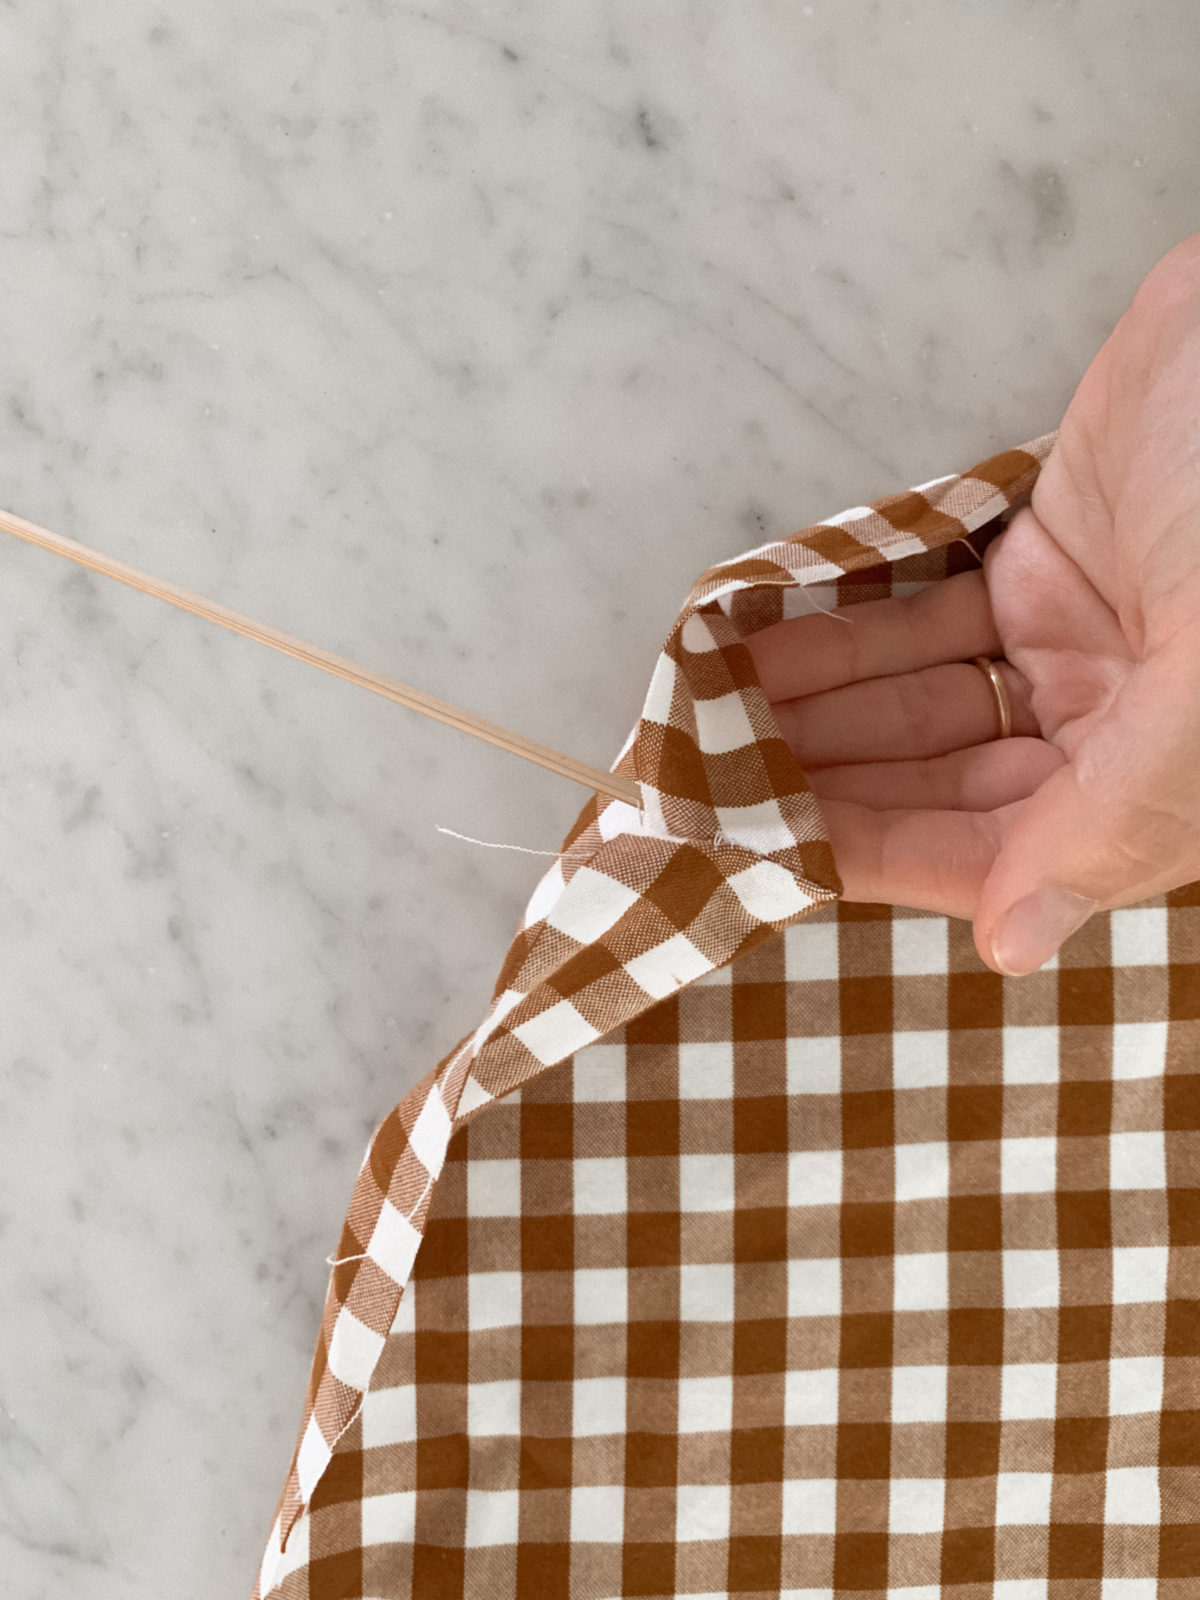
Turning the fabric inside out now, use a knitting needle or pencil to poke out the seams to a nice sharp corner.
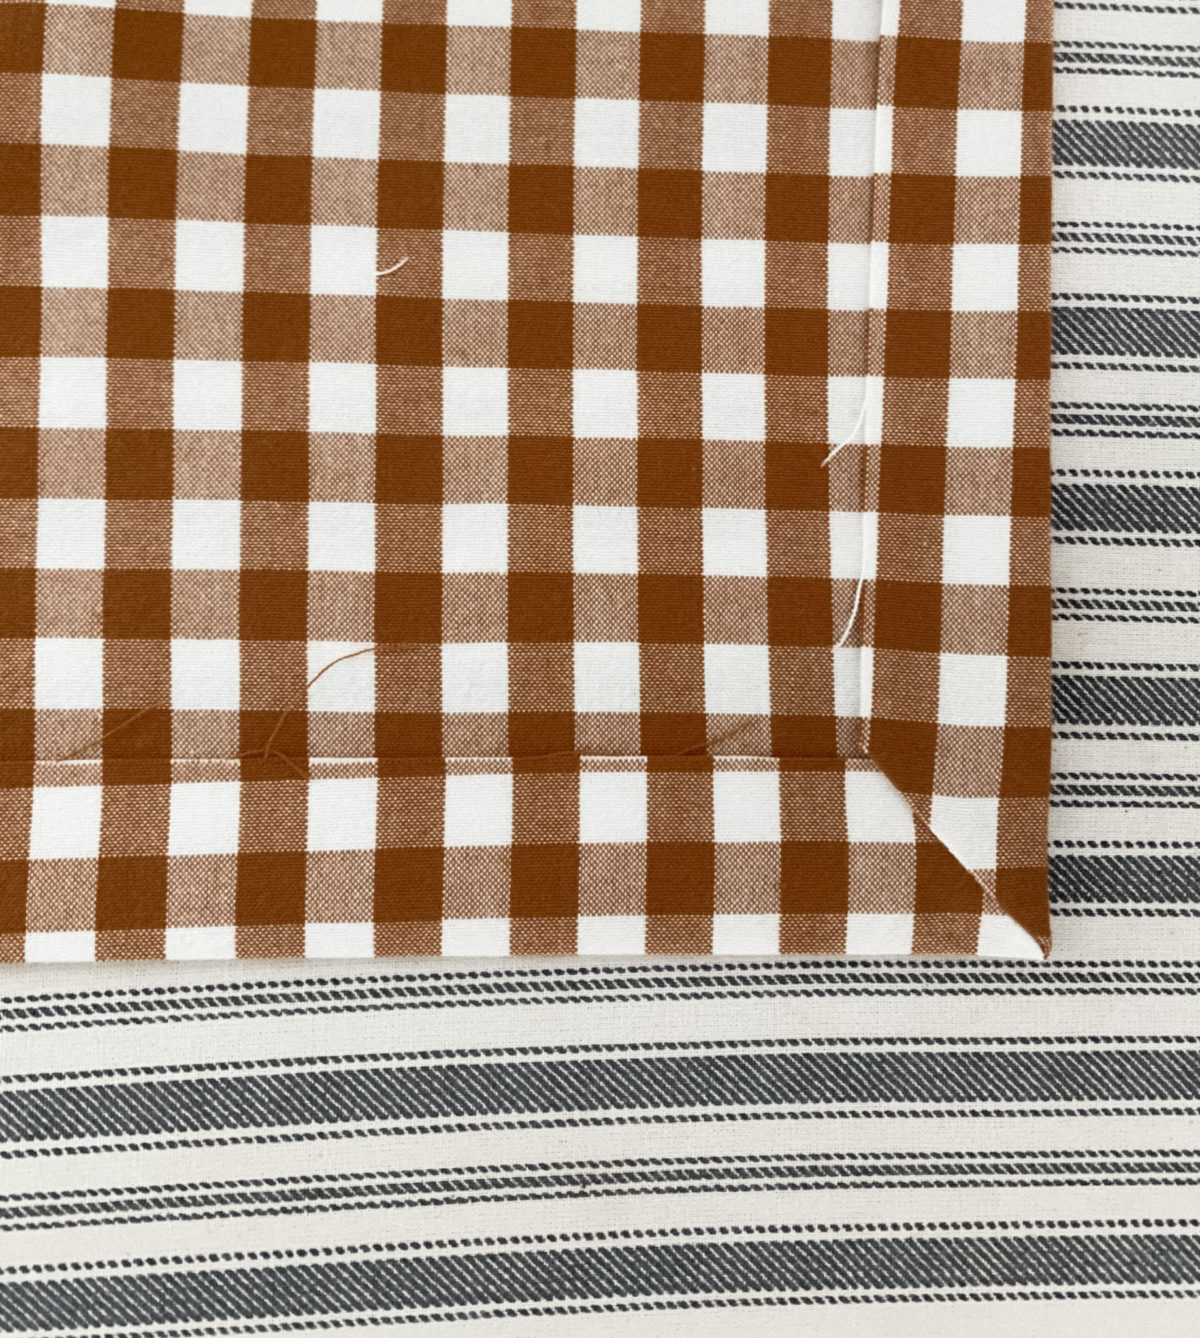
Then use your iron to press the seams and edges into a flat hem.
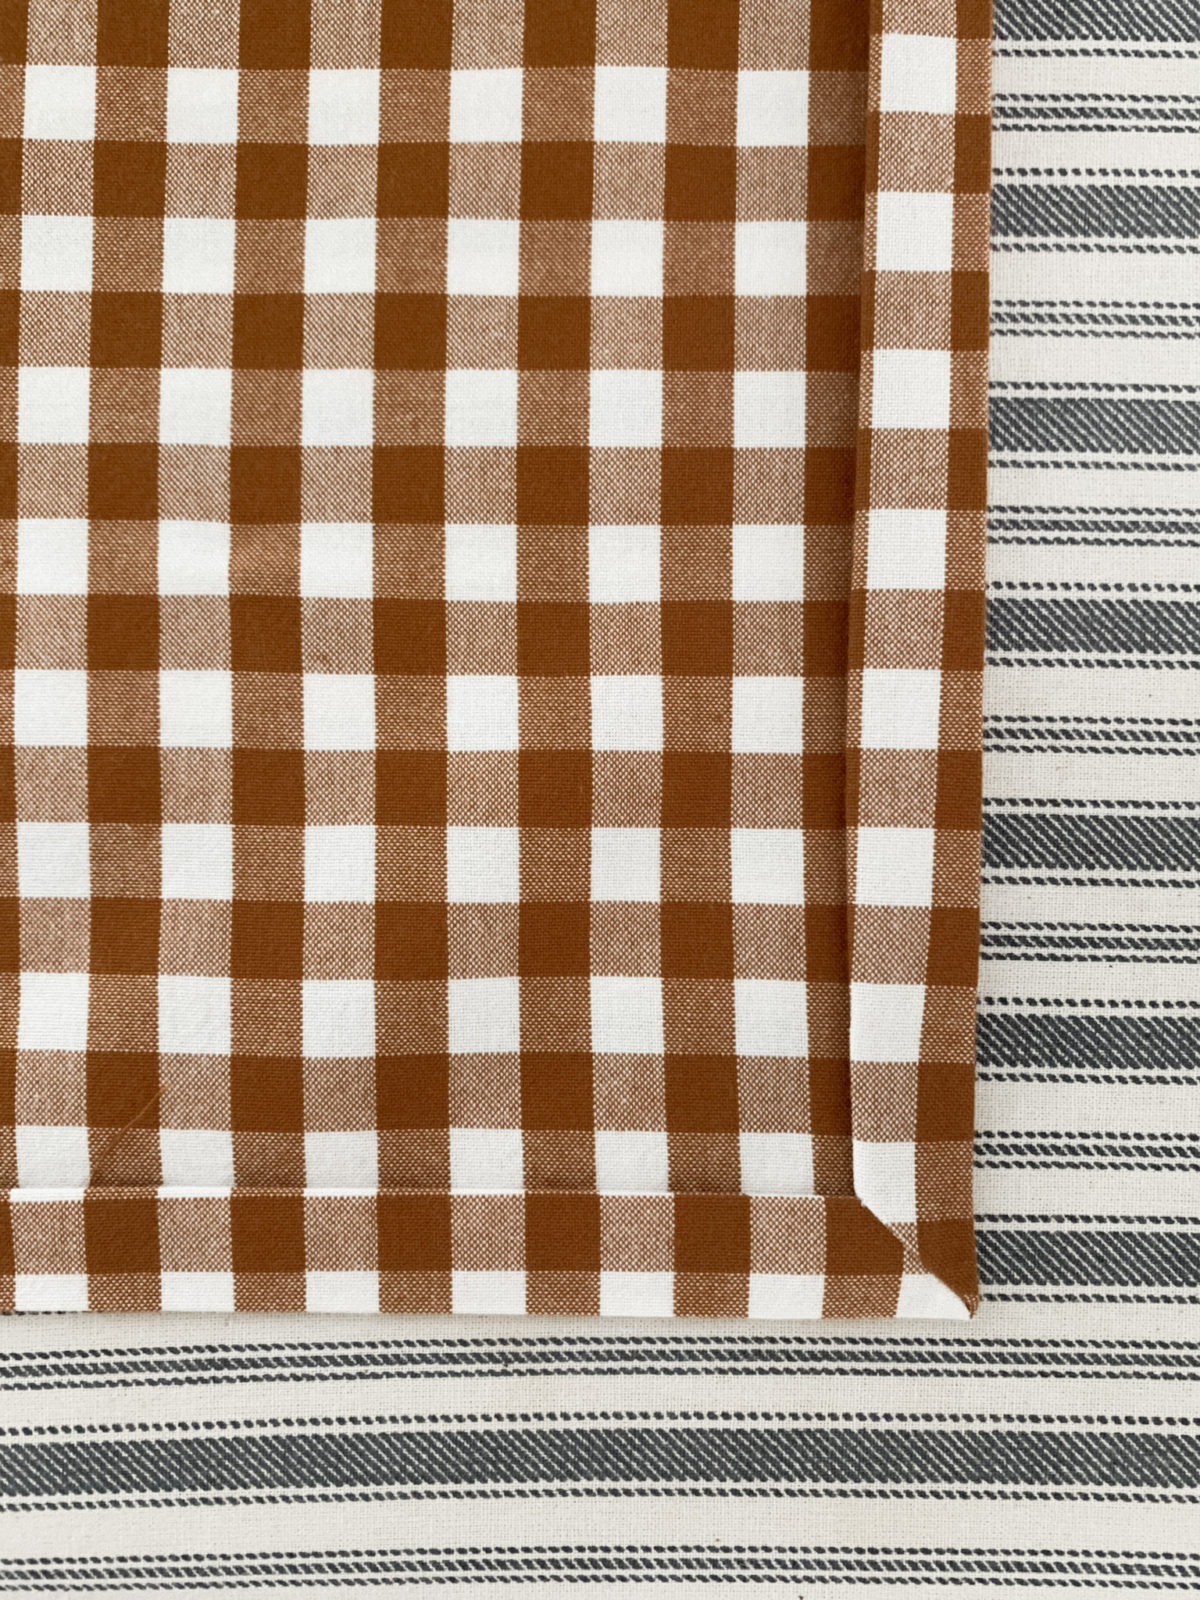
Tuck the hem into itself once more to hide the ends of the fabric. This creates a pretty hem and corner too!
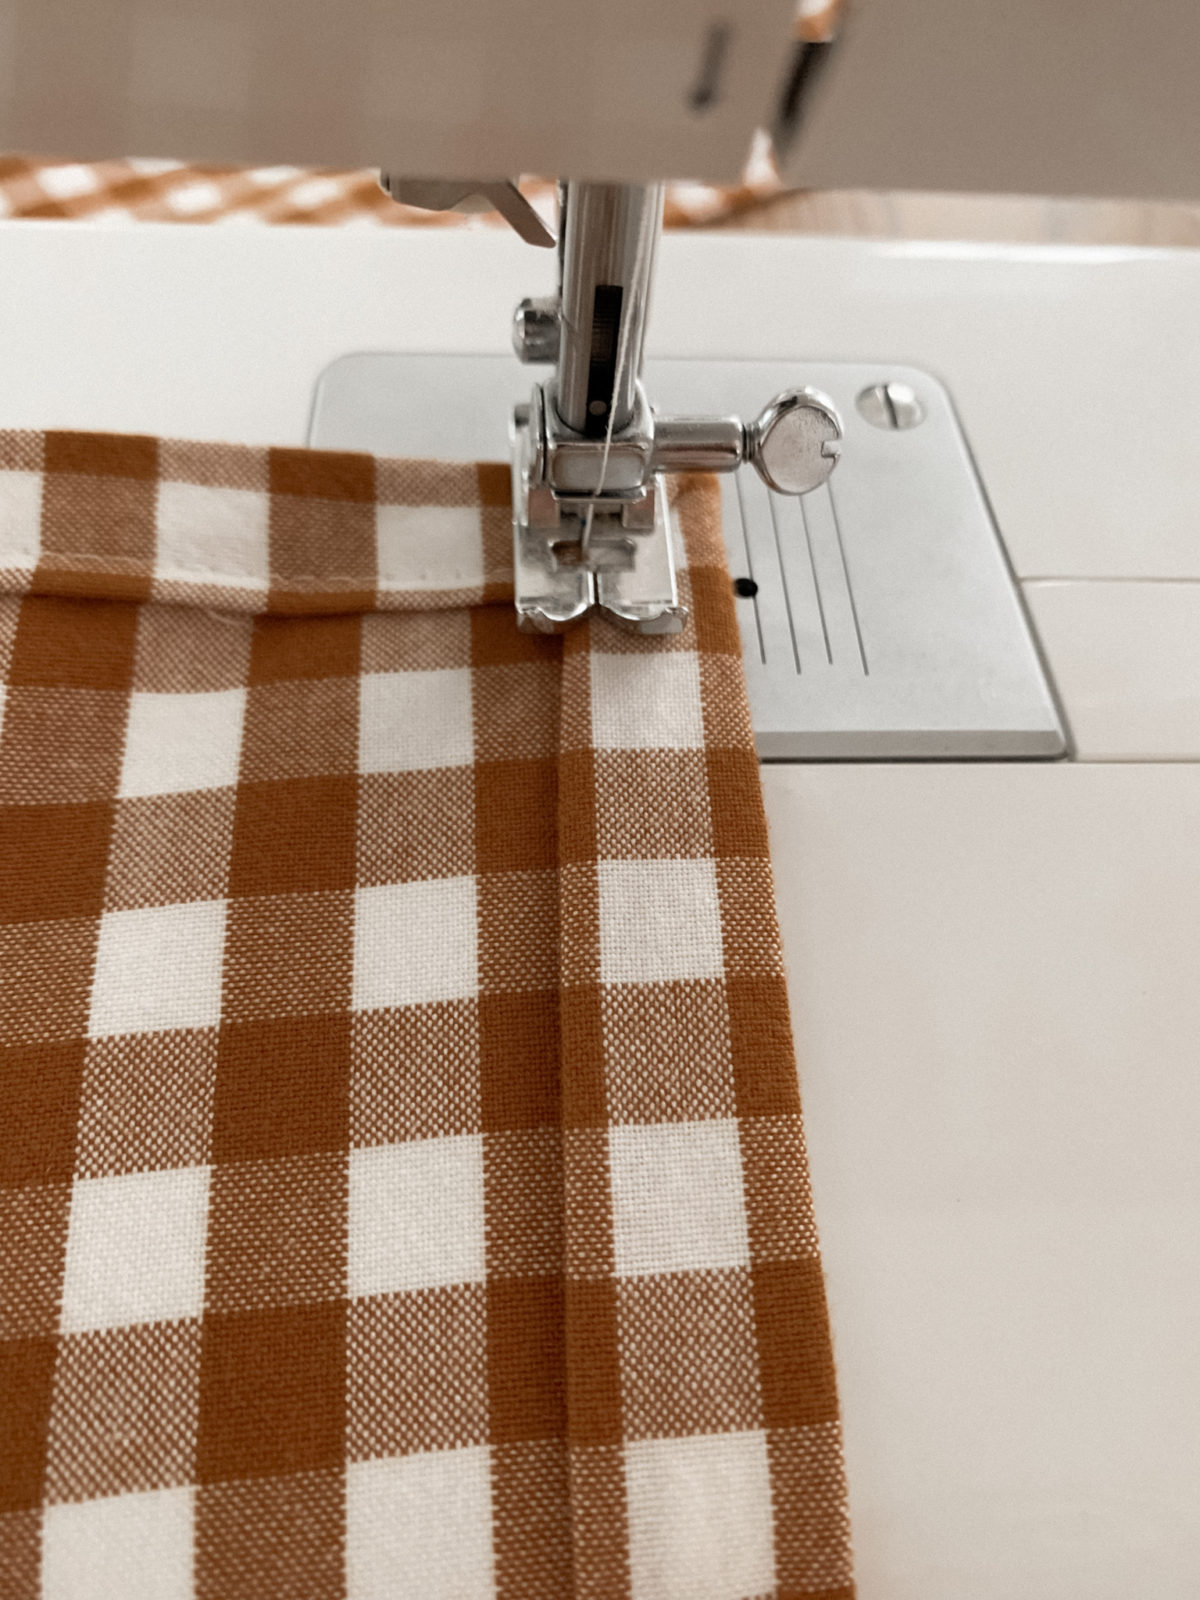
The last step is to see the hem all around in a square. When you get to a corner, put your machine’s needle down and pivot the fabric on the needle to turn it in the new direction. Press everything with an iron when done!


Comments