Soaked granola has been a staple food in our house for years now. It’s easy to make, healthy, and is a go-to breakfast on busy school mornings. I’m excited to share this version with you and hope you and your family enjoy it!

Of course I am not the first person to come up with a version of soaked granola but I have tried many other recipes over the years and tweaked them to work for me. You may have made granola before and wonder why we “soak” the oats. Well, the soaking process is important for many reasons but mostly, it helps break down the phytic acid that is present in the grain and allows your body to absorb it easier. There are lots of other benefits too and I encourage you to do your own research to find out more about this process if it interests you. Here are a couple sites that give a little more information on soaked oats and other grains:
5 Reasons Raw, Soaked Oats are a Must-Try!
Soaking Whole Grains: Why Do It?
I use a traditional soaking method for my oats and I love the smooth flavor and crunchy texture the almonds add. My family and I like things simple so this recipe is as simple as they come. Here we go!
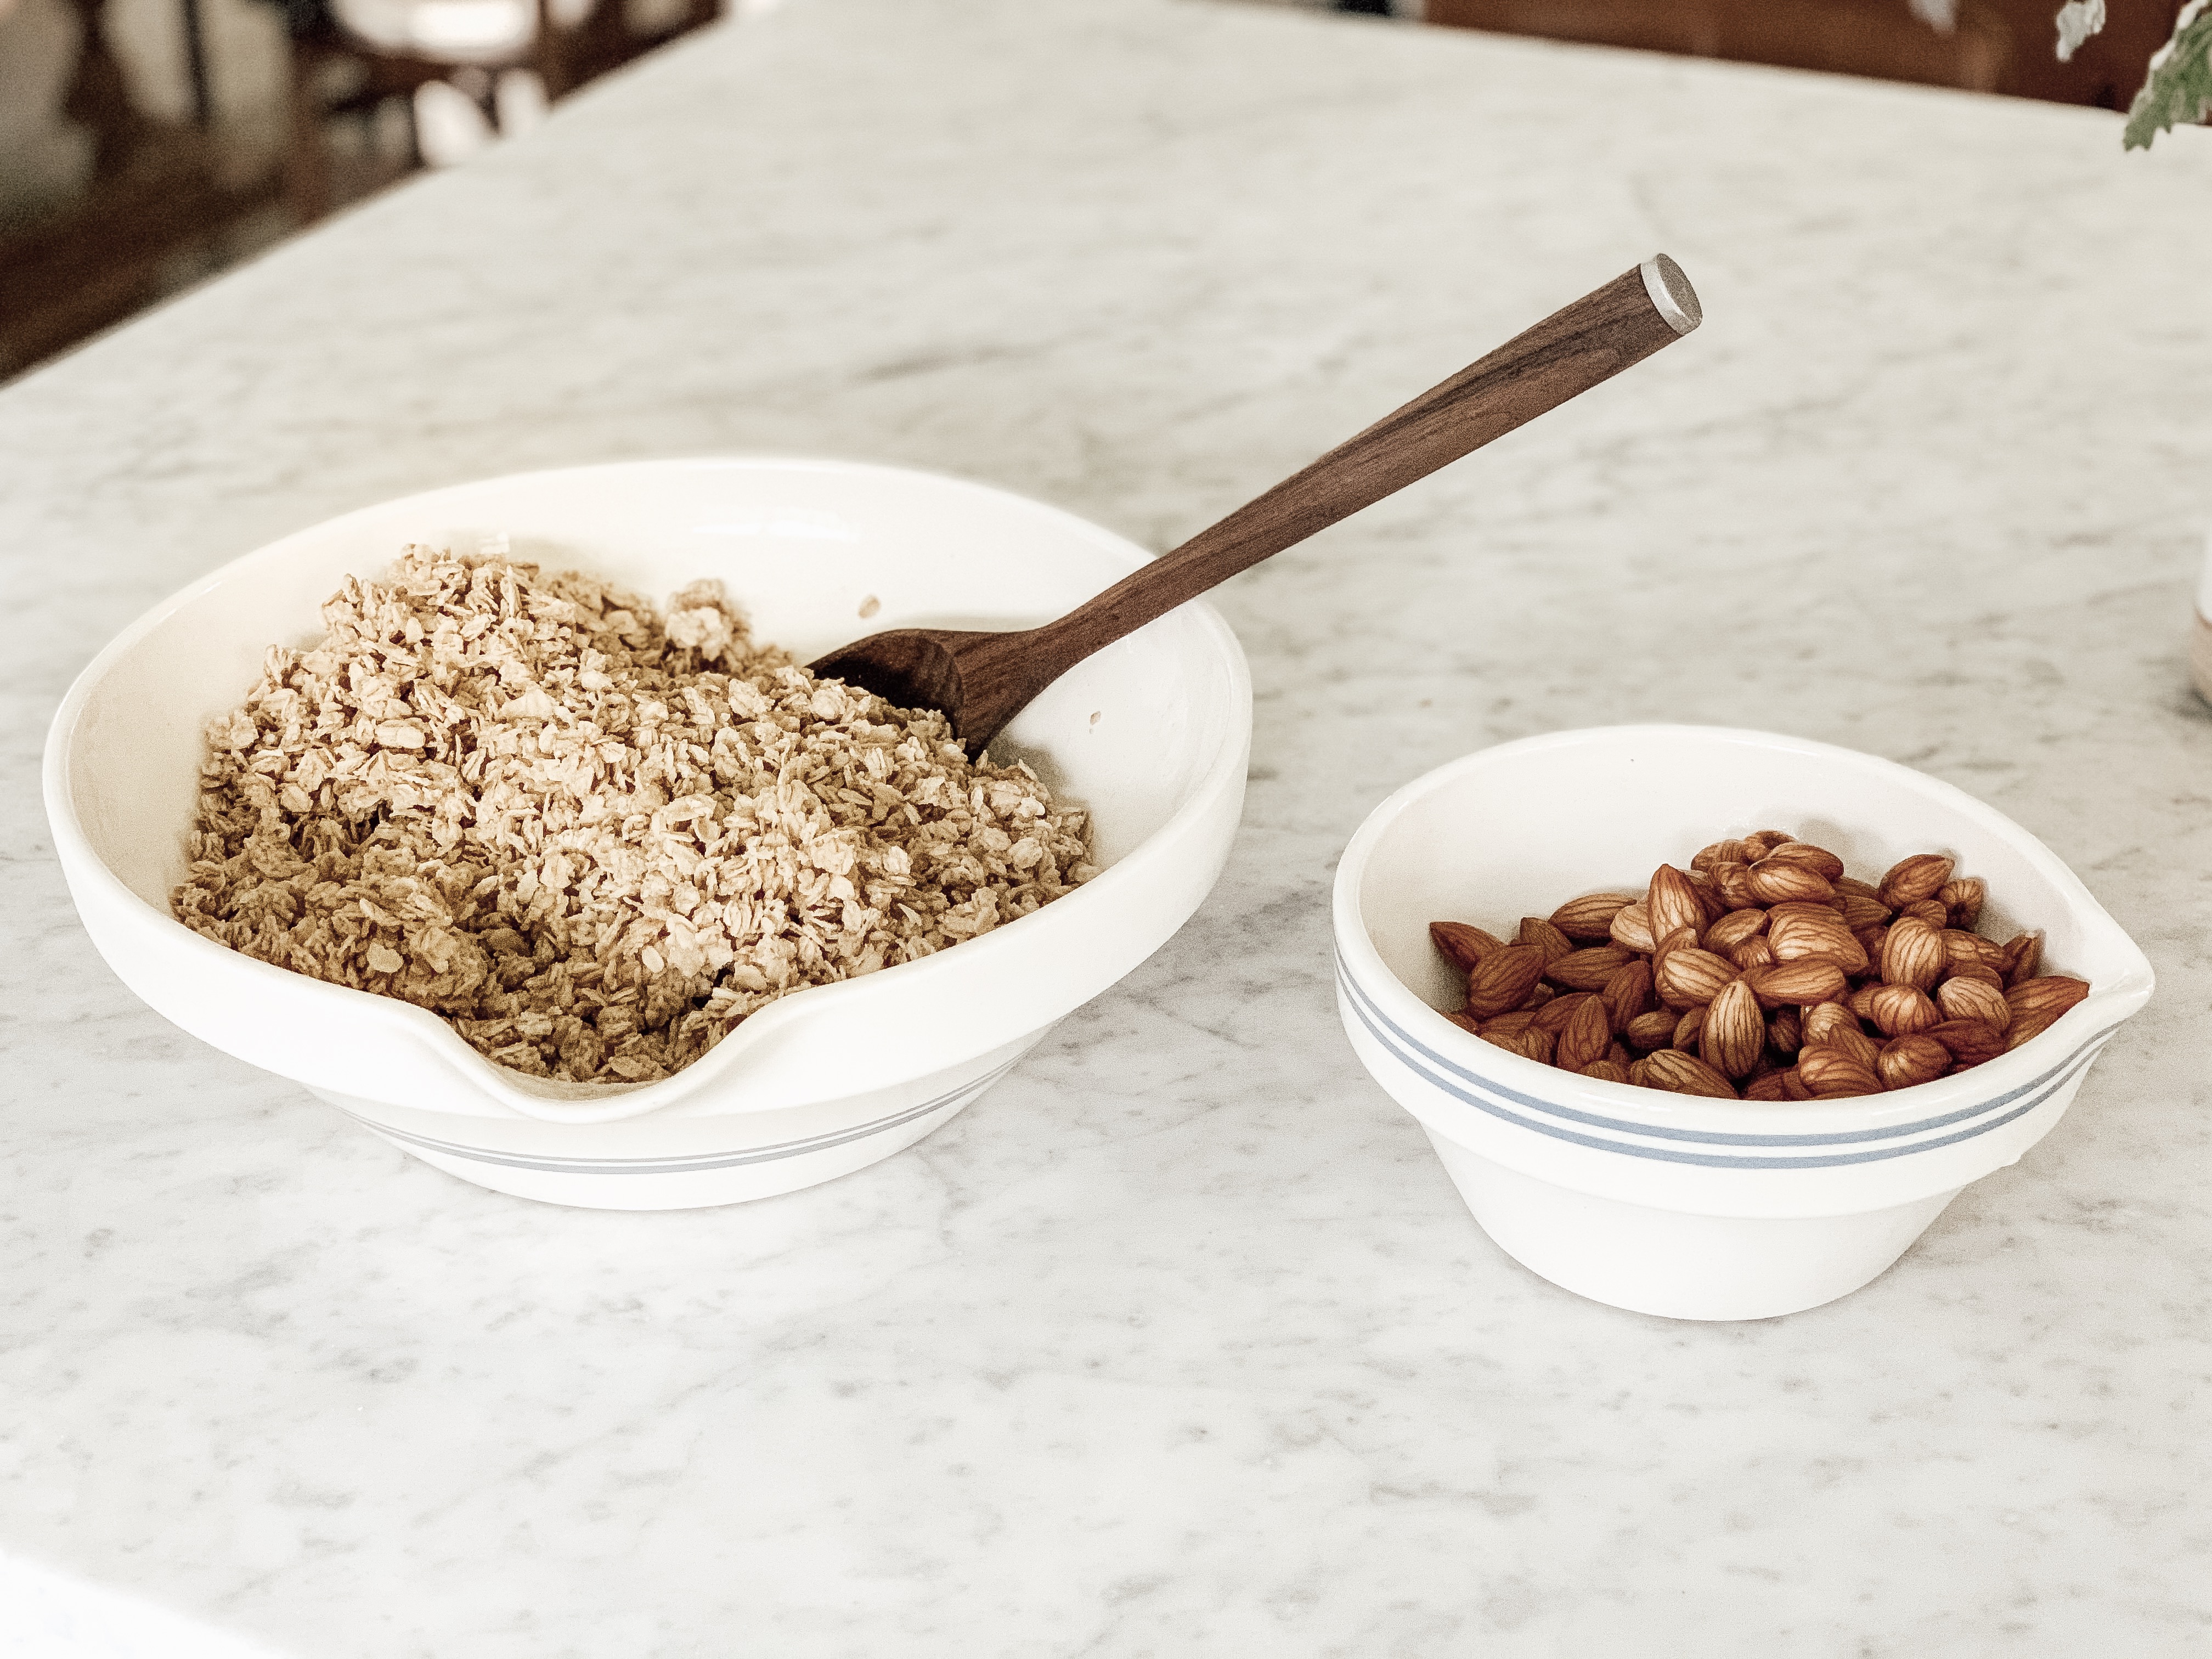
First, I measure out my oats and mix in the almond flour. (I wrote in coconut flour as a substitute for the almond flour if you have a nut allergy but still want to make a gluten free granola.) You can always substitute it for wheat flour if you prefer but the almond flour is my personal favorite.
Next, I mix all of the wet ingredients together for soaking which include water, coconut oil, and plain yogurt. I usually have to heat the coconut oil a little just to bring it to a liquid form and whisk it all together. Once that’s done, I simply pour the mixture over the oats and cover. Then, the oats soak on the counter for about 18-24 hours. Along with the oats, I also soak the raw almonds in a separate bowl. These simply go into a small bowl and get covered with warm water. That’s it for the soaking!
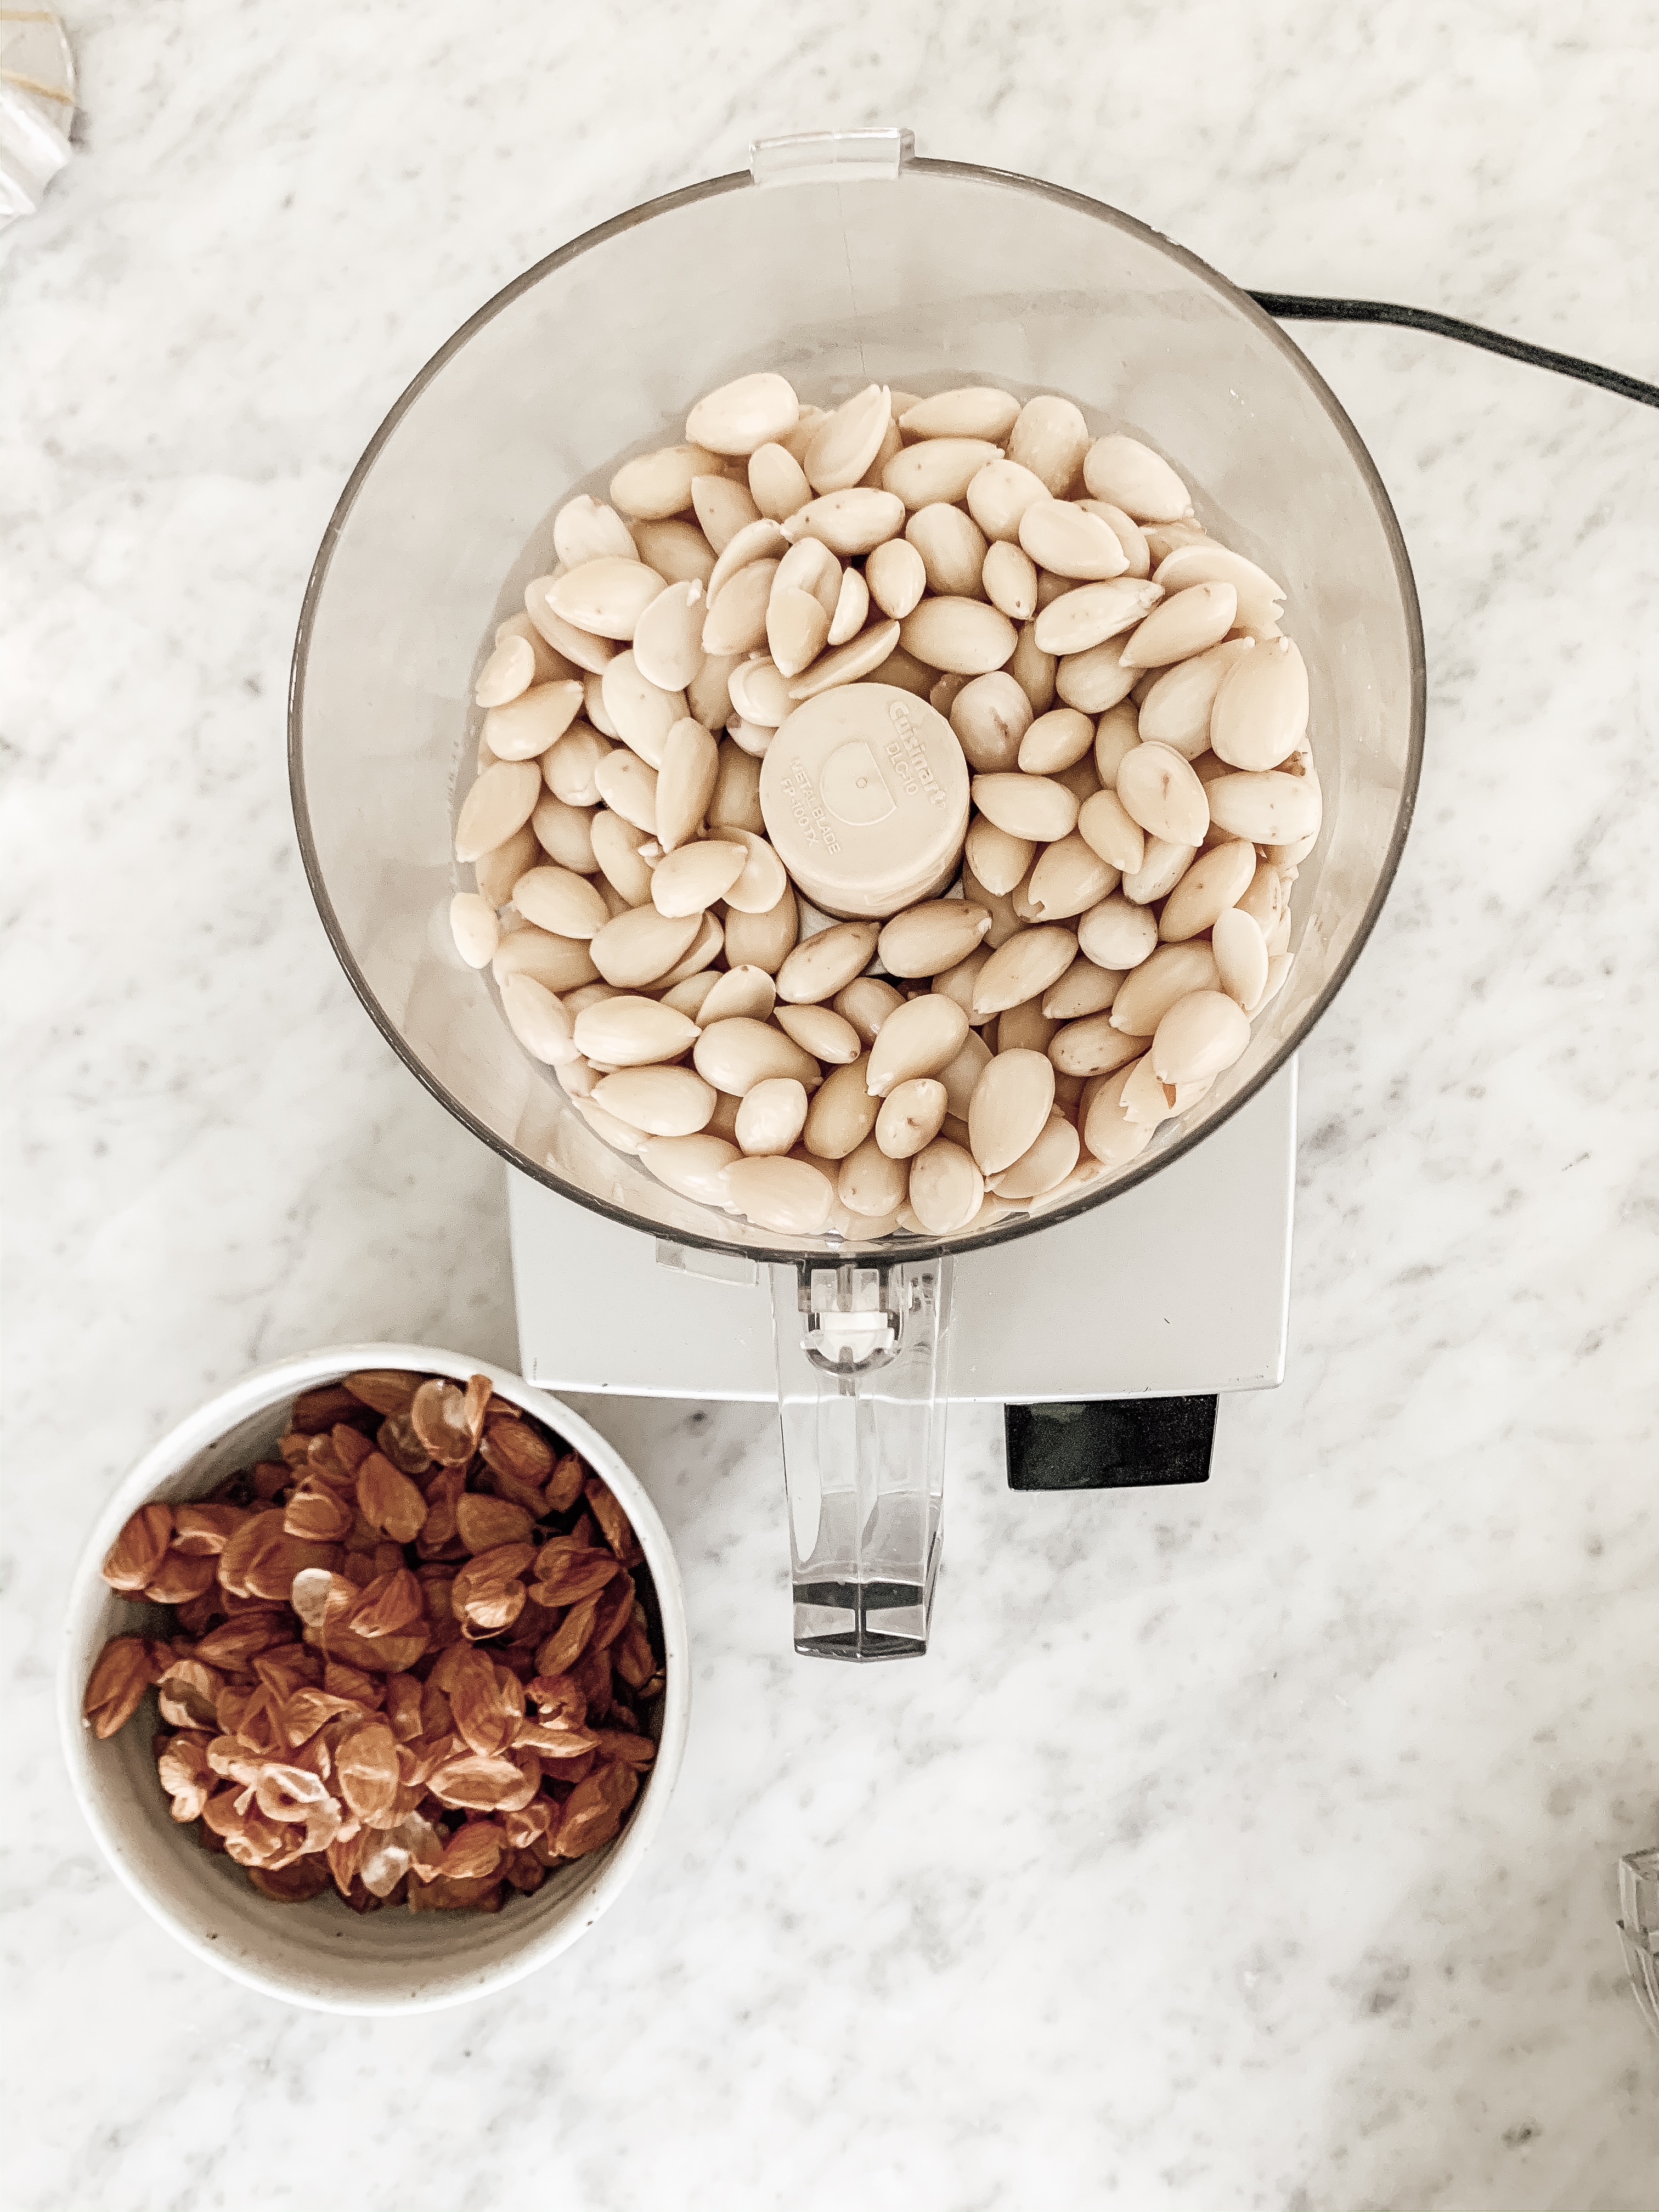
After the soaking is compete, I start with the almonds. I usually strain the almonds and rinse them in a colander. Next, I skin the almonds which can be really challenging but I’ve found that if I blanch them for only one minute, the skins just slip off. Bring a small pot of water to a boil, add the almonds and boil for literally one minute! Drain them again and rinse with cool water so they don’t start cooking and so they’re cool enough to touch. Then start slipping those skins off. This is probably the most time-consuming part of the whole precess but to me, it’s kind of therapeutic. Plus, we make it a family affair so it’s fun to get the kids involved. After they are all skinned, I pulse the almonds in a food processor a couple of times, then add them to my oats mixture.

The last step is to mix the ingredients for baking which is basically all of the flavoring in the granola. As far as sweeteners go, many recipes use honey which I used for a long time. My dilemma with this was that it didn’t mix well so I had to warm it and whisk it with water so it would thin enough to incorporate into the mixture. Adding this little bit of water really moistened the oats which then added more time to baking and drying. I decided to go with a dry sweetener and since I love the taste and health benefits of coconut sugar, I use a mixture of that and an organic raw cane sugar. Just making this switch to a dry alternative has cut down the bake time by an hour or more! That is huge to me since I’m a busy working mom and have spent many nights staying up late waiting for my granola to dry.
Once the sweeteners are mixed together, I add them to the oat mixture and am sure to incorporate everything well. This takes a few minutes.
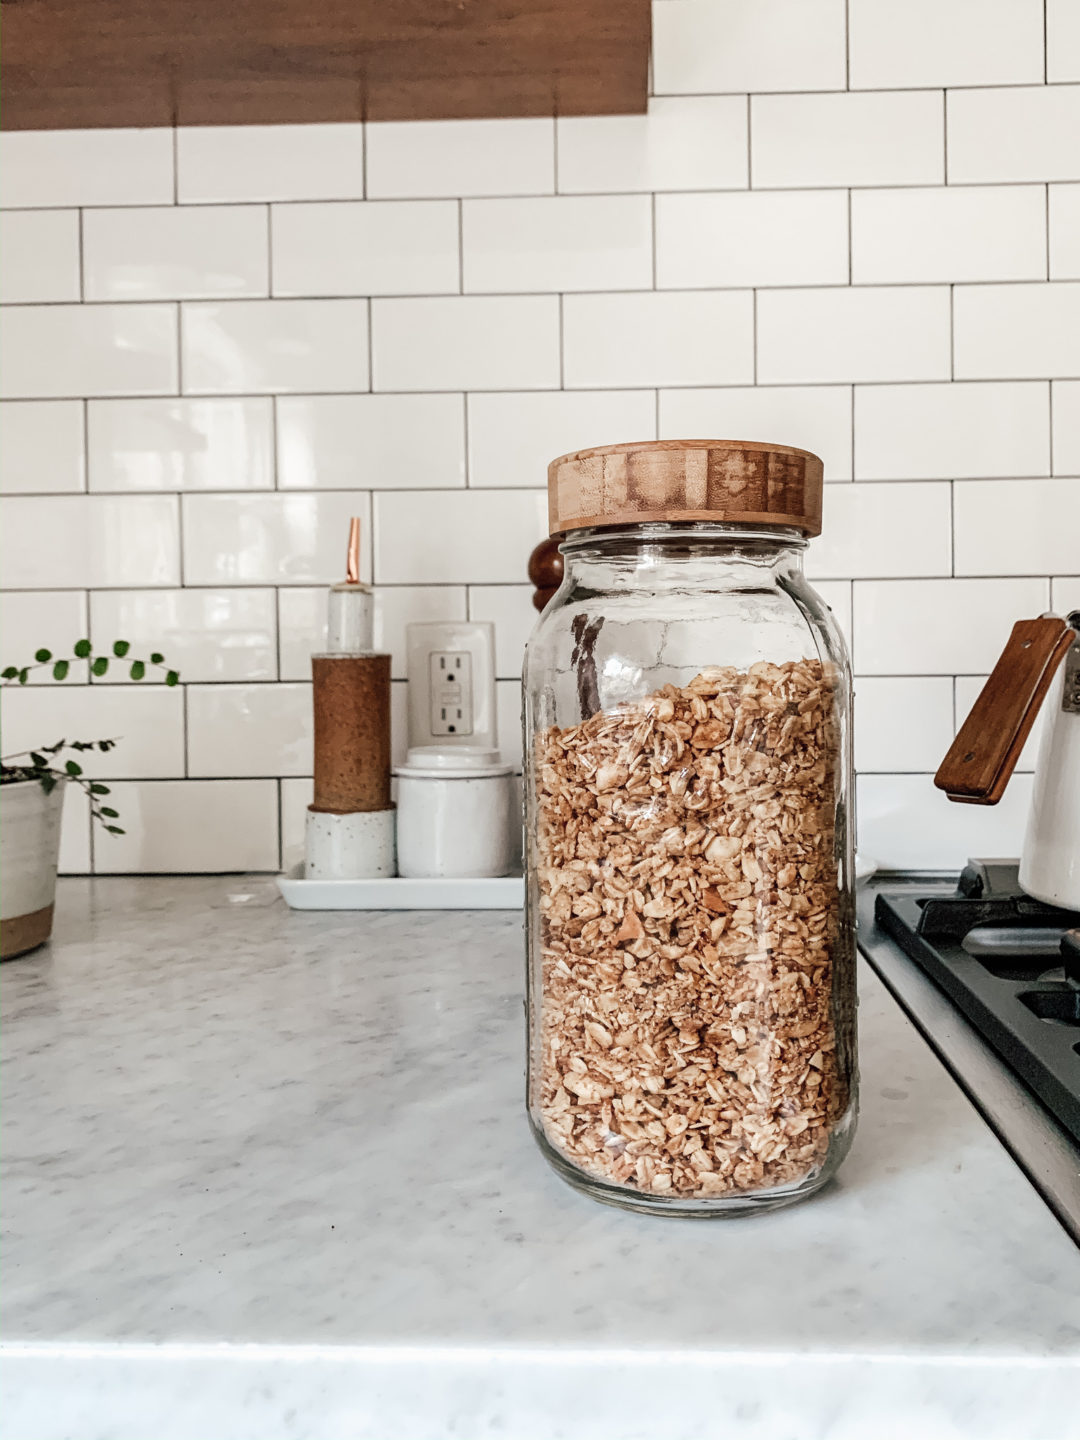
To bake, I pre-heat the oven and oil the baking sheets with a coconut oil spray. I like to get it all done at once so I spread out the oats onto four pans with the oven racks on the top and bottom thirds positions. When baking I check it about every 20 minutes and with a spatula, stir it around so it browns evenly. It usually takes about one hour to bake. Then, I let it cool in the oven for a couple of hours and that’s it! It stores well for a couple weeks in an airtight container like my favorite mason jar with a bamboo lid from The Mason Bar Company.
Soaked Granola
Ingredients
For the Soaking:
6 Cups Organic Gluten Free Old Fashioned Oats
1 Cups Almond Flour (or 1/3 cup Coconut Flour)
6 Tbsp Plain Yogurt
1/4 Cup Warm Water
1 Cup Coconut Oil (in liquid form)
2 Cups Raw Almonds
For the Baking:
2/3 Cup Coconut Sugar
1/3 Cup Raw Organic Cane Sugar
1 Tbsp Vanilla Extract
2 tsp Salt
1/2 tsp Cinnamon
Directions
Mix oats and almond flour in a large, ceramic mixing bowl and set it aside. In a medium bowl, whisk coconut oil, water, and yogurt together and pour it over the oat mixture. Cover with a plate or towel and set aside. Measure out almonds in a medium sized bowl and cover with warm water; about 1-2 inches above the almonds since they will expand. Cover the same way as the oats and set aside. Let the oats and almonds soak for 18-24 hours.
After soaking pre-heat oven to 225 degrees. Then, begin to prep the almonds by blanching them. Bring a small pot of water to a boil and add the almonds for one minute. Remove the almonds by pouring into a colander and rinsing them until they are cool to the touch. Once cooled, skin the almonds by squeezing the outer skin off and setting aside the meat of the almond. Put almond meats into a food processor and pulse a couple of times until it reaches your desired consistency. Stir the almonds into the oats.
To sweeten the granola, Mix together the sugars, vanilla, salt and cinnamon. Stir this mixture well with the oats to combine for a couple of minutes. Once all ingredients are combined, prepare 4 baking sheets by greasing them with a spray oil such as coconut oil. Distribute oats evenly between the baking sheets and be sure that the oven racks are set at the top and bottom thirds of the oven. Set two baking sheets on the top rack side-by-side and two on the bottom. Check the granola about every 20 minutes and stir and rotate the baking sheets from top to bottom. Bake until it reaches your desired color (a light-medium brown) about 1 hour. Turn off oven and let the granola cool in the oven for a couple of hours. Then scoop it up and store in your favorite mason jar with a sealed lid.
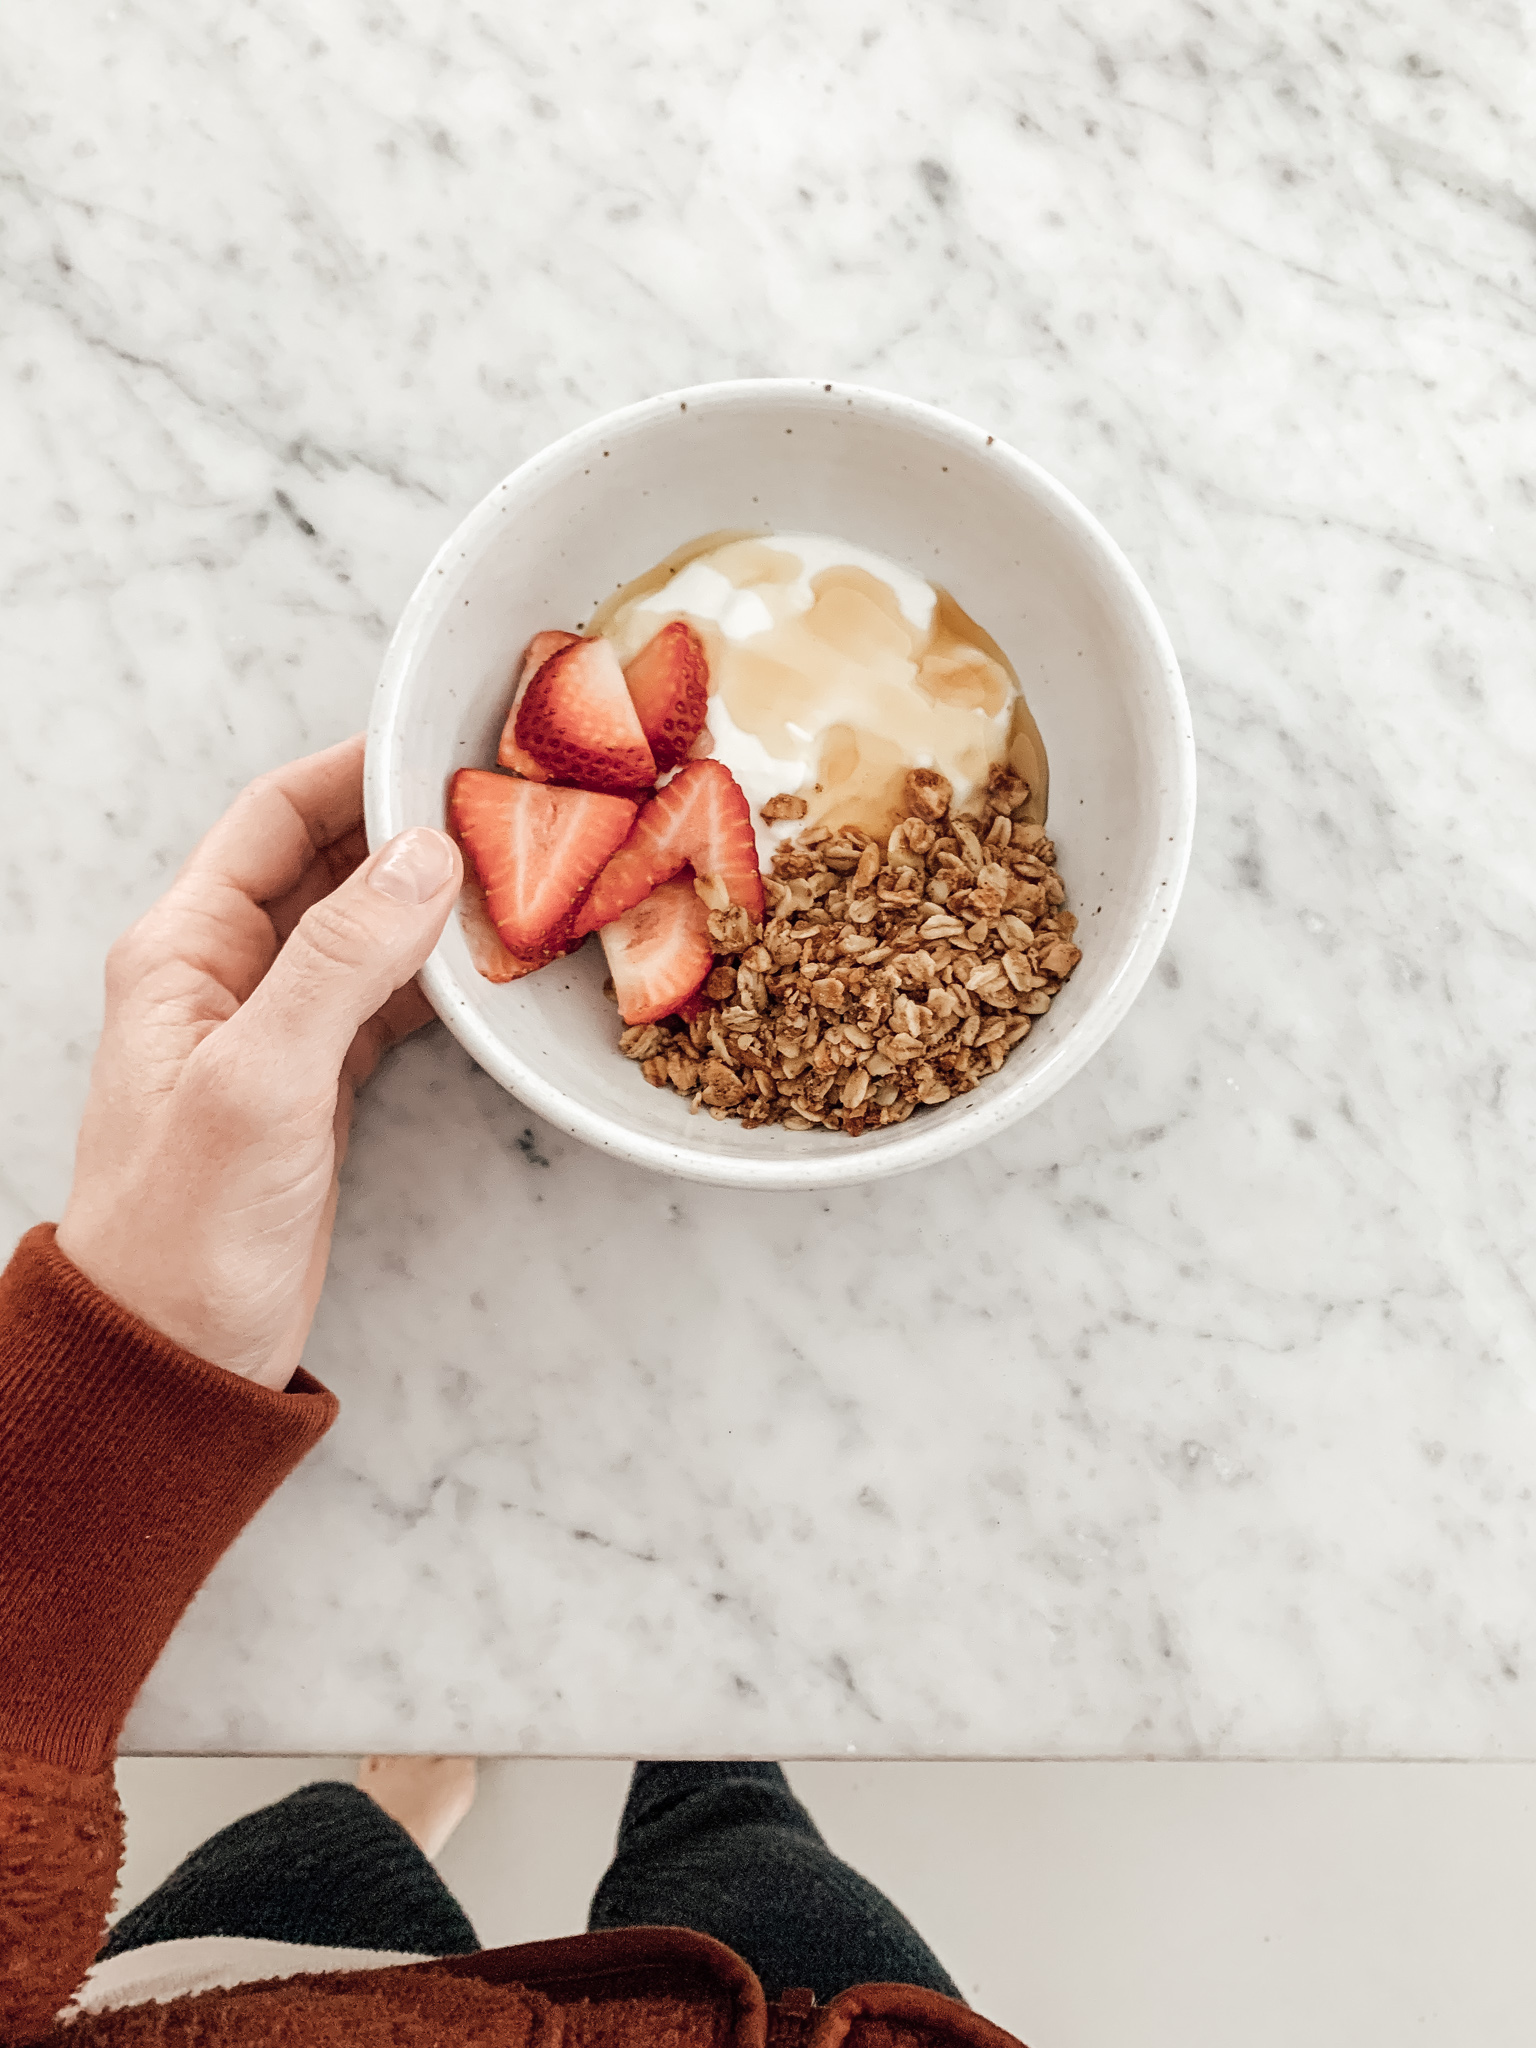
Enjoy your granola mixed with yogurt and fruit, as a cereal with milk, or like my kids, by the handful!
Comments