I’m here to say, years later, that I can successfully make sourdough bread with my eyes closed. My goal of not buying bread from the store has become a reality. I was talking with my daughter, Amelia yesterday and she said she thought it had been over a year since we’ve bought bread! When I sat down to think of it, I smiled.
Sourdough bread making has been a part of my weekly routine for a couple of years now. It had been on my list to try for so long and one summer I just took the plunge and tried it. I got a starter from a friend and read the recipe through lots of times before I began. There was so much science behind it and it all seemed very complicated. I had to read things over and over again to make sure I was doing it right. So much talk about moisture percentage, leaven, carbon dioxide gas, fermentation and more just had my head spinning a bit.
Whether you’re here to learn to make bread as a hobby or like me, want to know more about the food that goes into your family’s bodies, I’m going to try and make this really simple for you. There is some science behind it and you can look up all sorts of ways to do it but this is the method I’ve used and it can be tweaked too! My advice is to try this recipe, then make it your own.
I started with the Tartine recipe for classic country bread which this basically mimics with some tweaks. I just wanted to help explain it for you in layman’s terms and take some of the intimidation away. Let’s start with the basics. First off, sourdough bread is basically bread made without store bought yeast. The natural yeast comes from your starter. The starter is made up of equal parts water and flour. It doesn’t get any simpler than that right? I always suggest getting a starter from someone near by but you can make your own too. The truth is, a more mature starter just makes better bread! It has more complexity and will make for a more flavorful and better textured bread. Ask people on facebook or around your local co op or farmers market. There’s bound to be someone who has one already going. If not, make one! It is seriously the simplest process. It just takes time.
Here are the tools I suggest getting to make things easier on yourself and make you successful. I’ll list them here but you can get links to them all in my amazon storefront. Just click on ‘Sourdough Tools’.
Tools Needed:
Heavy Mixing Bowls
Kitchen Scale
Food Thermometer
Proofing Baskets
Scoring Blade
Dough Scraper
Dutch Oven
Dough Whisk
Once you have all the tools you need you’re ready to go. Here is my recipe for basic sourdough bread! This recipe is to make one loaf but you can just double everything to make 2!
For the Leaven:
100g Warm Water (about 80 degrees Farenheit)
100g White Flour
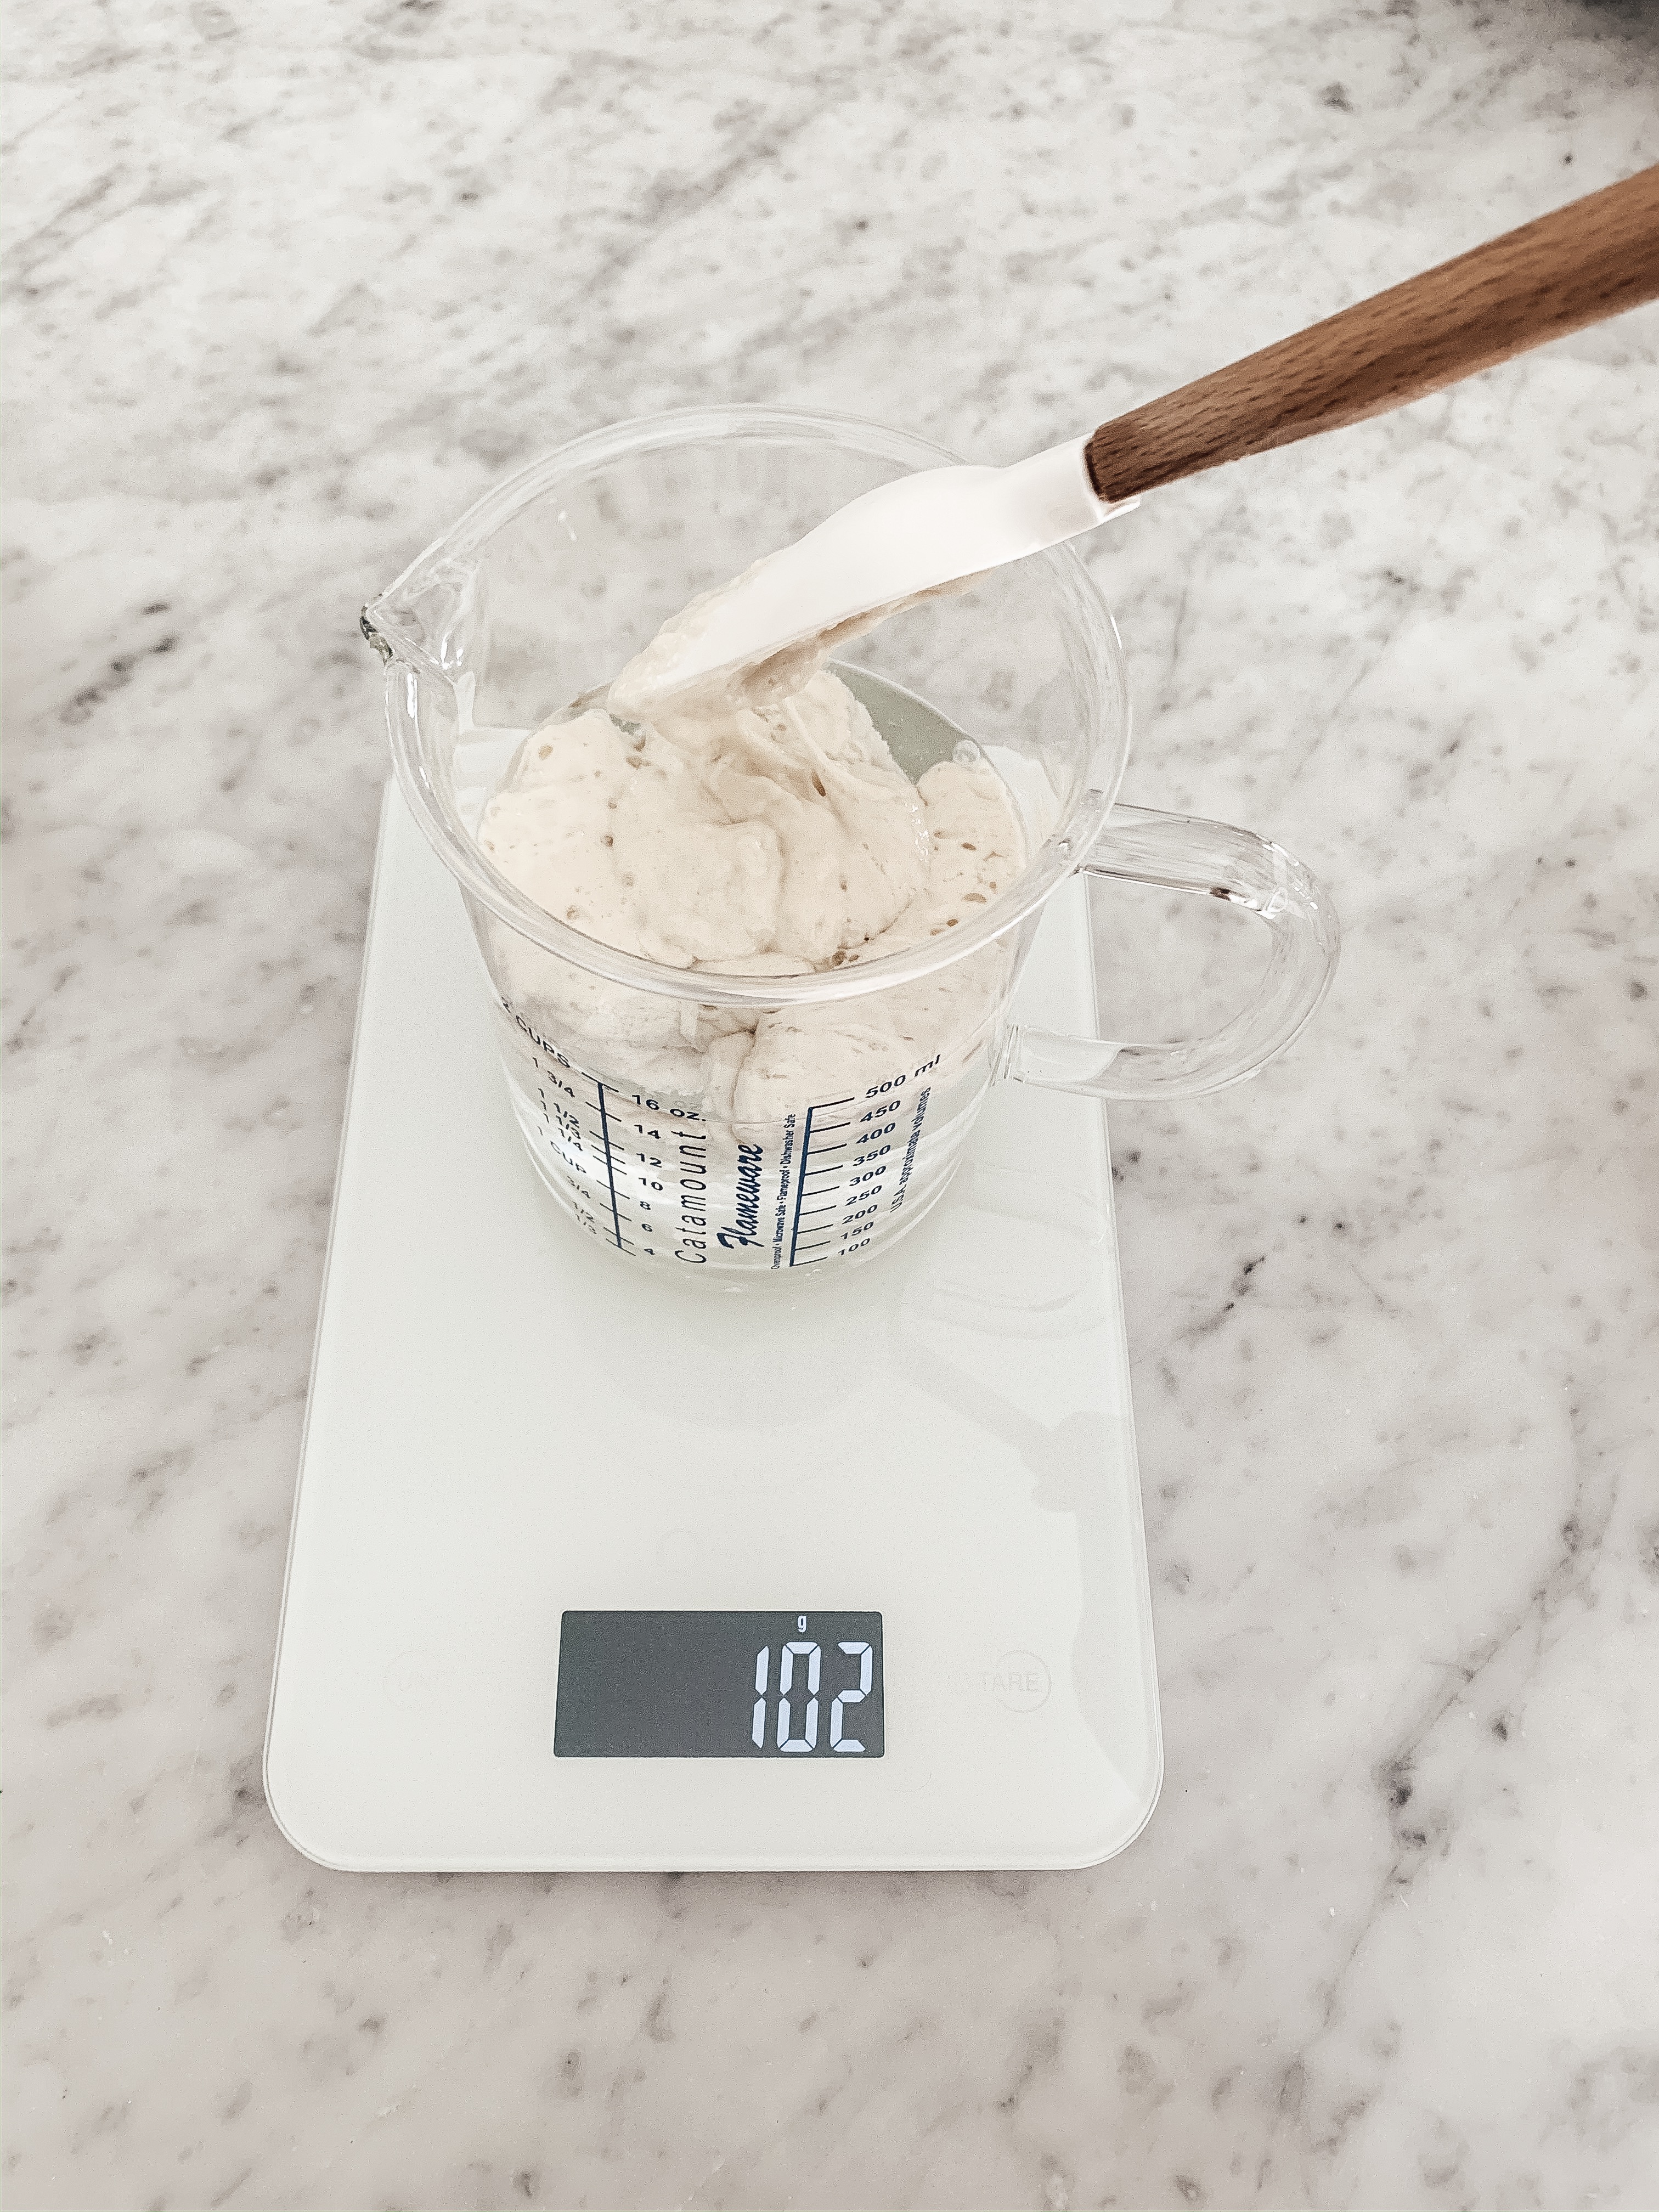
About 1-2 Tablespoons of mature starter
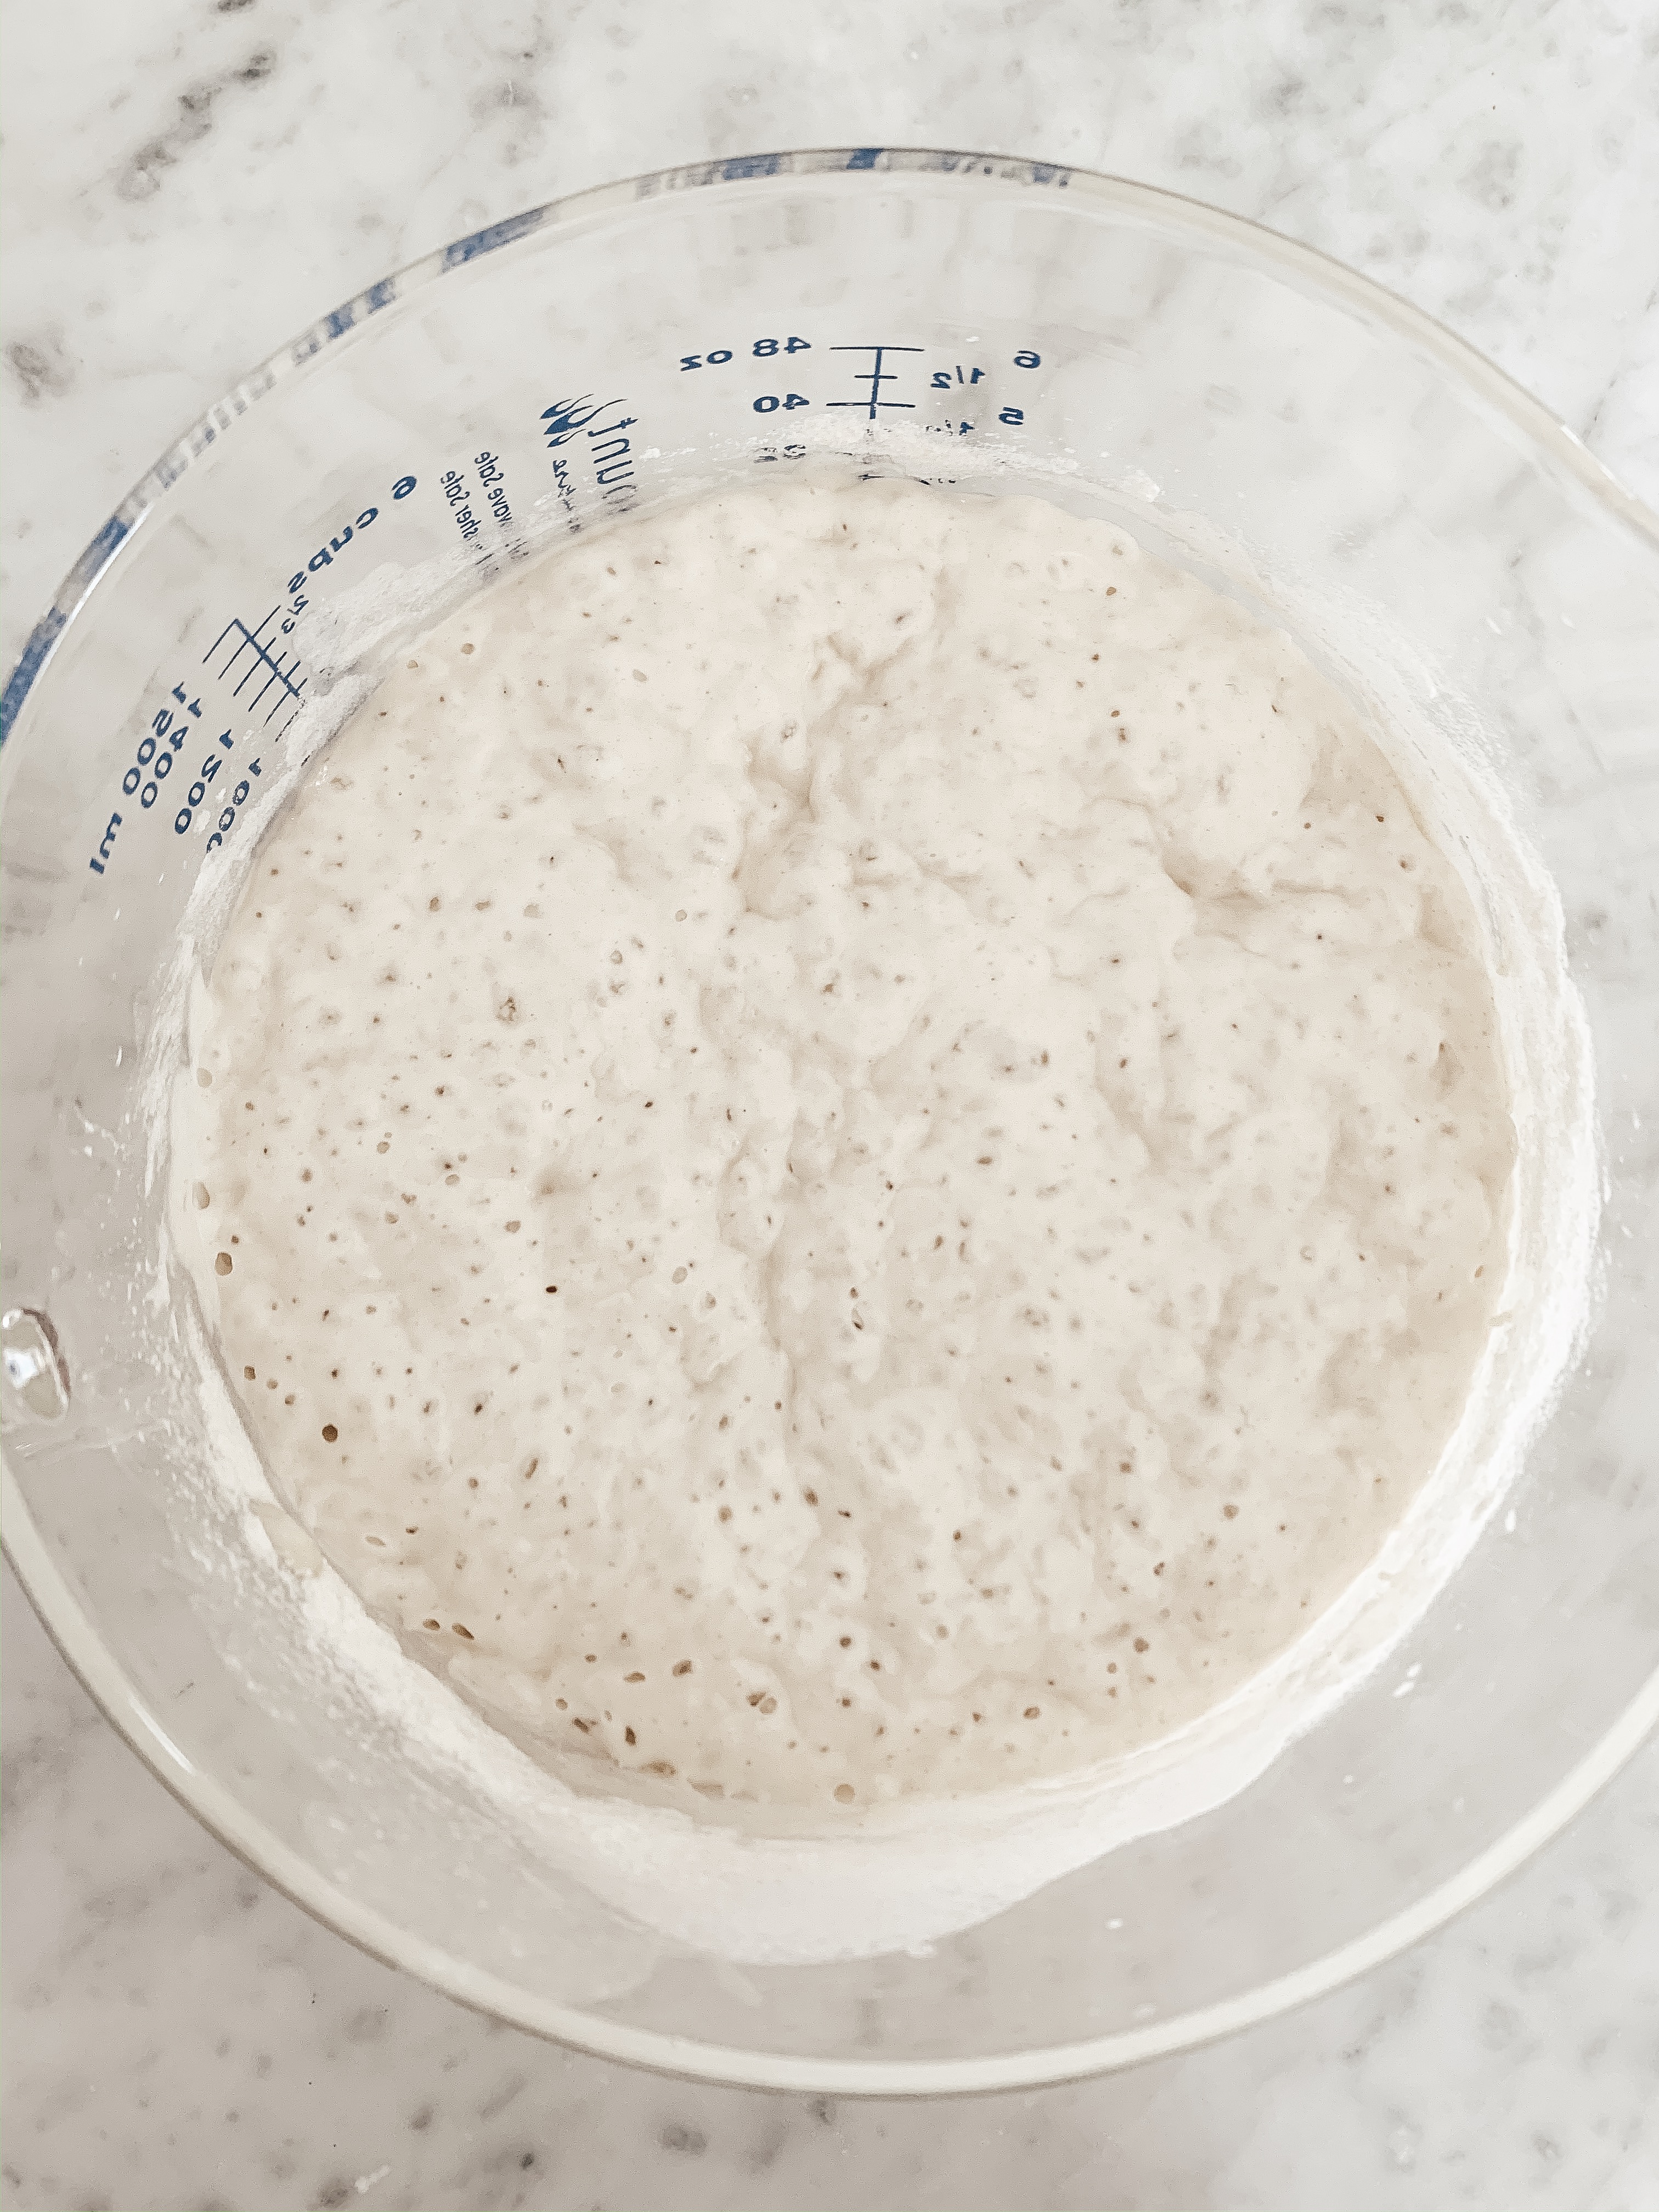
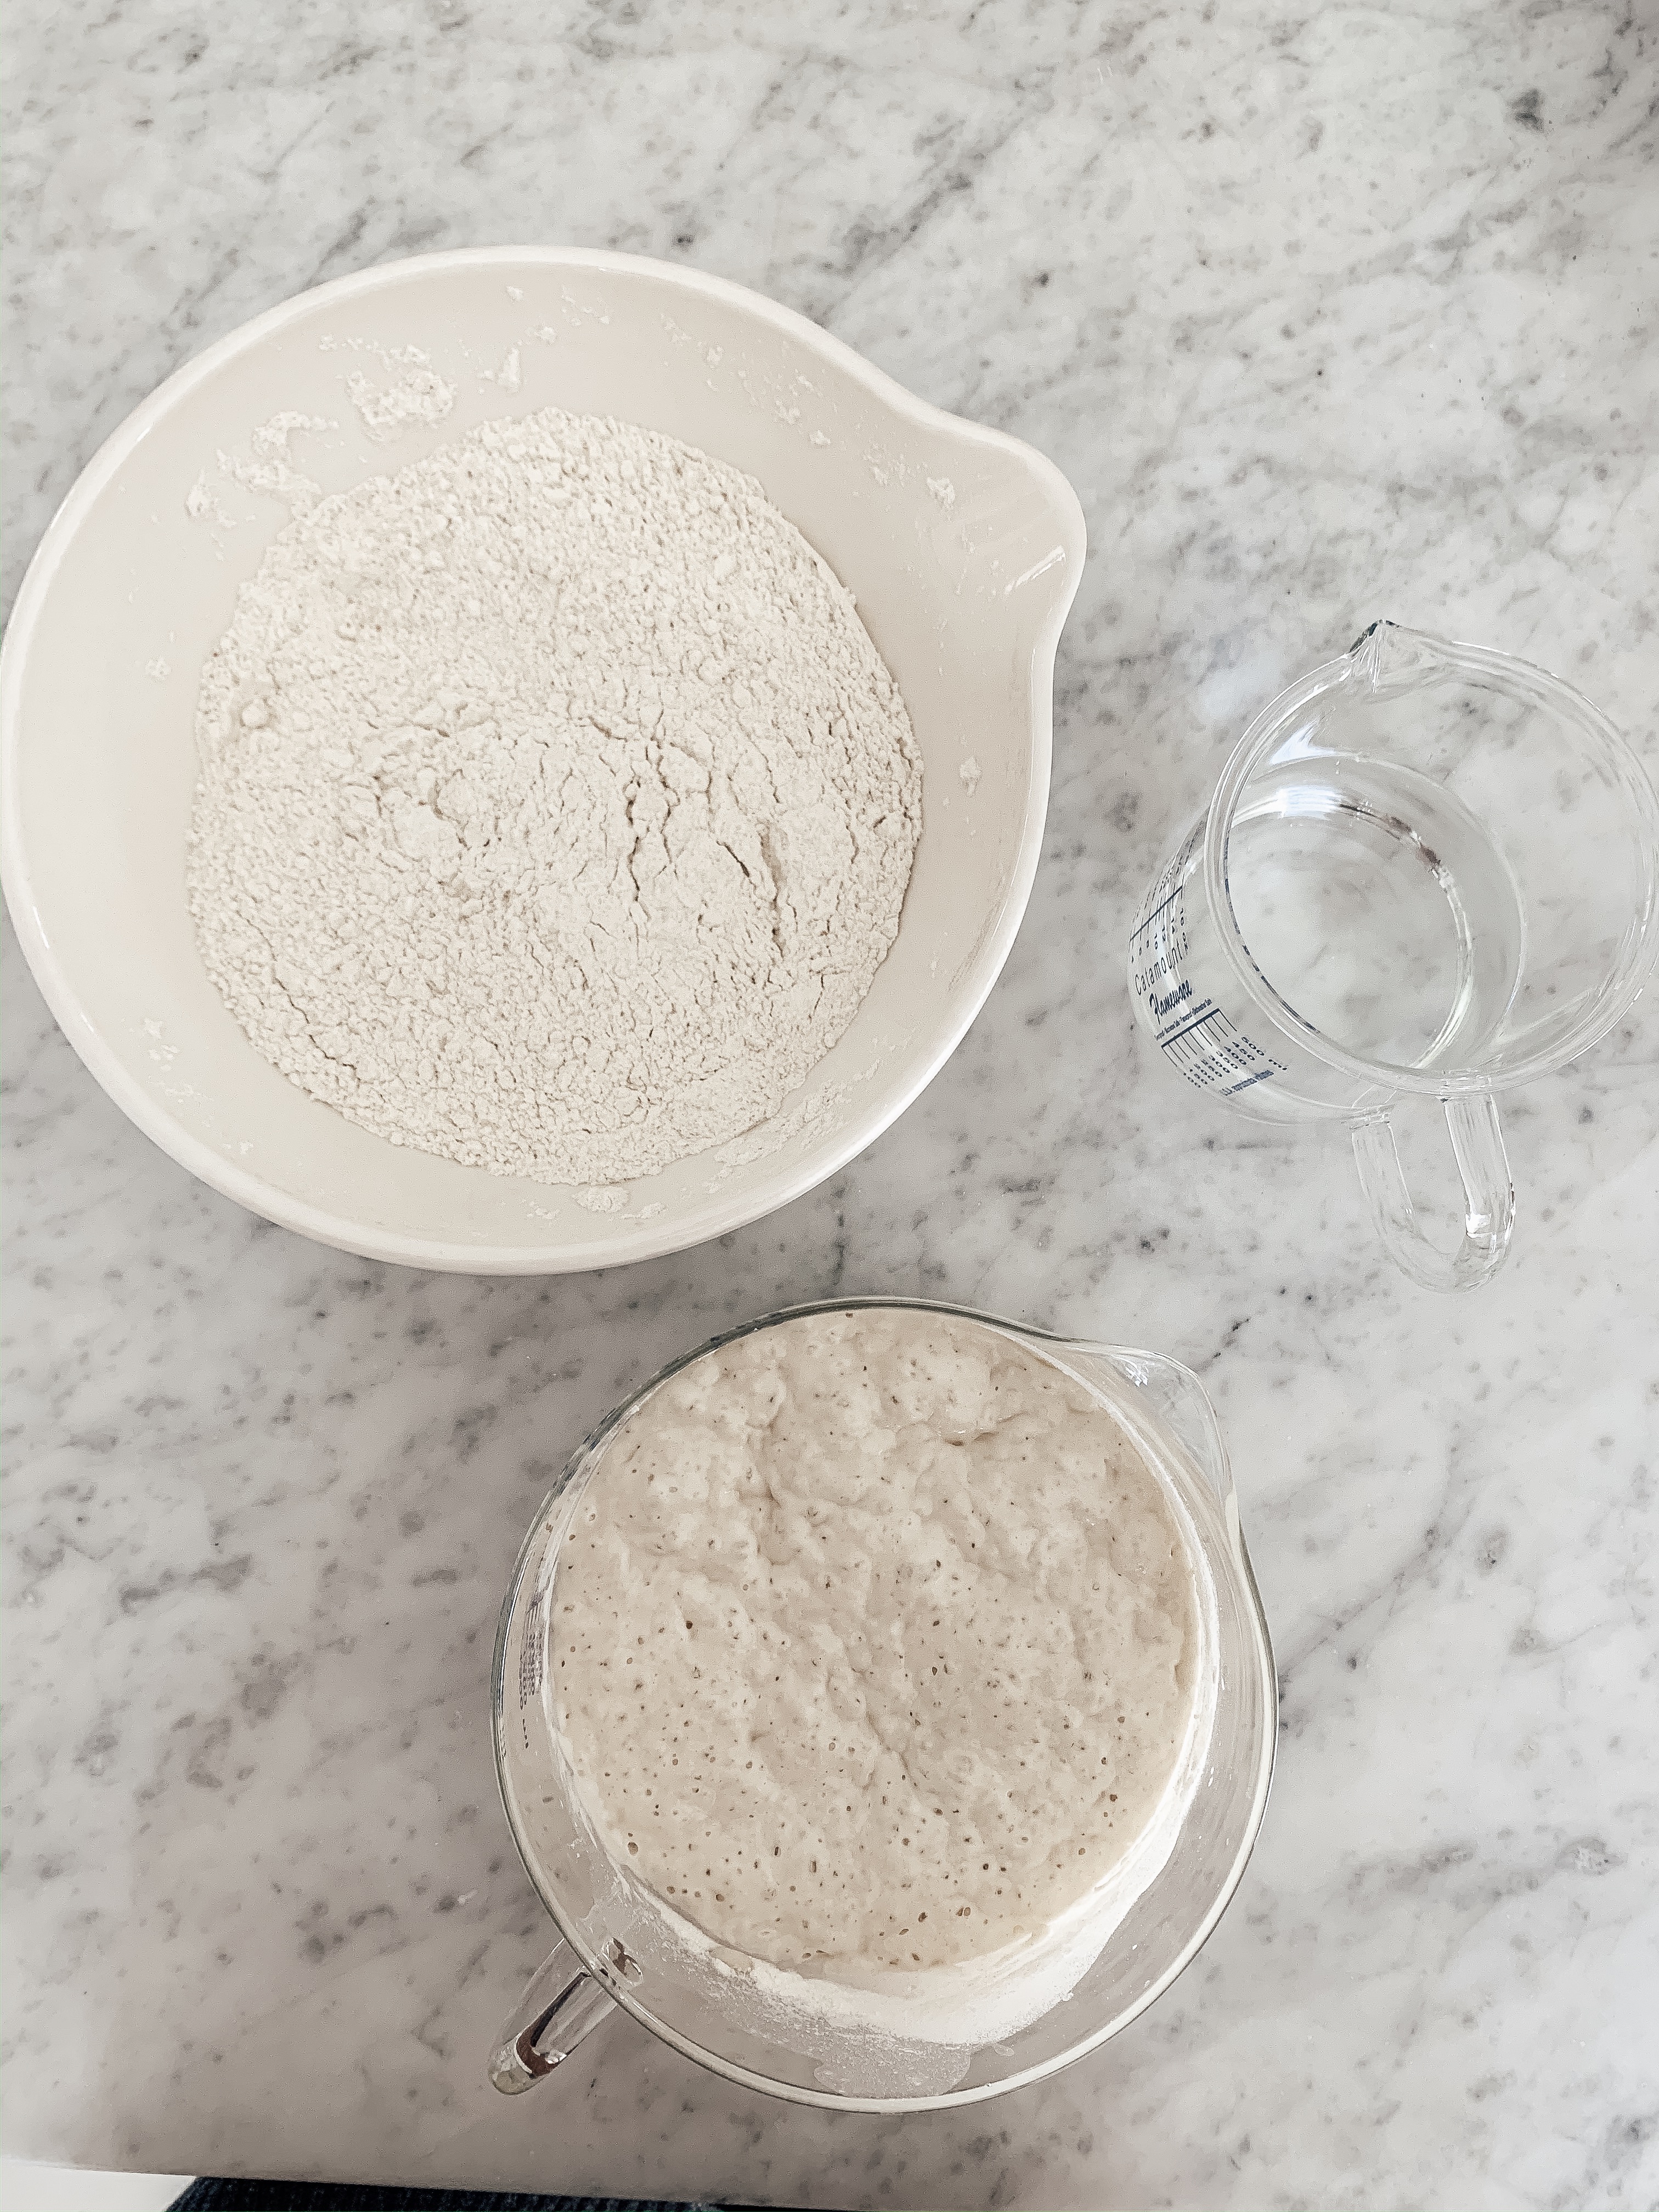
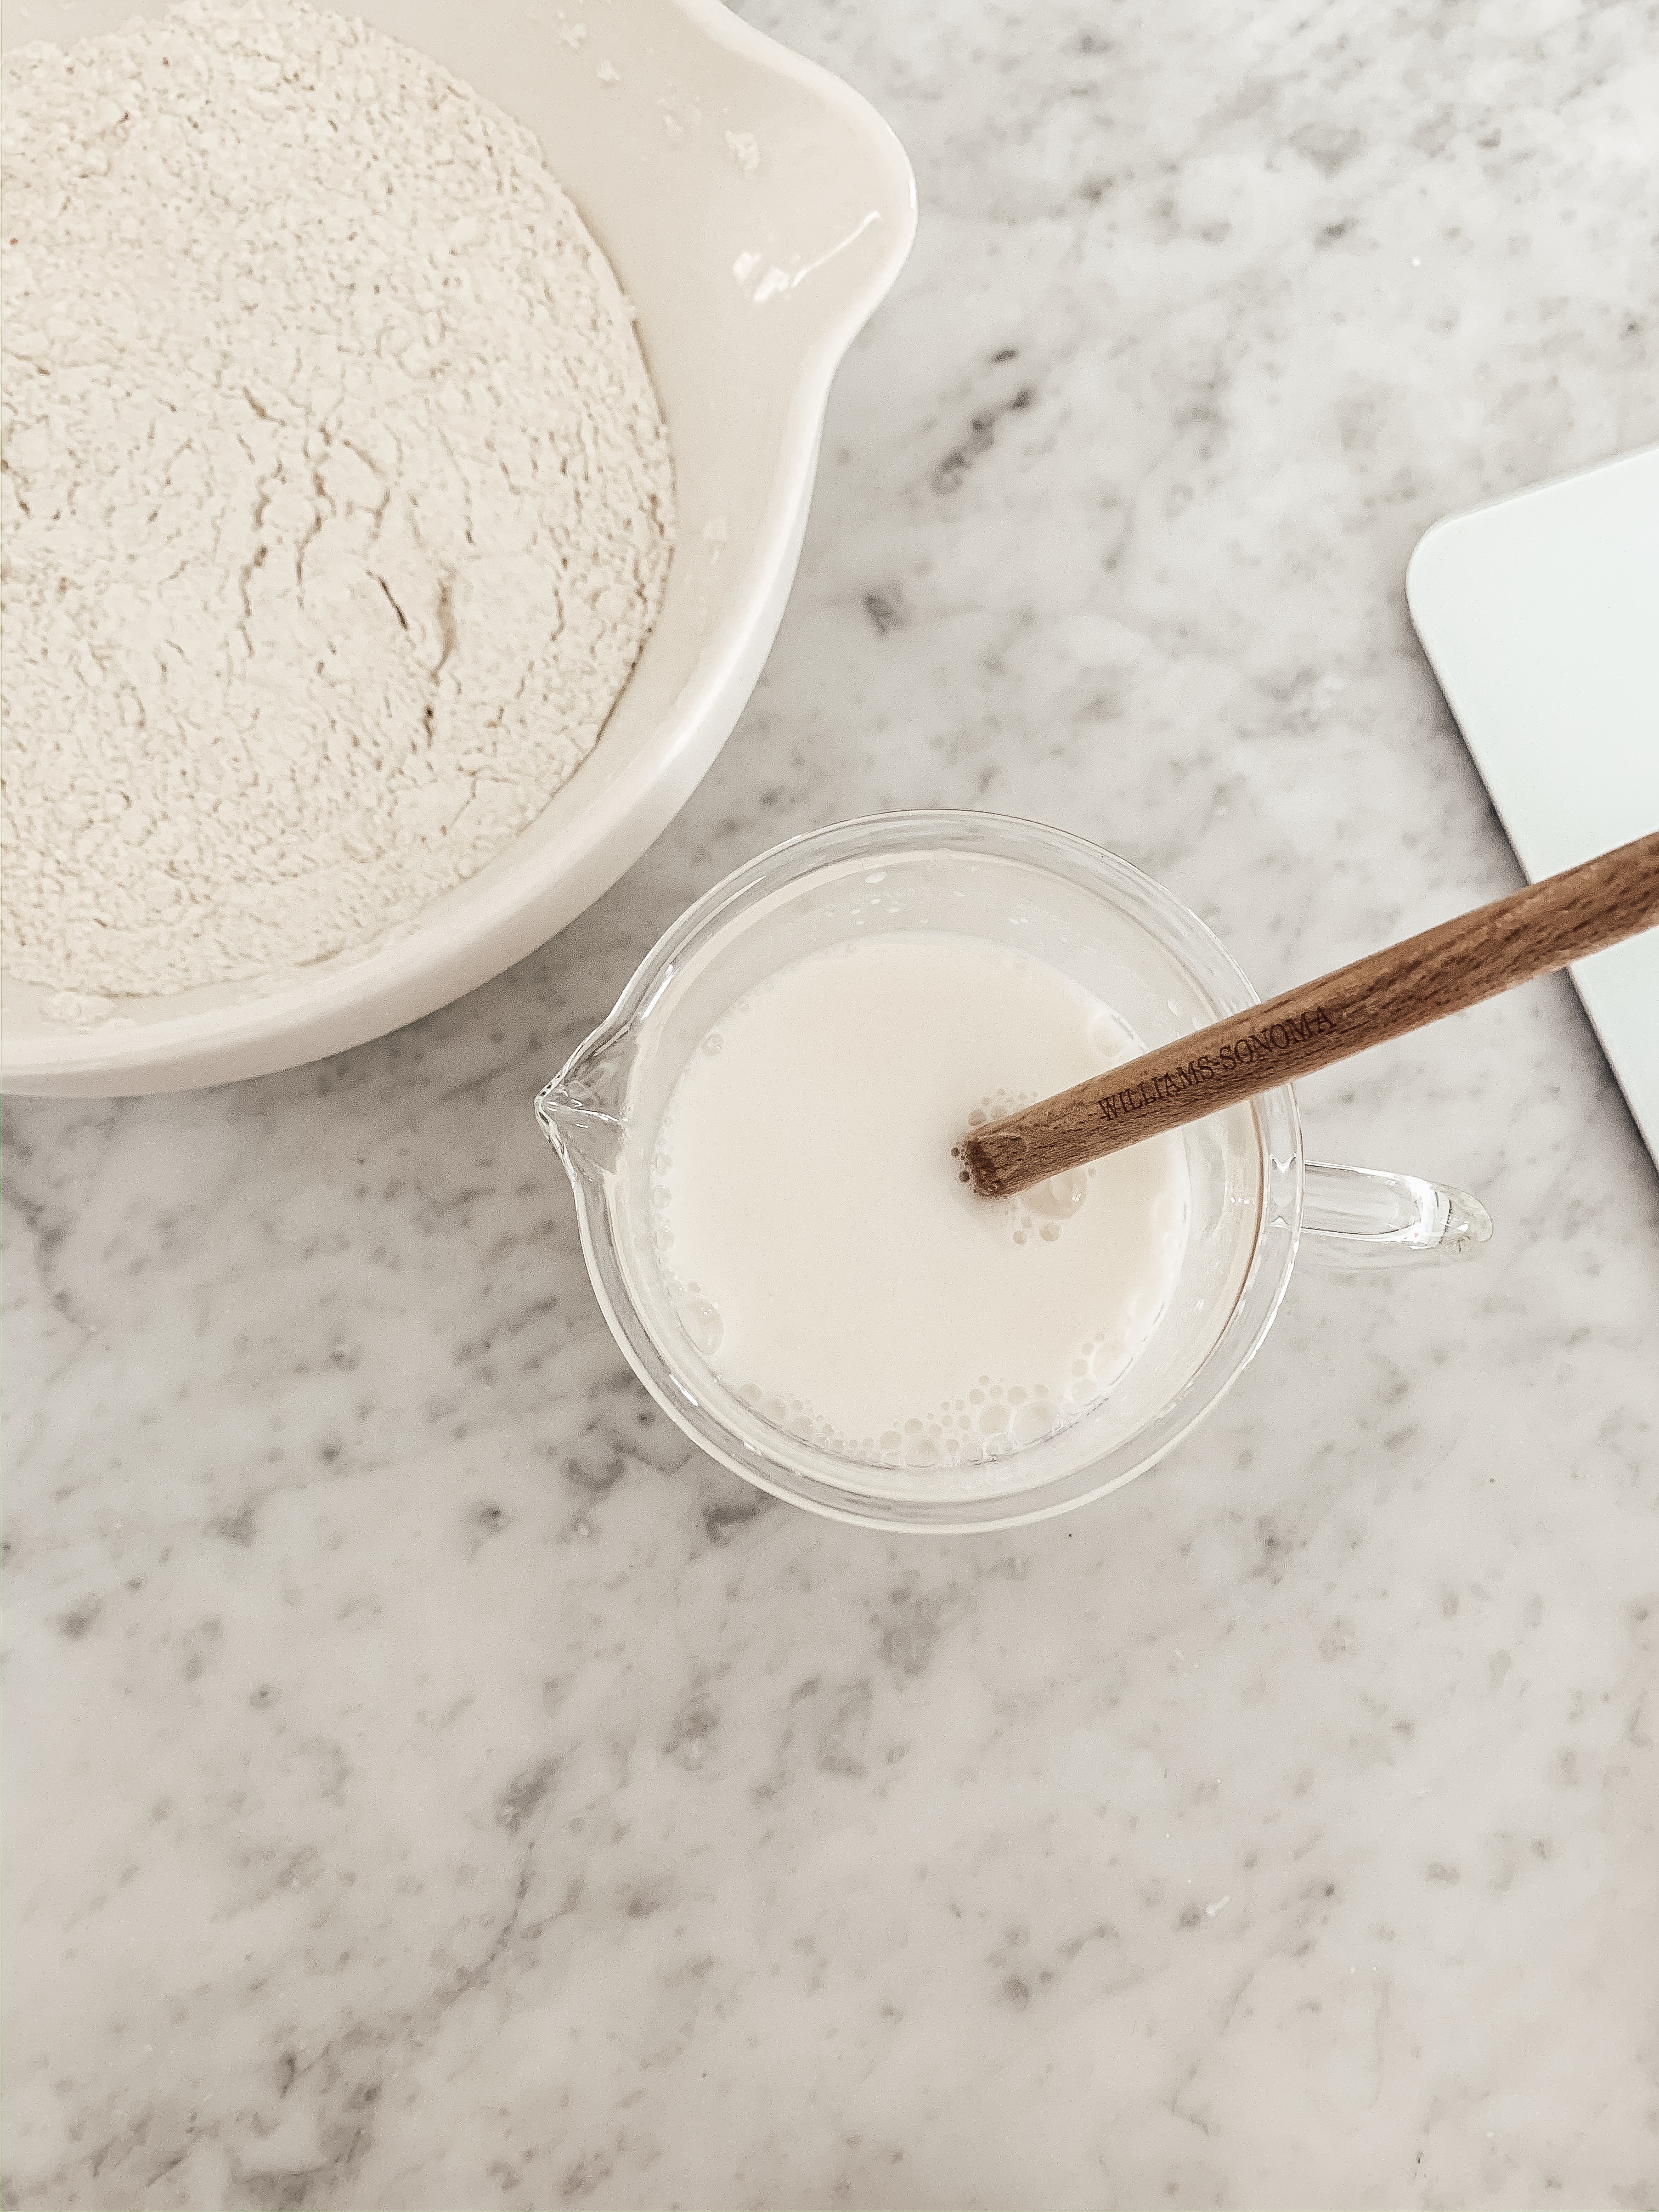
Once you have a mature starter, you will start the leaven first. The leaven is just basically the starter that is fed extra the night before you use it to make bread. Make the leaven the night before you make your bread dough. So basically 2 days before you want to bake your bread. In a large jar or small glass bowl, take 100g of warm water (about 80 degrees Fahrenheit) and add 1-2 TBSP of your mature starter. Dissolve the starter in the warm water, then add in the 100g white flour and mix it all well.
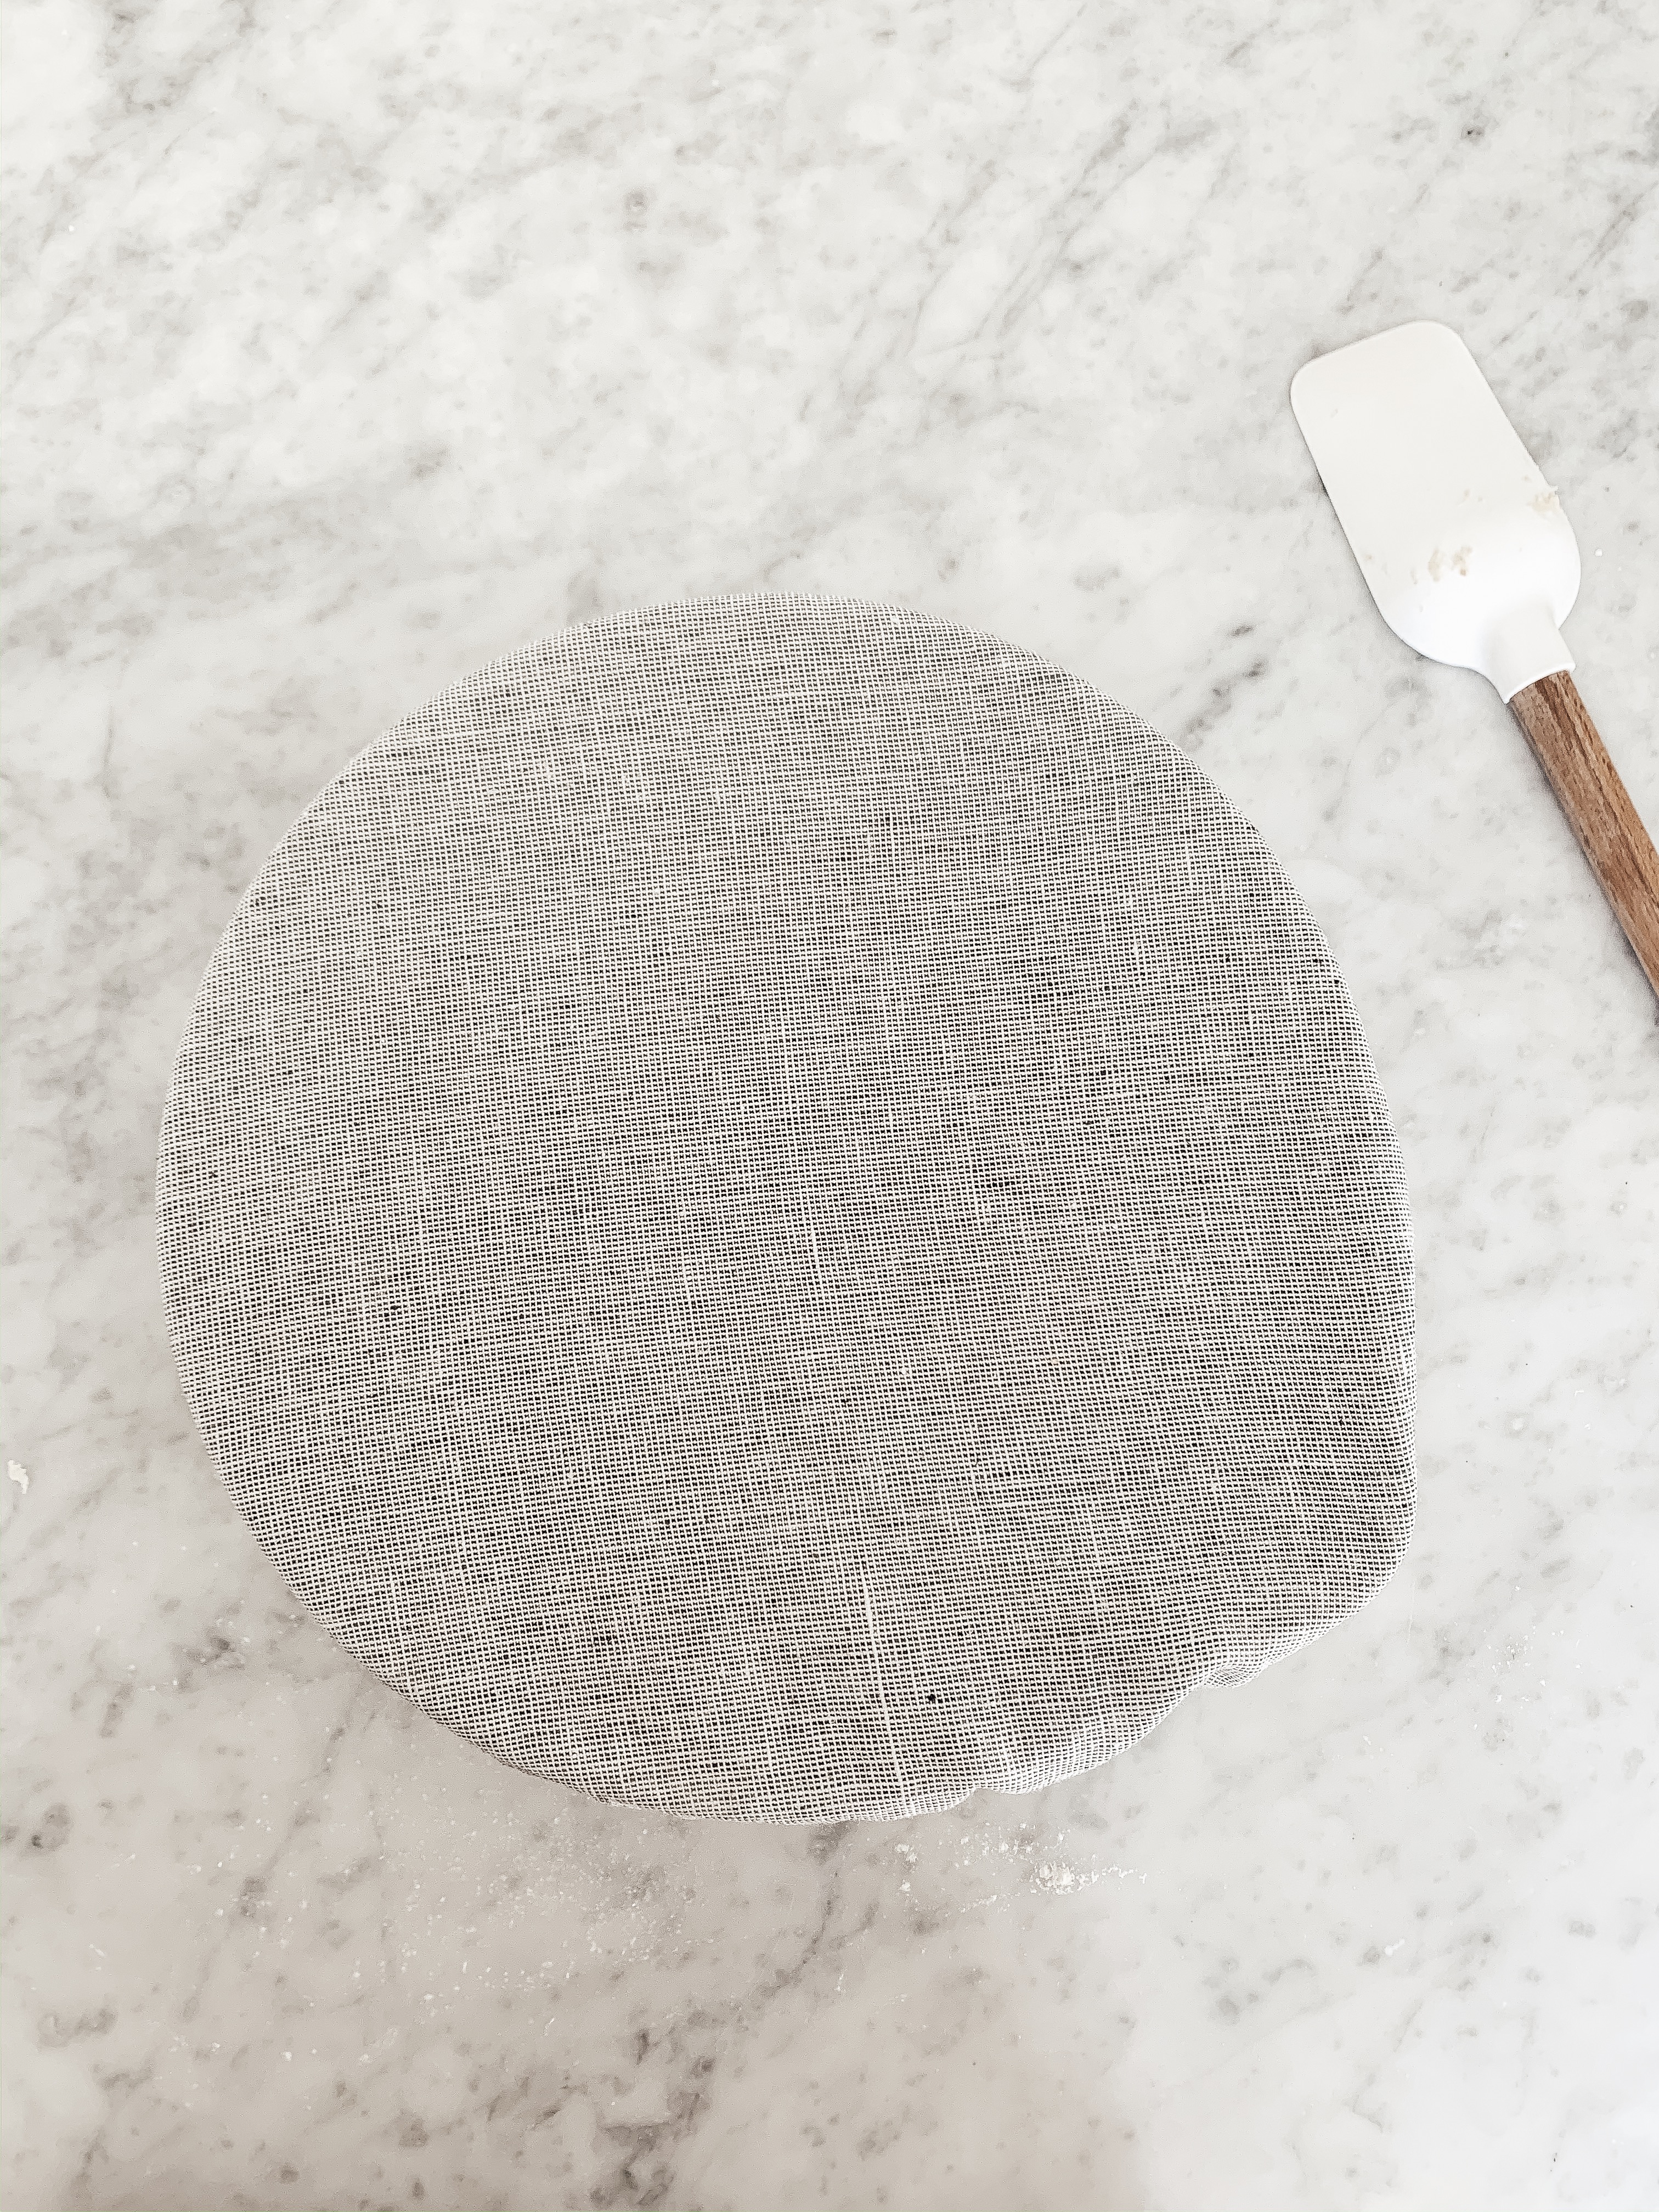
Cover the leaven with a linen towel or napkin and let it sit on the counter overnight.
Bread Dough:
100g Leaven
100g Whole Wheat Flour (Any type will do. I’ve used Kamut, Red Fife, Spelt and more!)
400g White flour
350g +25g Warm Water (about 80 degrees Fahrenheit)
10g salt
The next morning, your leaven should be doubled at least and all nice and bubbly. Now you’re ready to make the bread dough. Start with the 350g warm water and add 100g of the leaven and dissolve.
Meanwhile, mix your two flours together well.
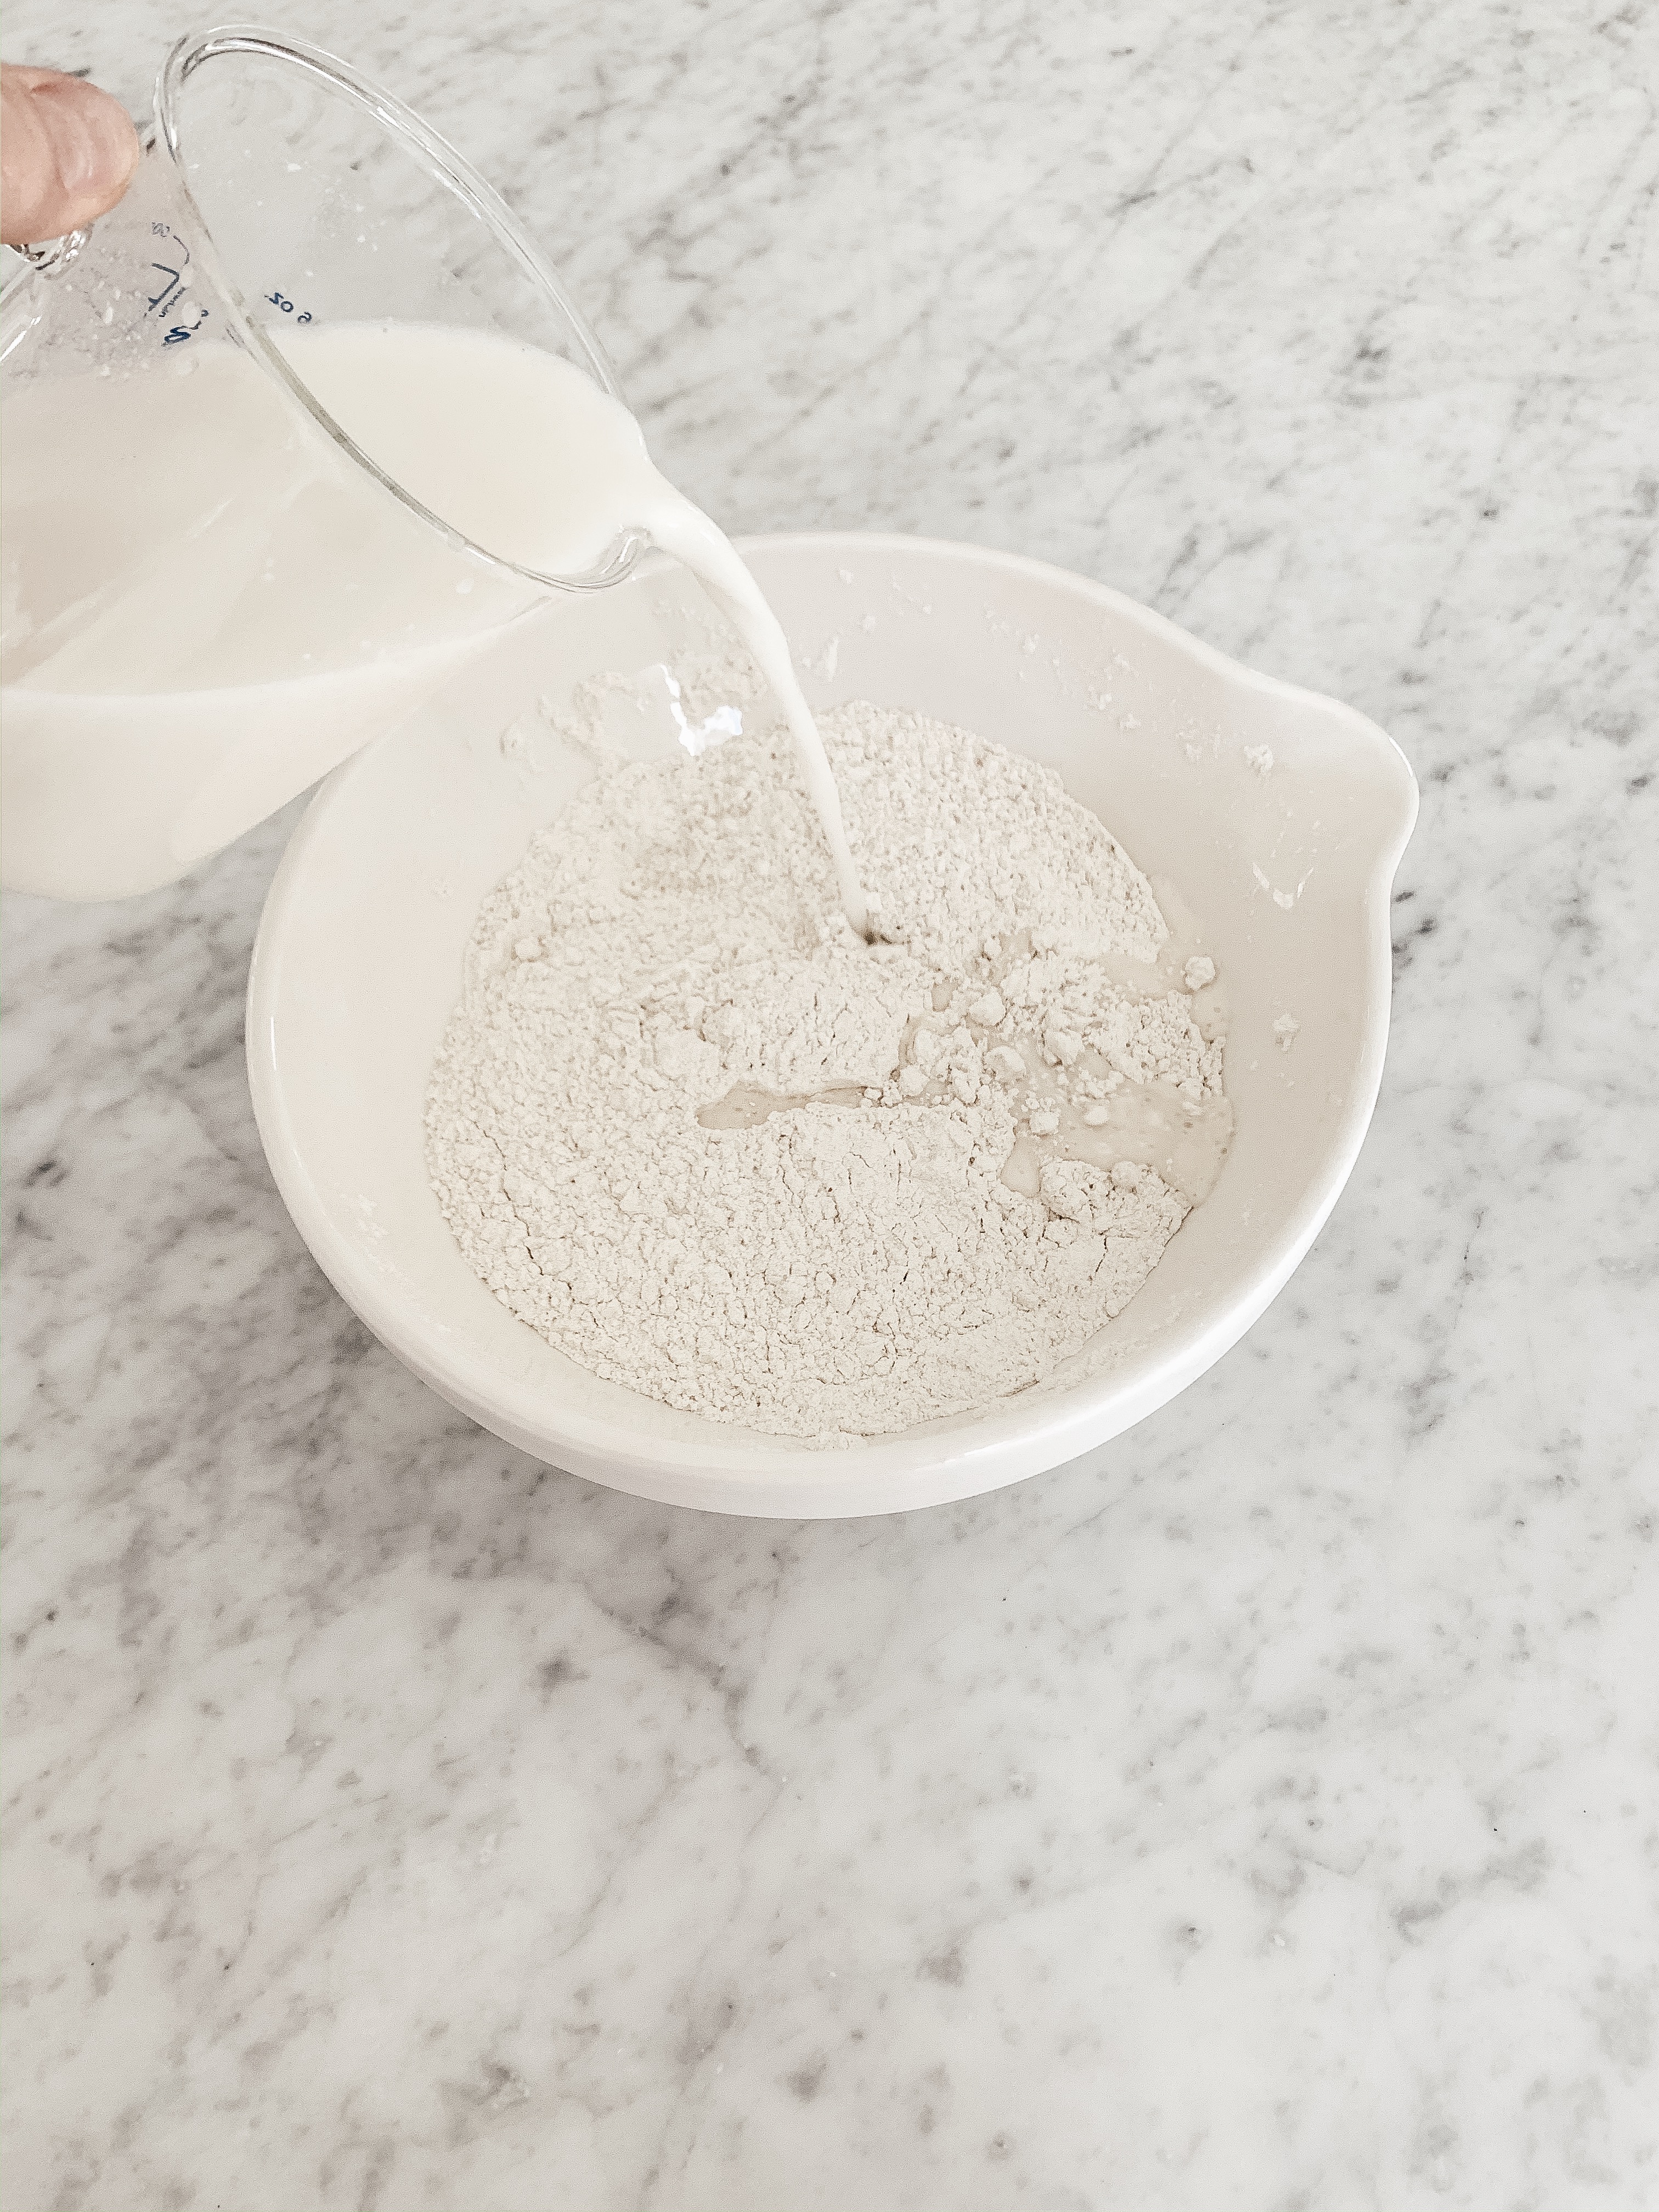
Then, combine the flour and water/leaven mixture together using your dough wisk.
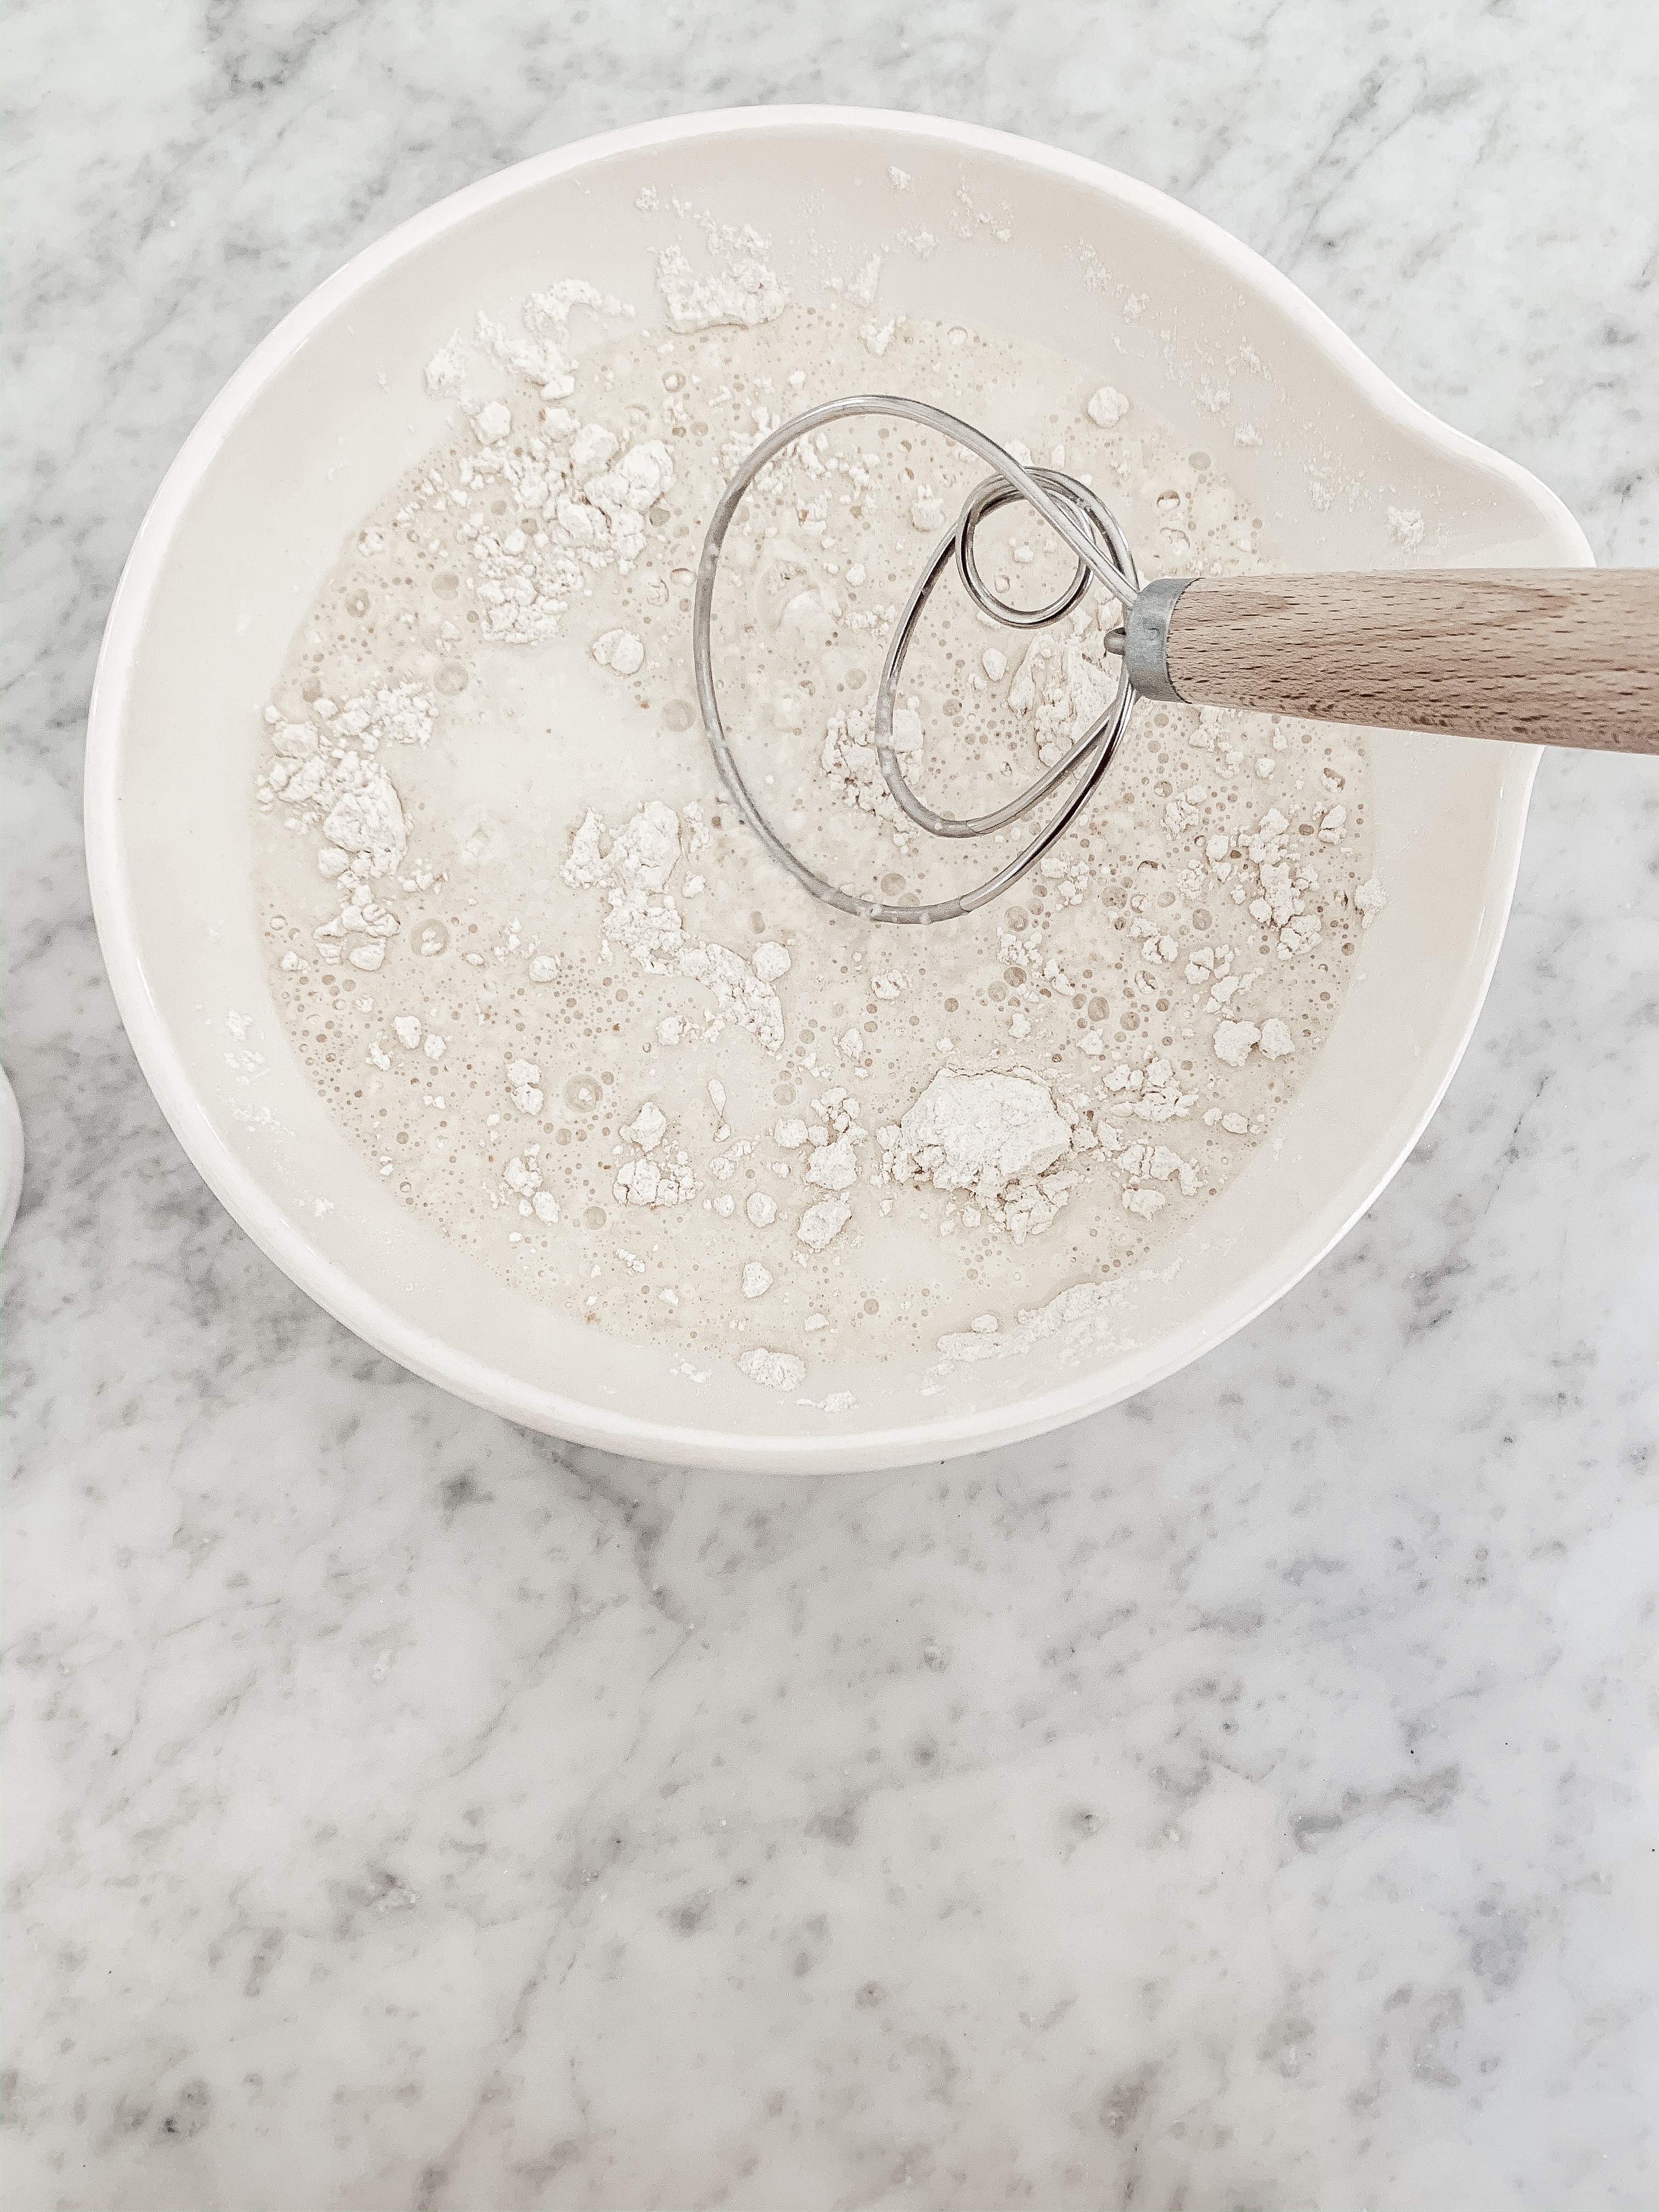
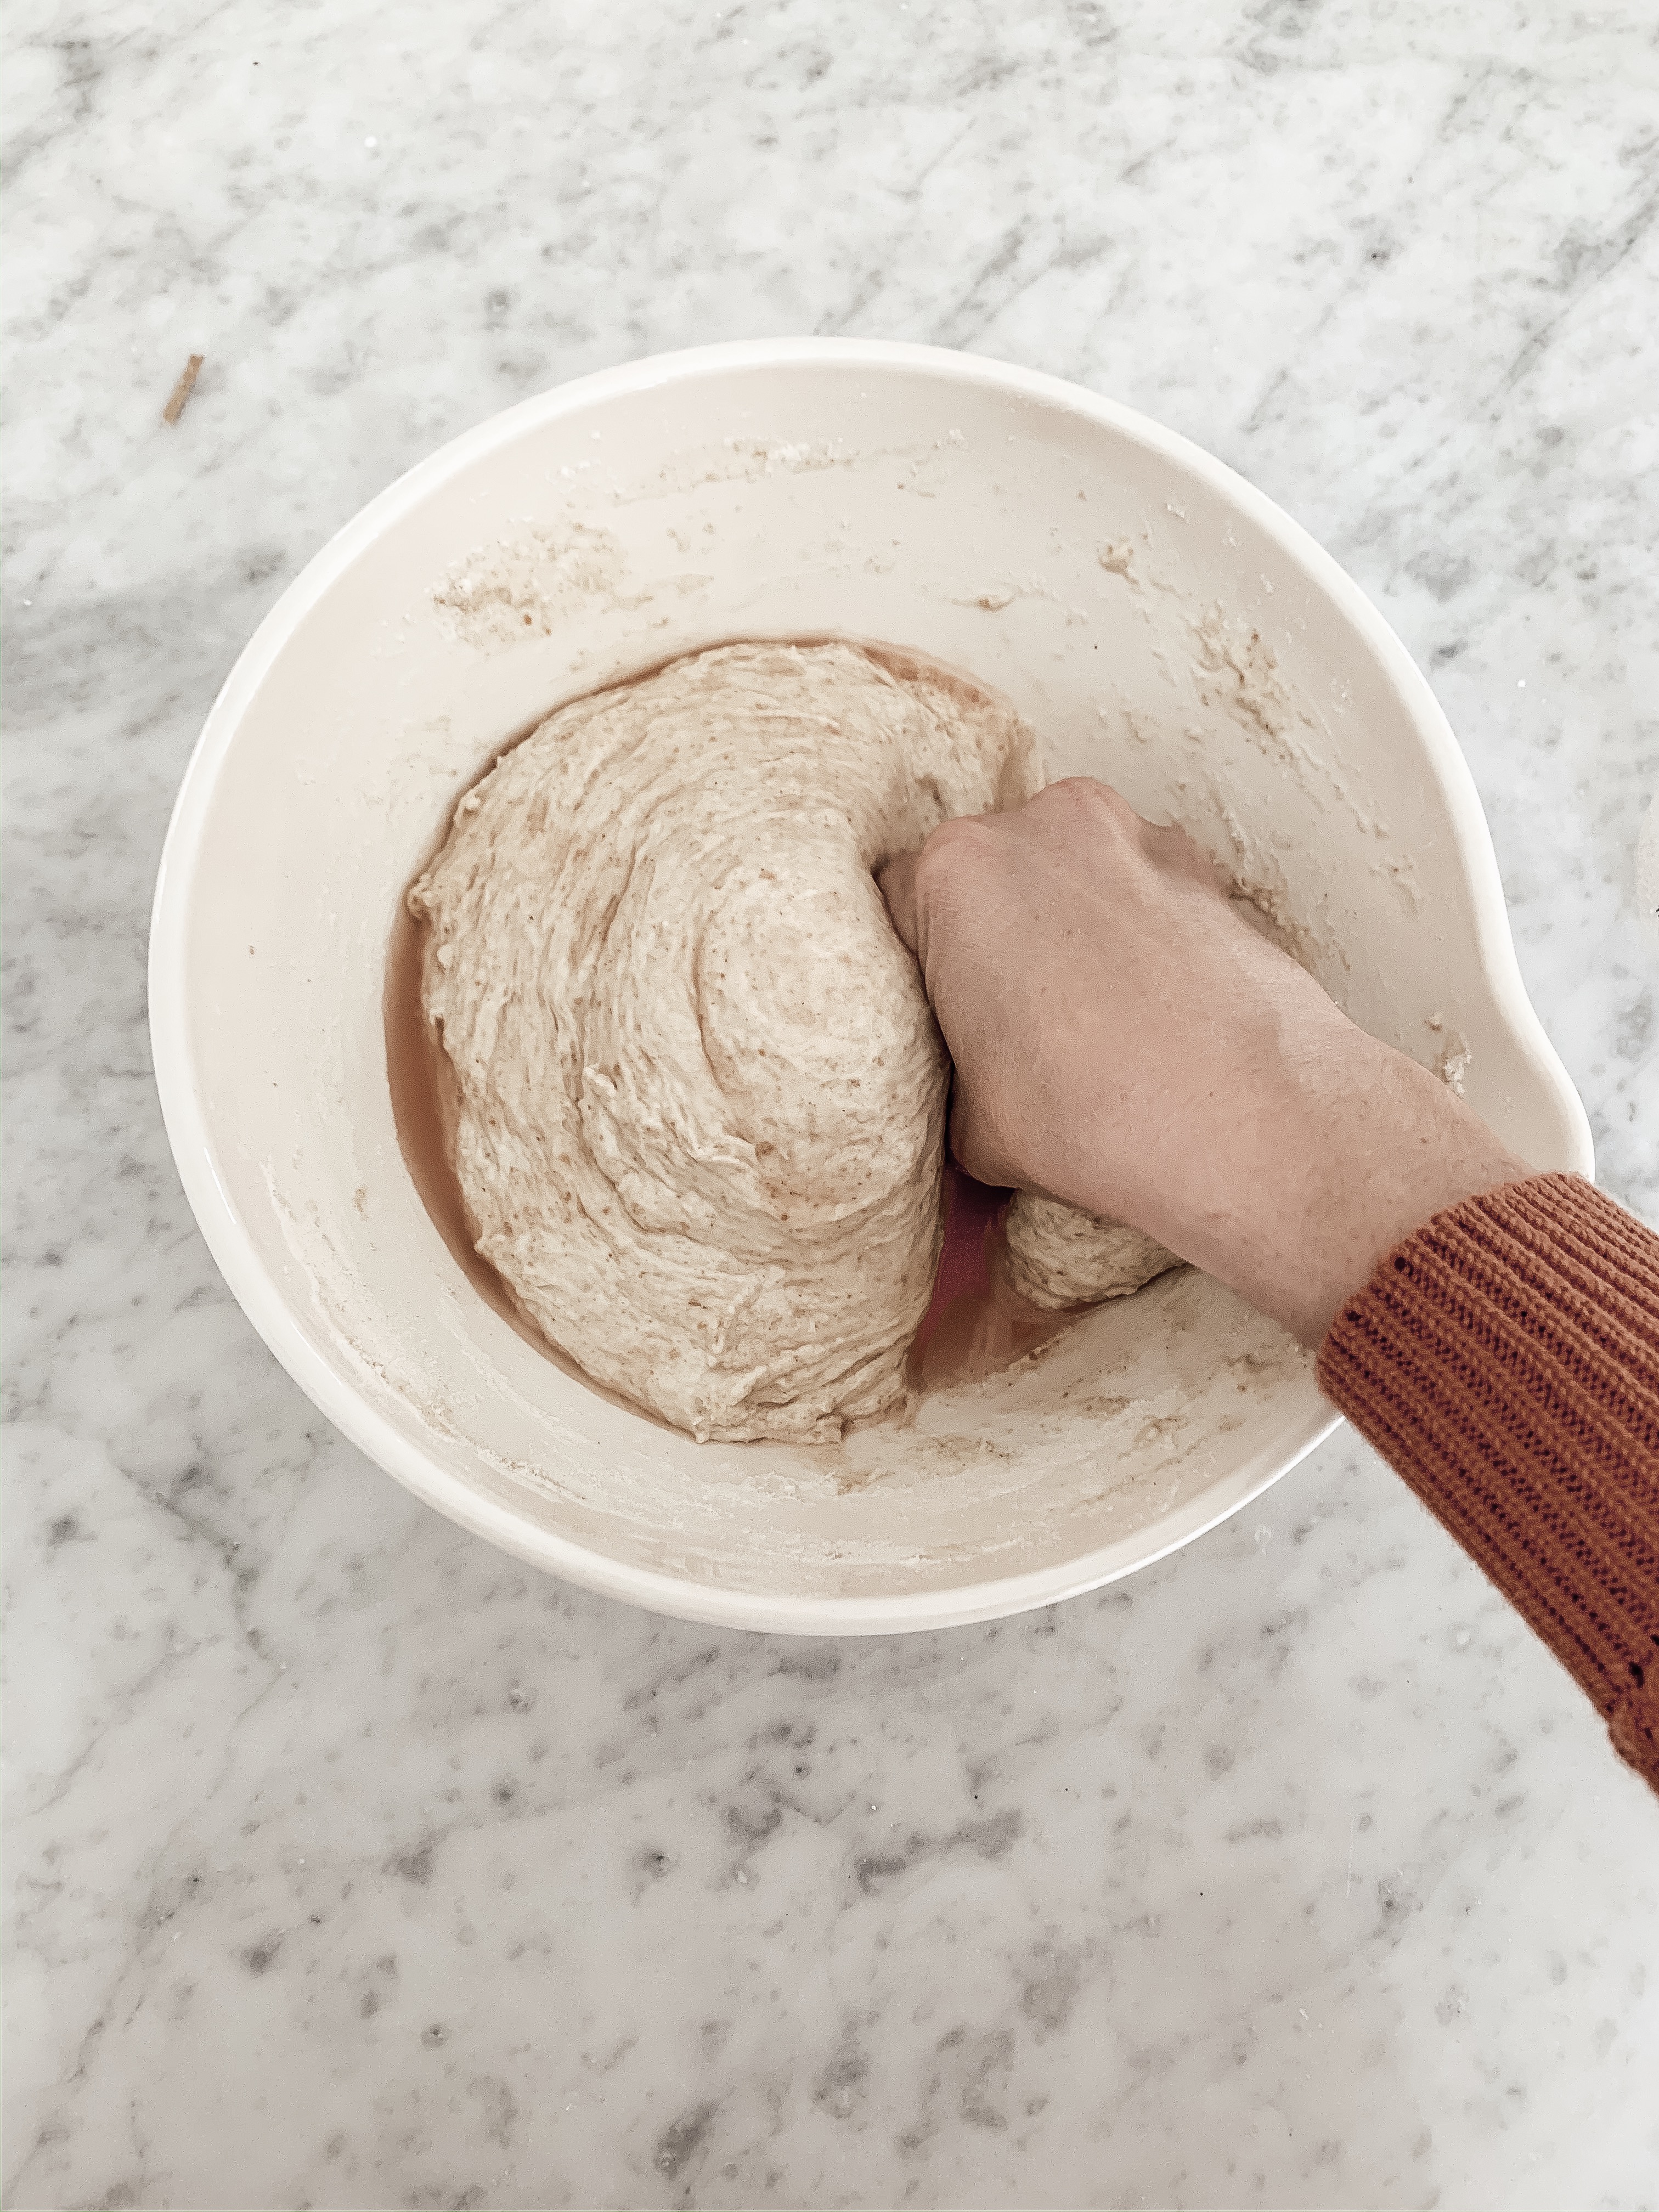
Mix it as well as you can with the whisk, then get in there with your hands and make sure there are no dry spots.
I usually use a spatula at the end to smooth it all out.
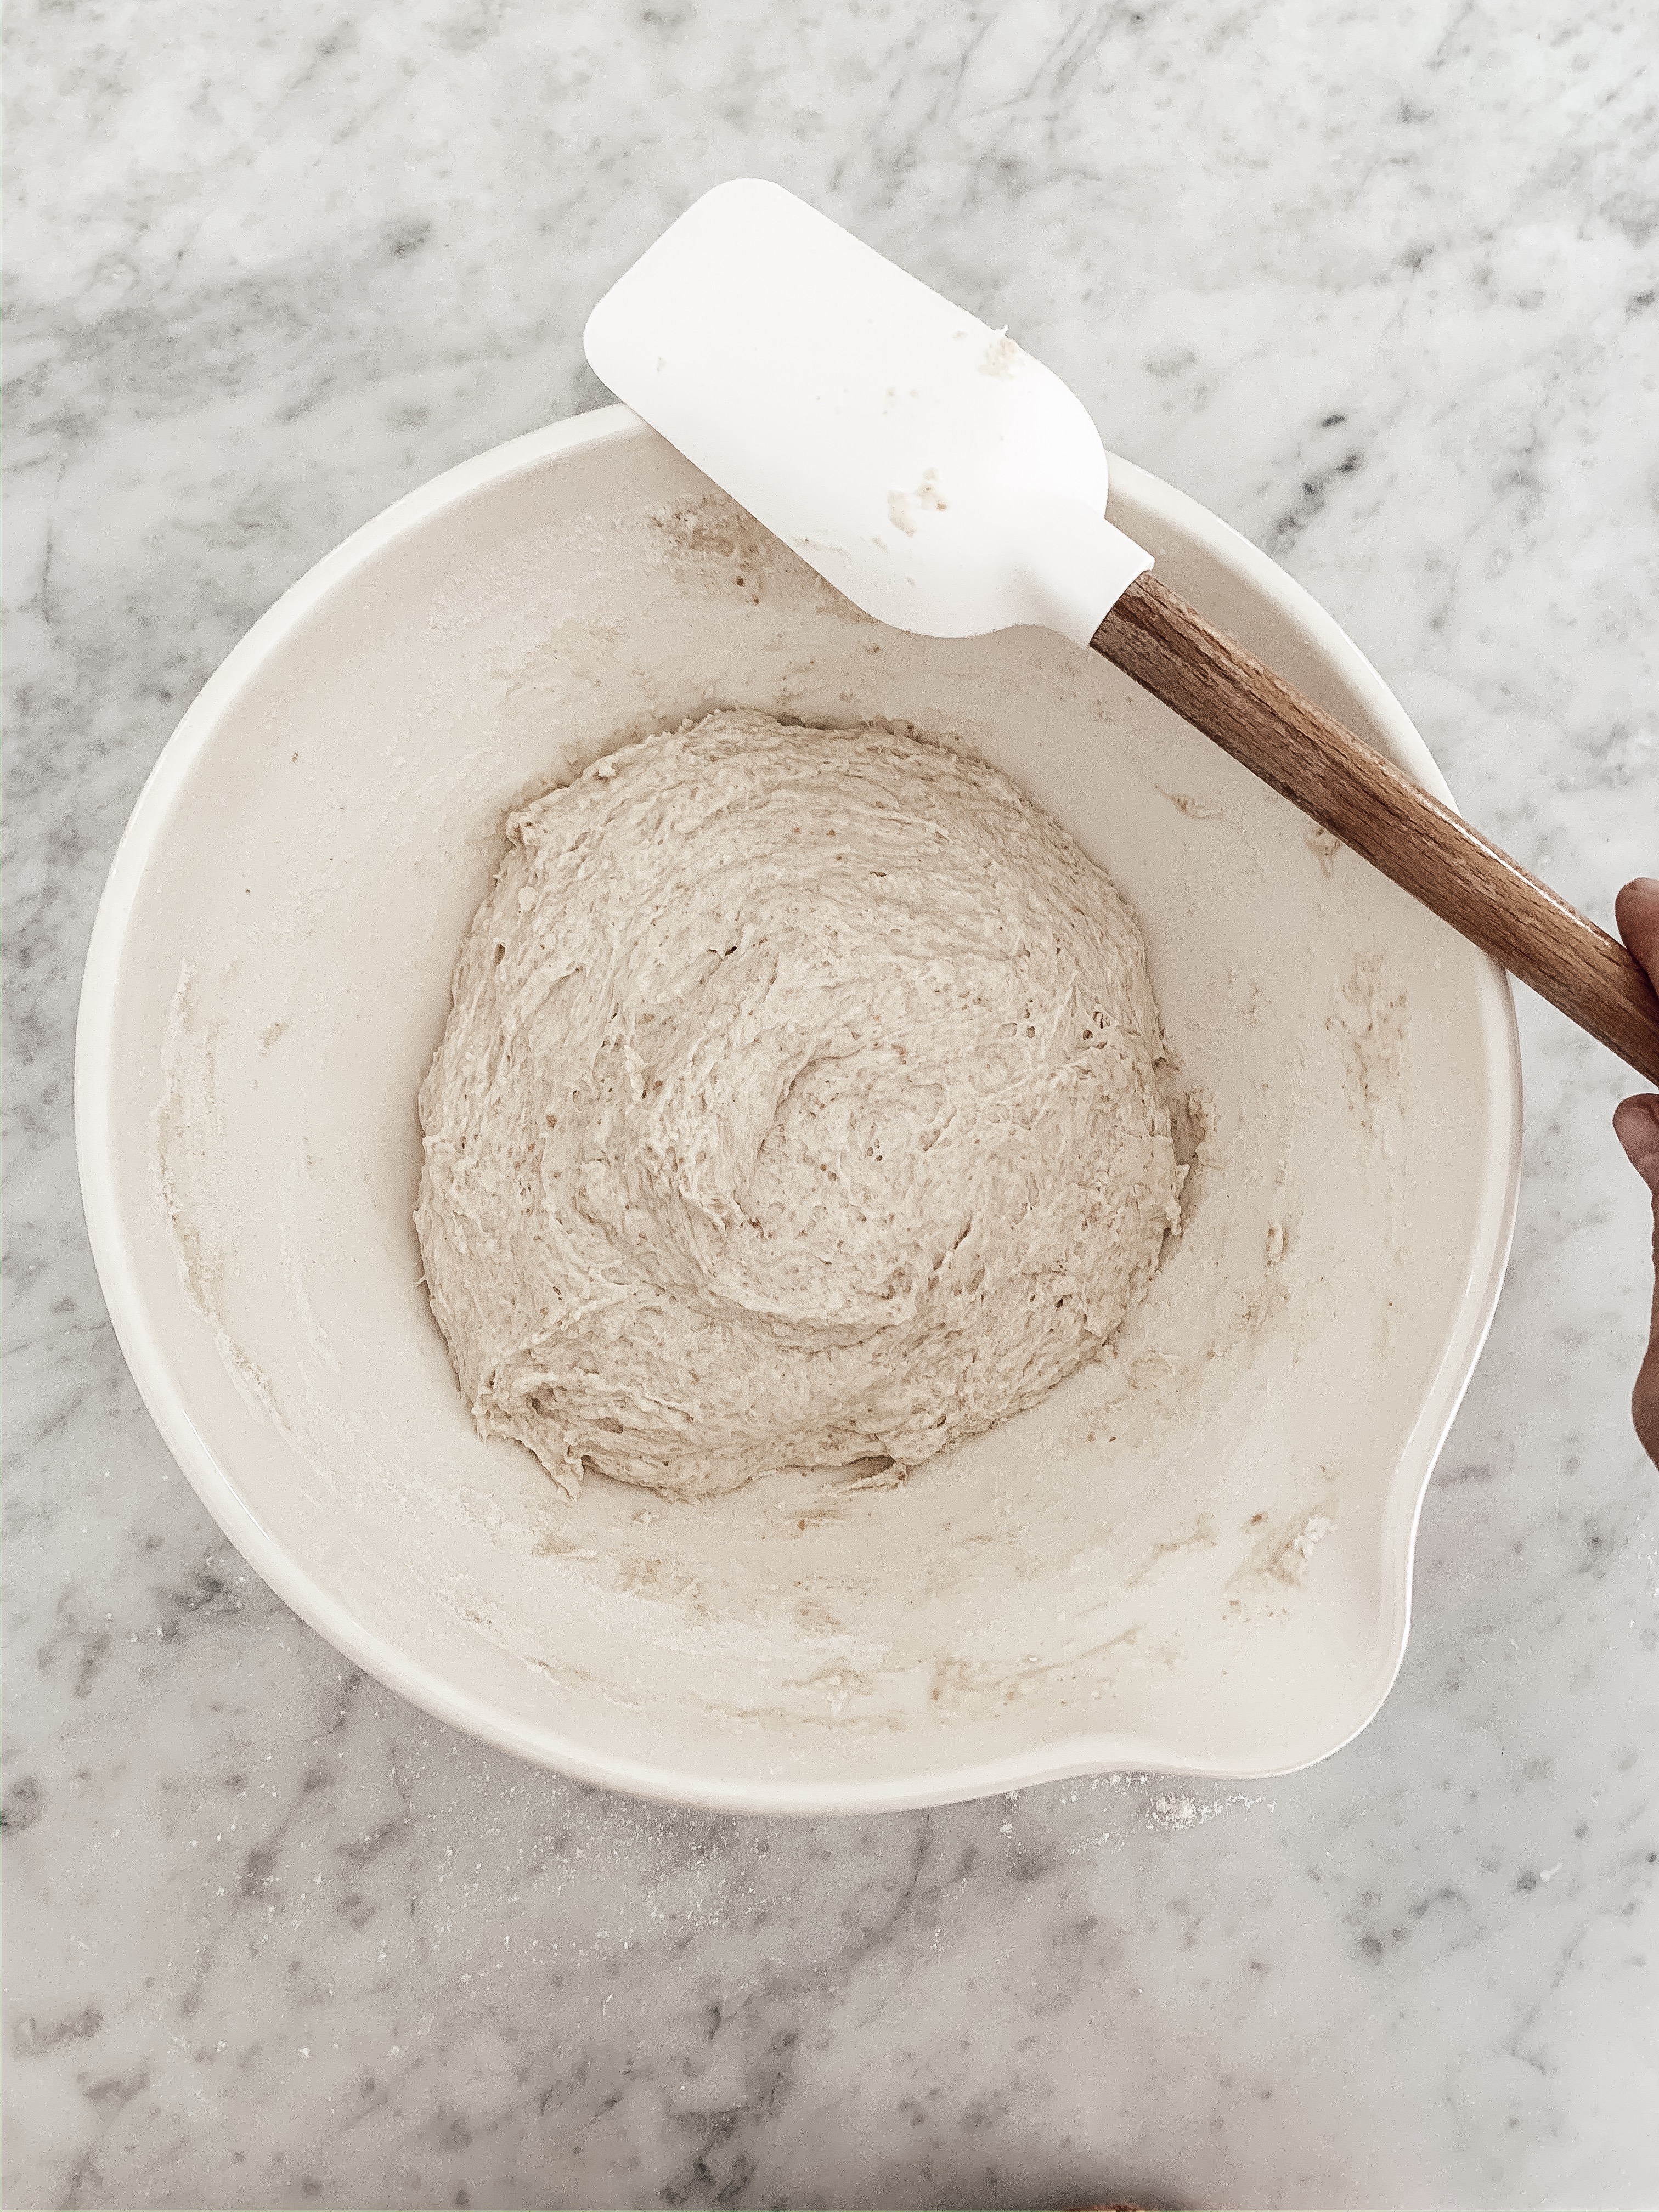
Cover your dough and let it rest for 30 minutes.
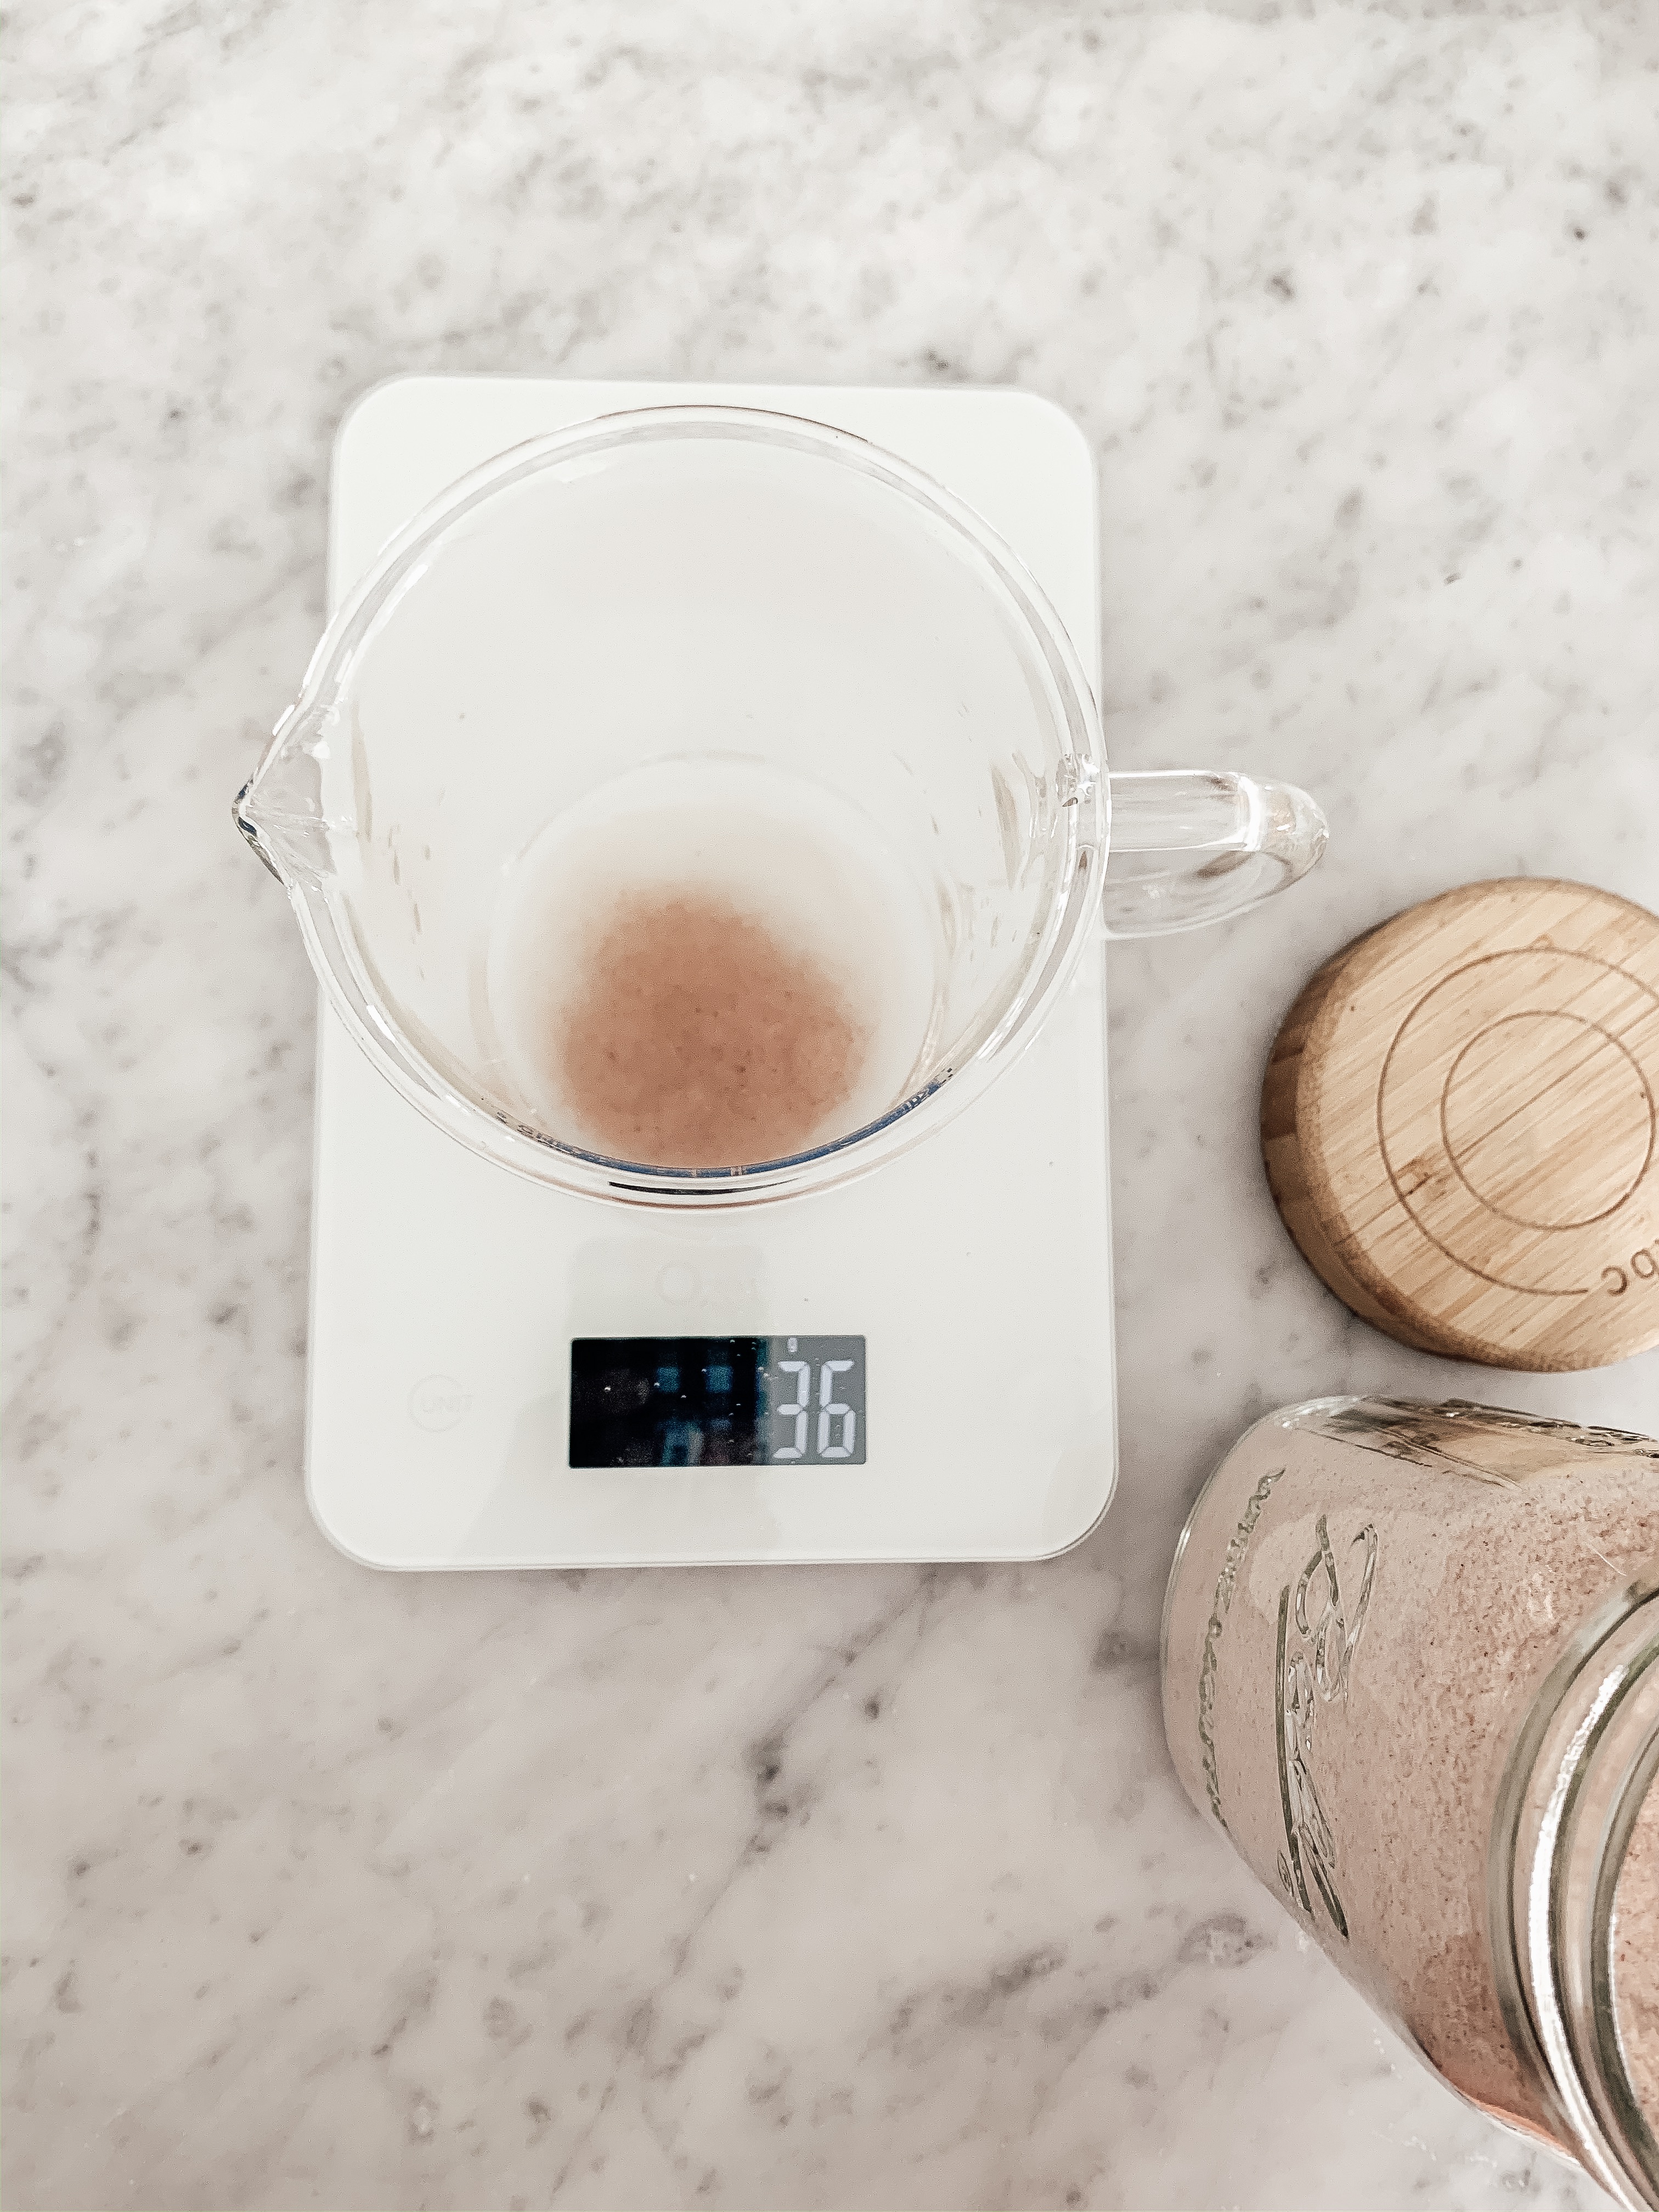
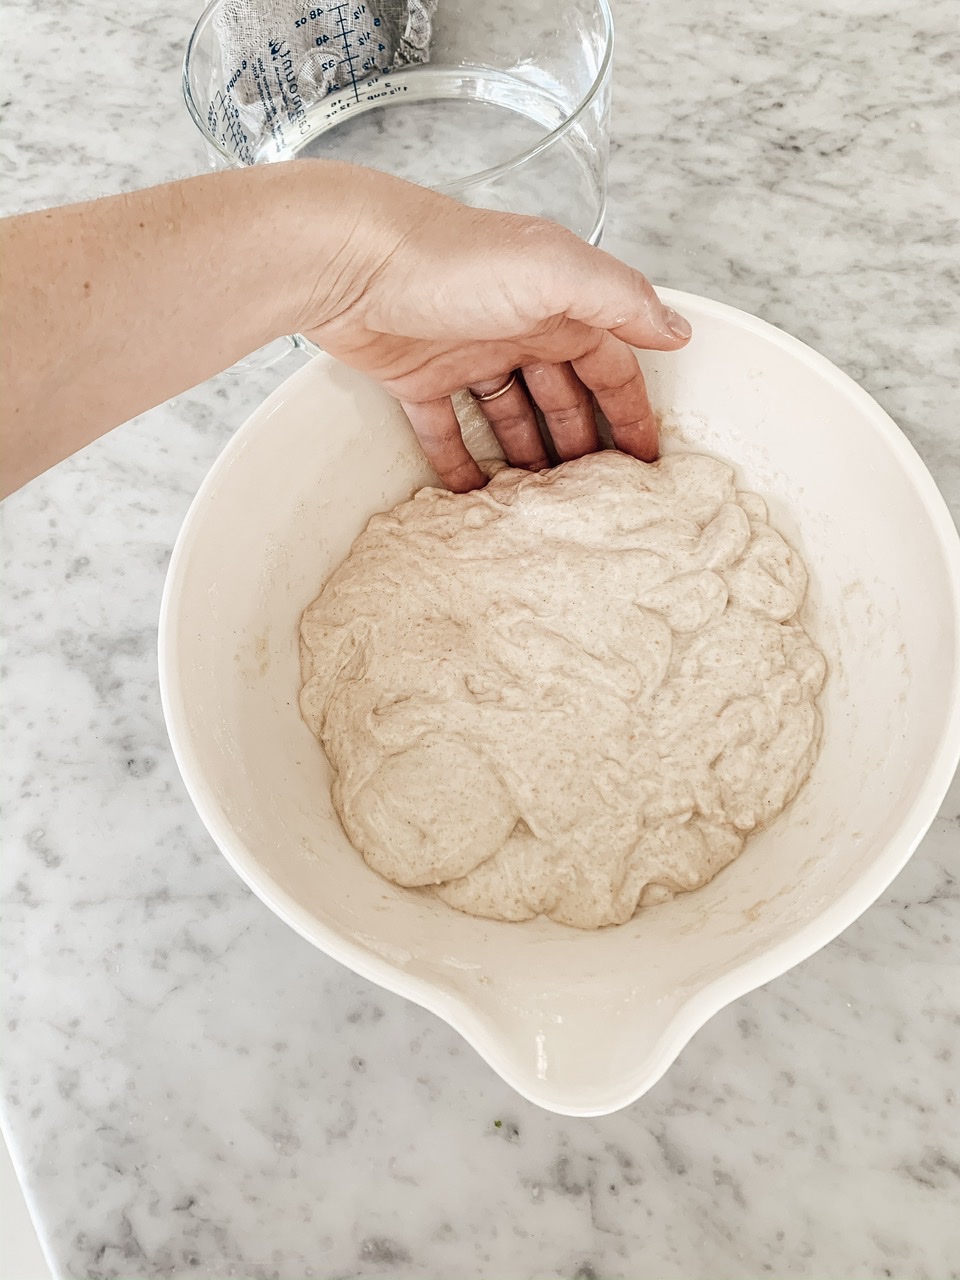
After the first 30 minute rest, mix the remaining 25g water with the 10g salt and swirl around.
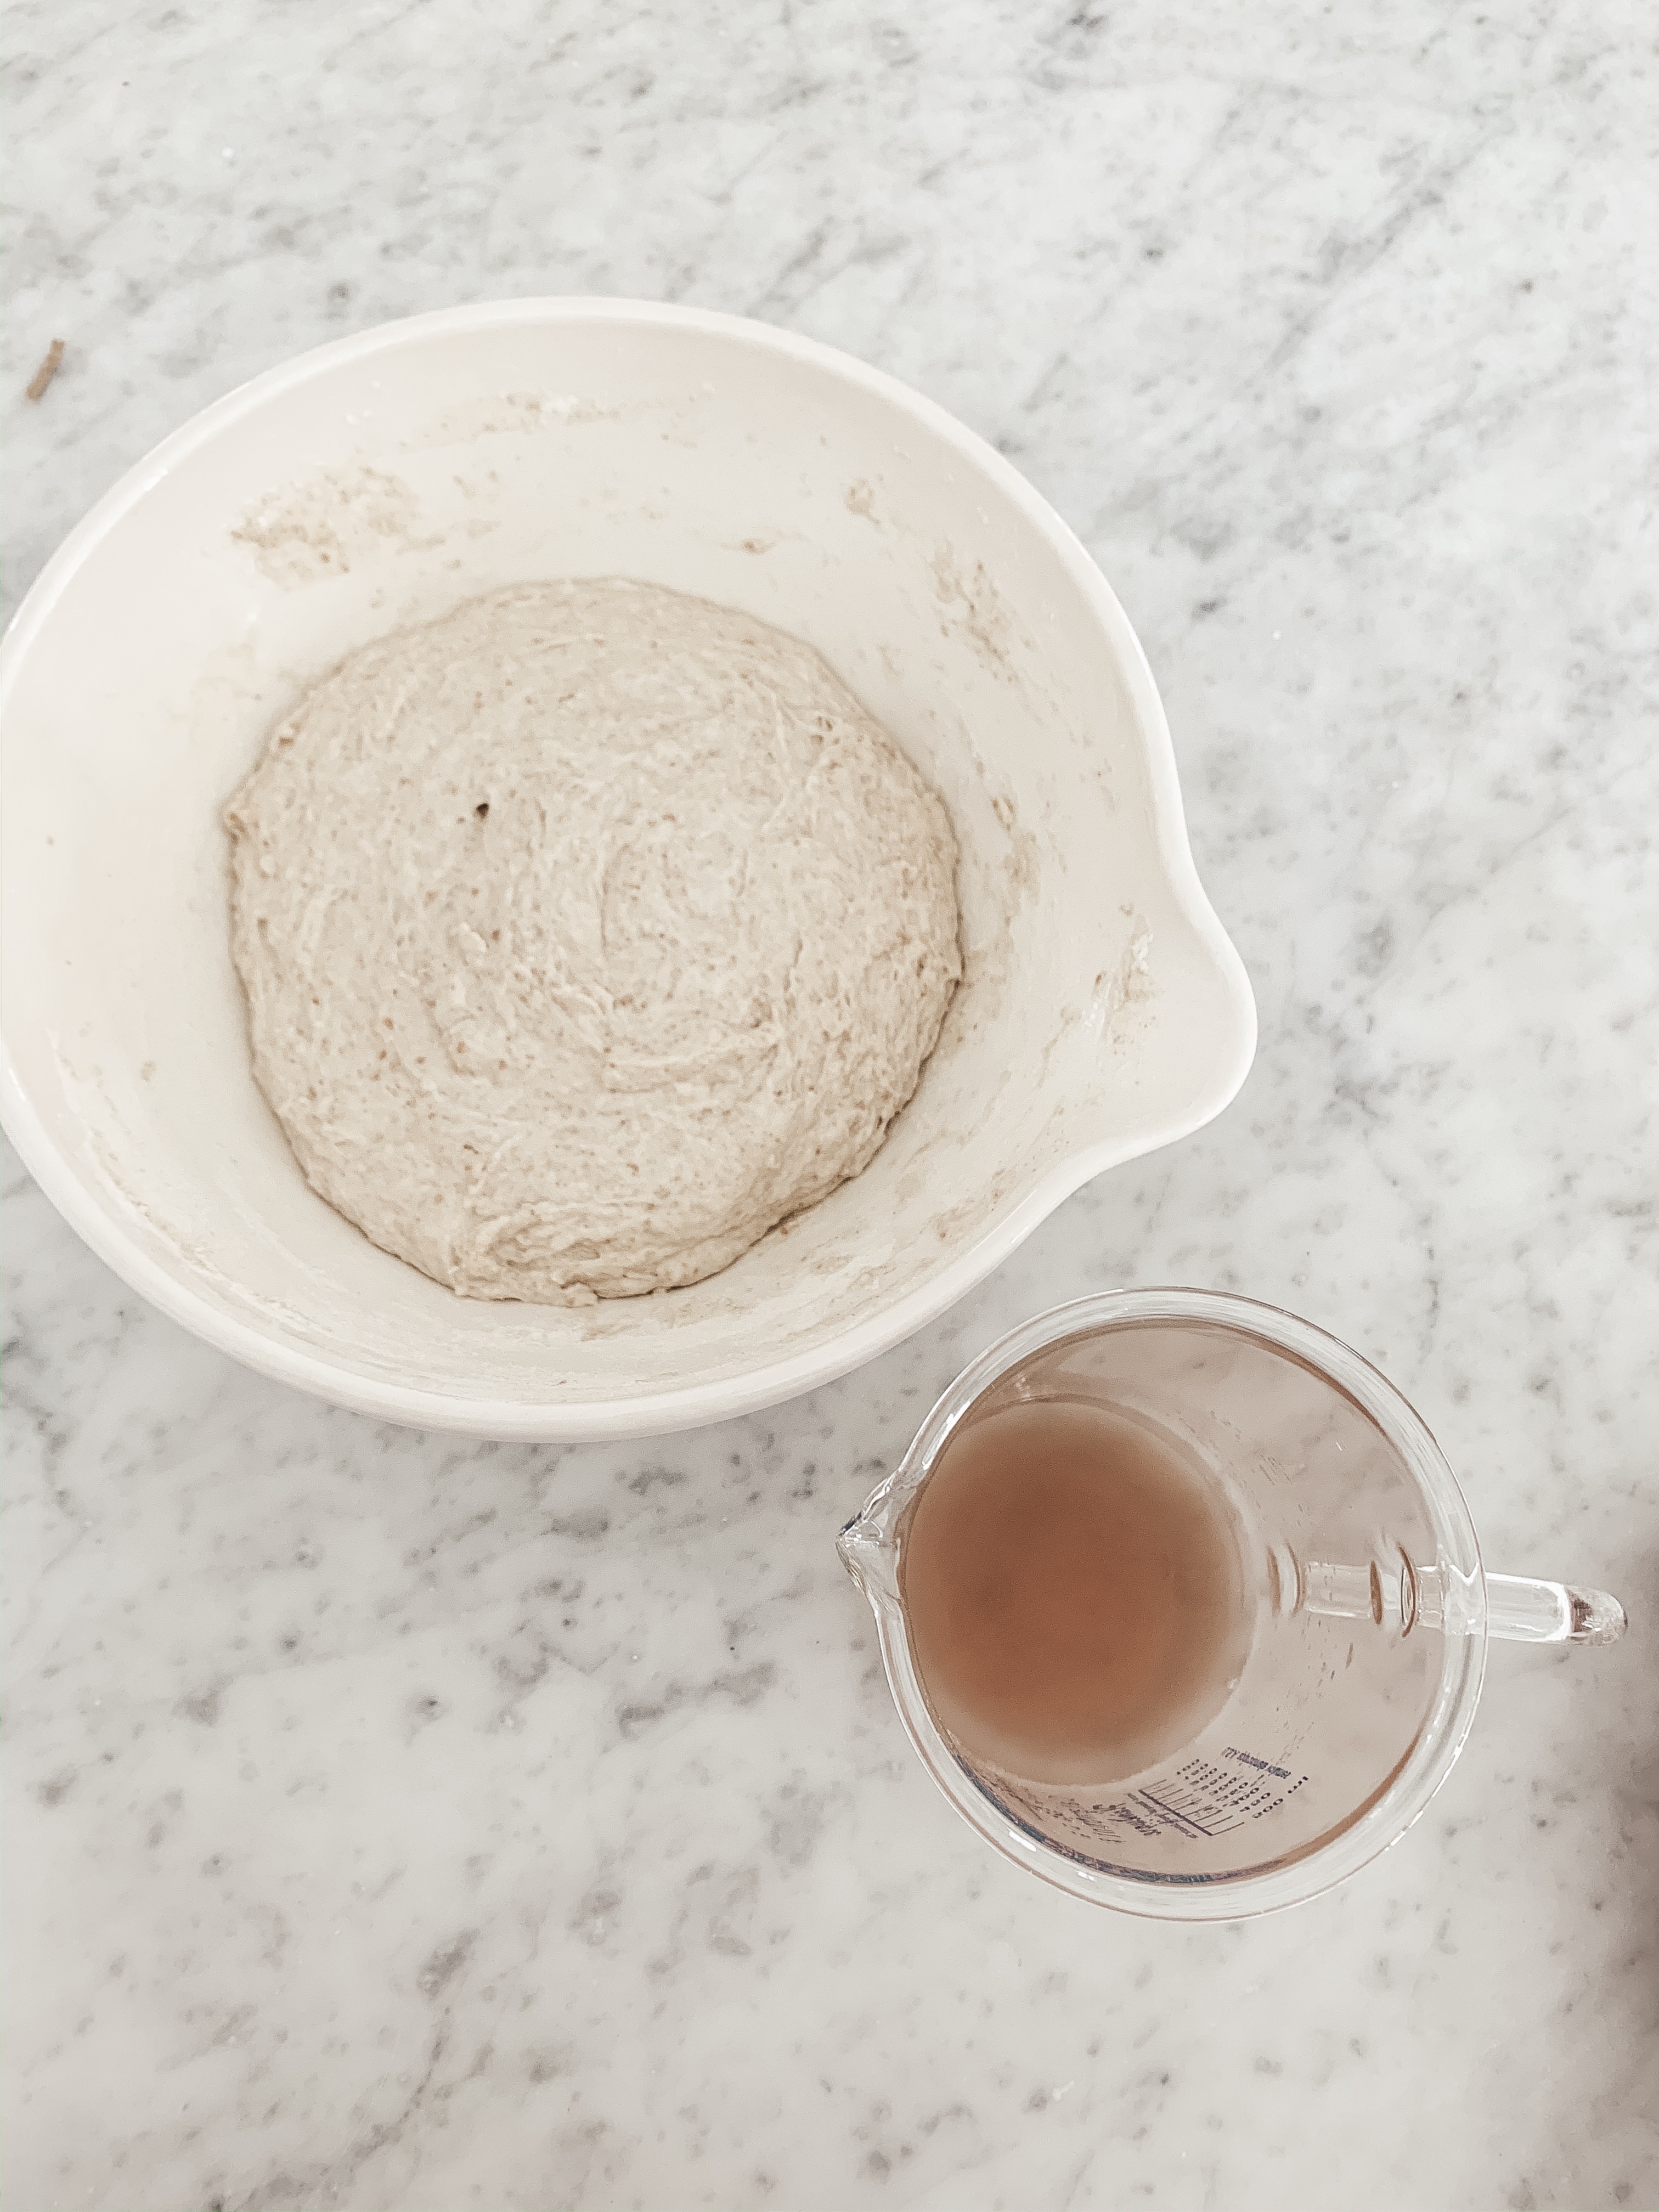
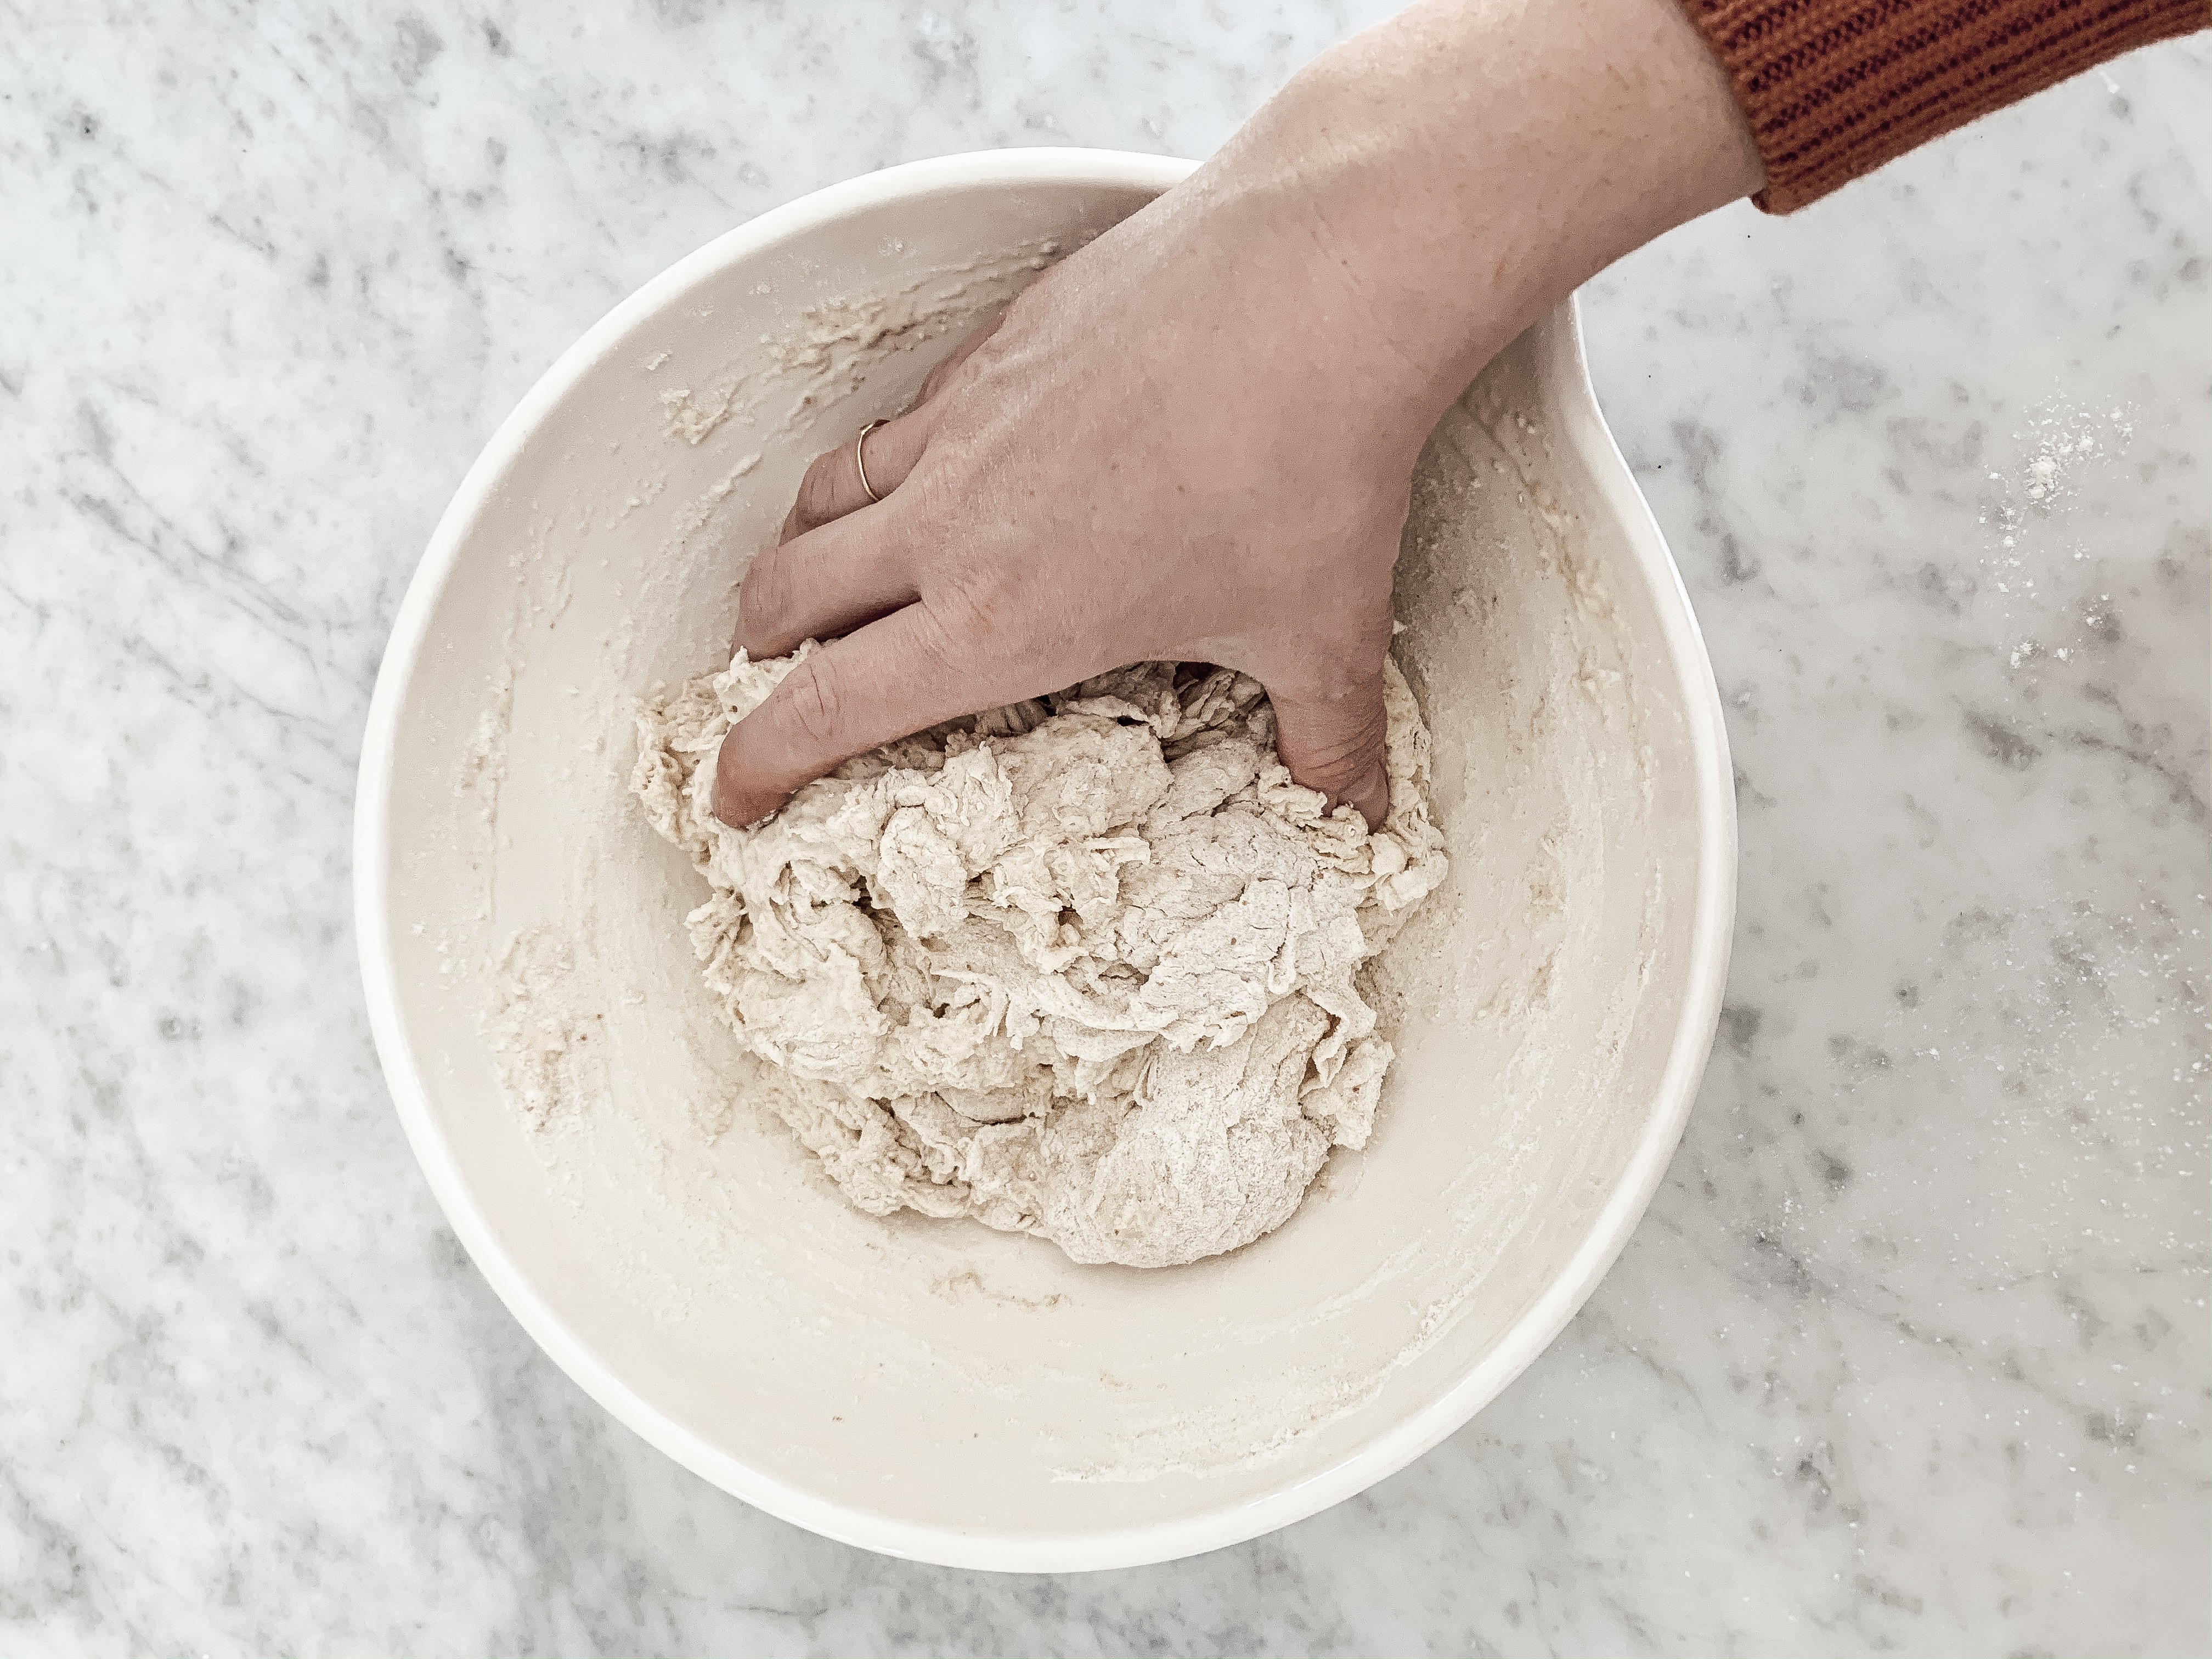
Add the water and salt mixture to your dough, using your hands to pinch and squeeze it into the dough thoroughly.
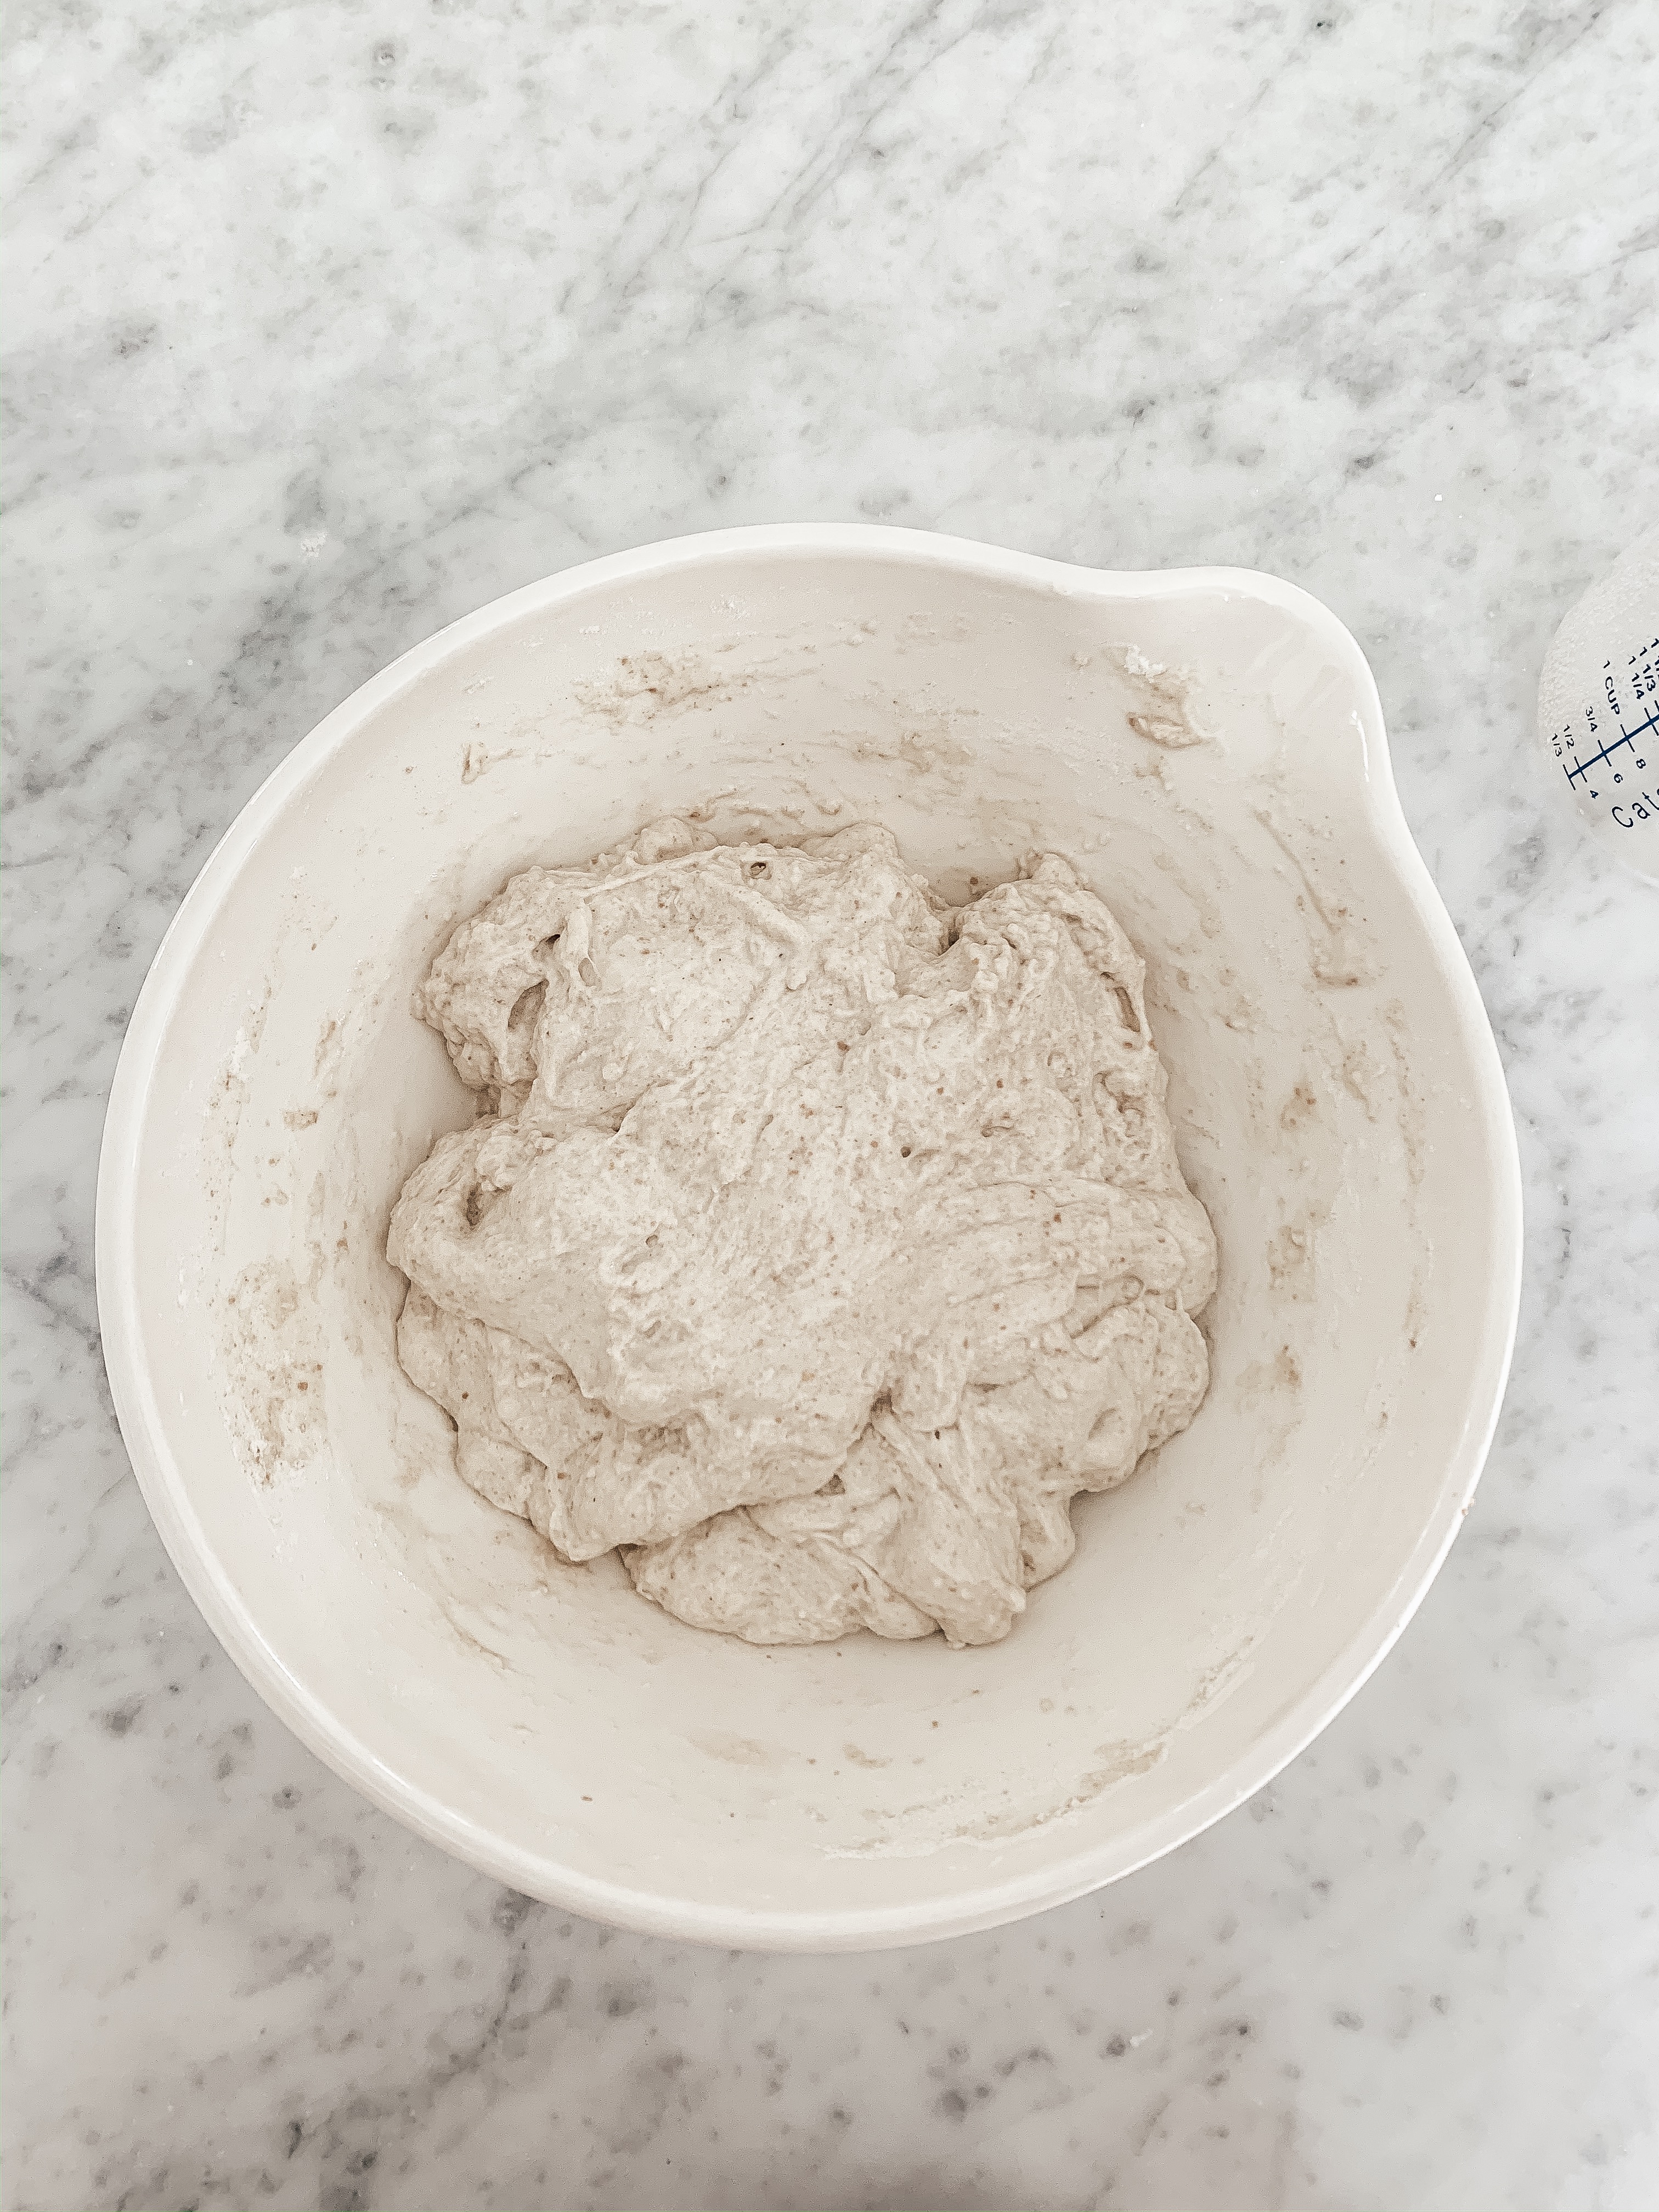
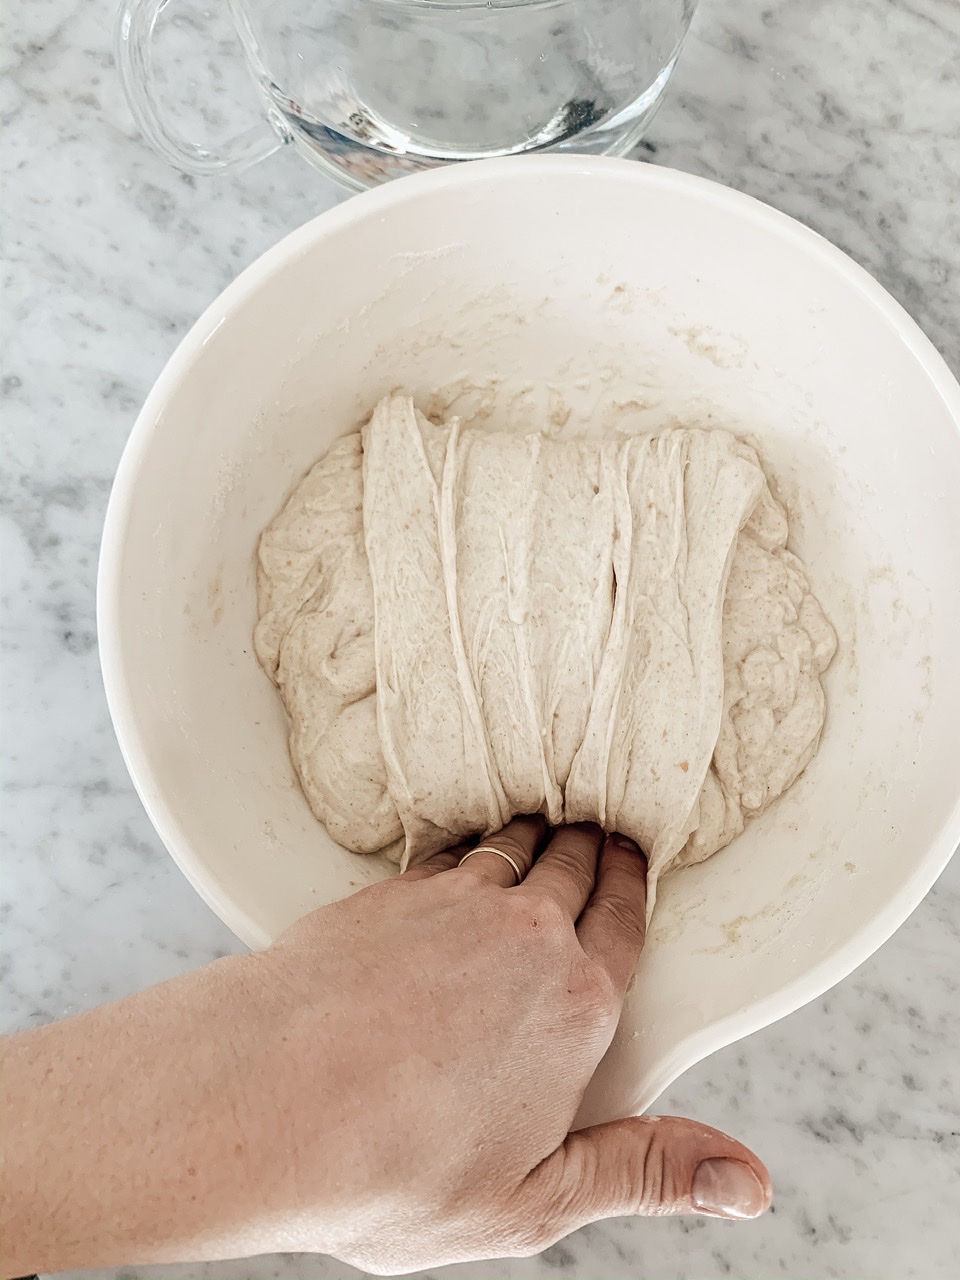
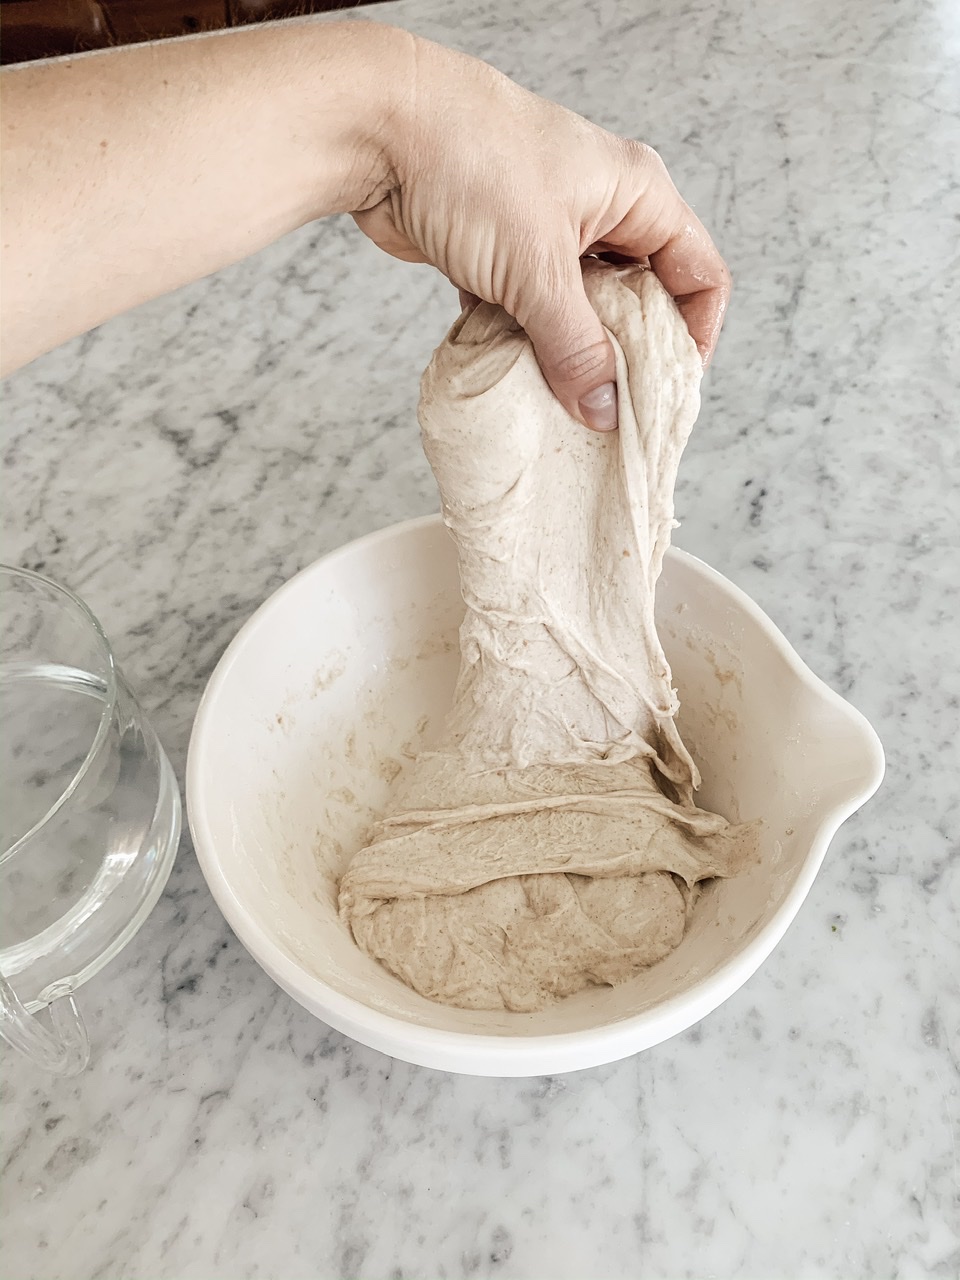
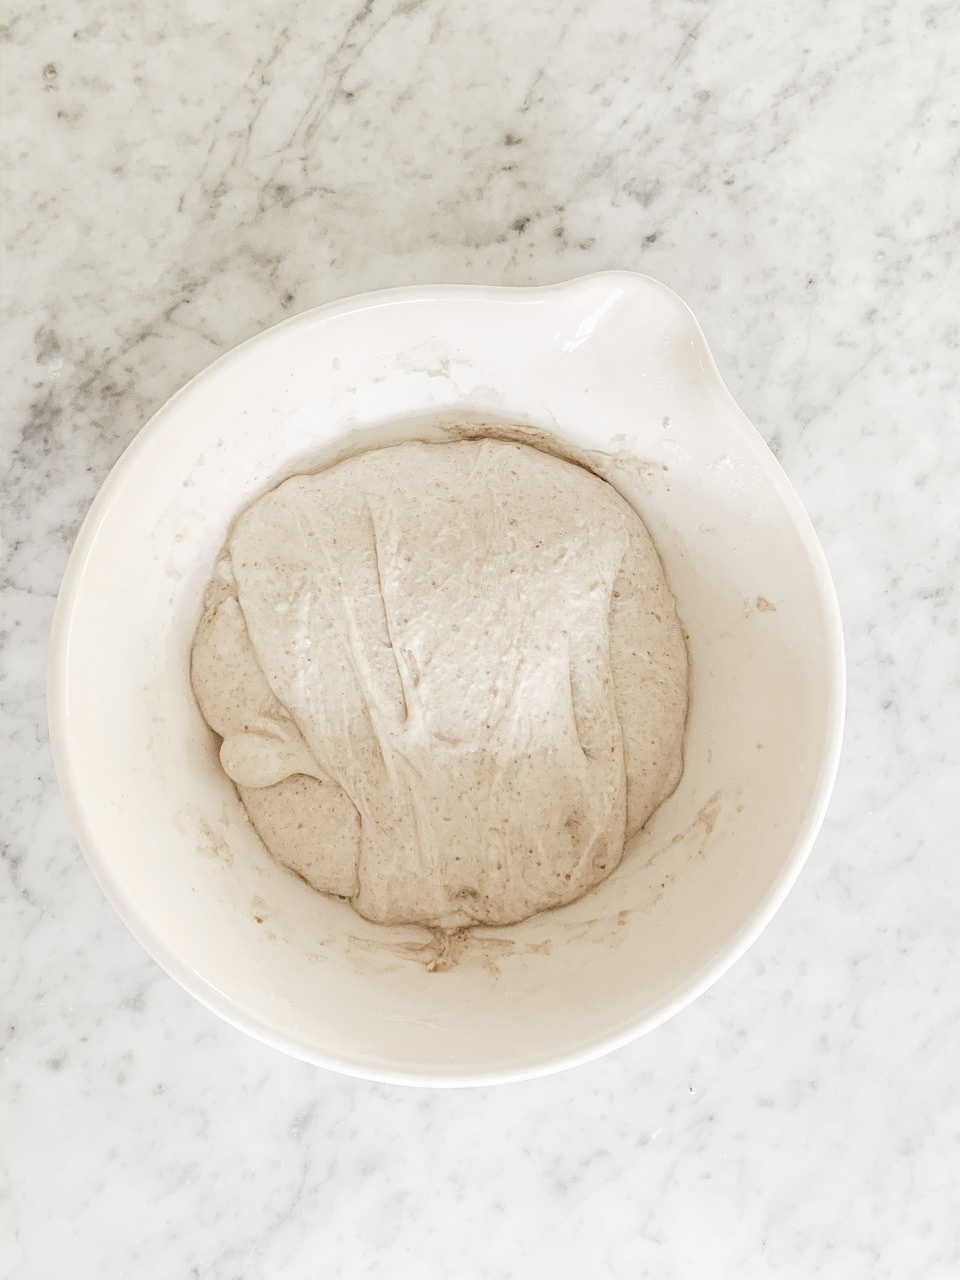
Your dough will look something like this. Now the dough is finished mixing and you will go through a series of simple and quick dough stretches every half-hour for the next four hours. That might sound daunting but it really takes no time at all and it doesn’t have to be done like clockwork.
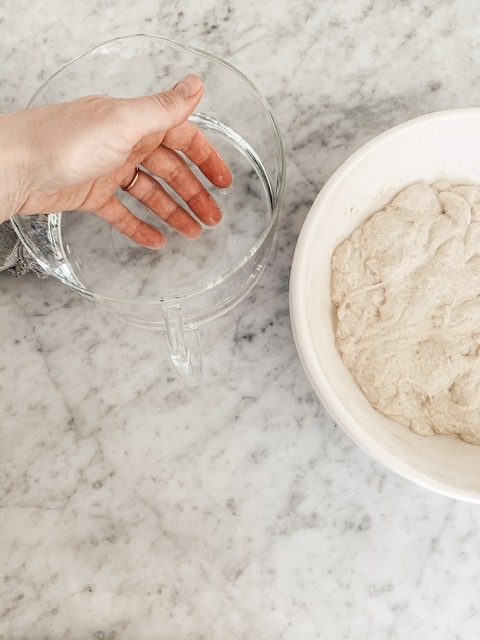
Wet your hands before each stretch so that the dough doesn’t stick to your hands. Reach under and grab a section and pull it up. Then lay it down over the opposite side of the dough. See the photos below. Repeat once more, folding over the other side. That’s it! Repeat the stretches every half hour for the next four hours.

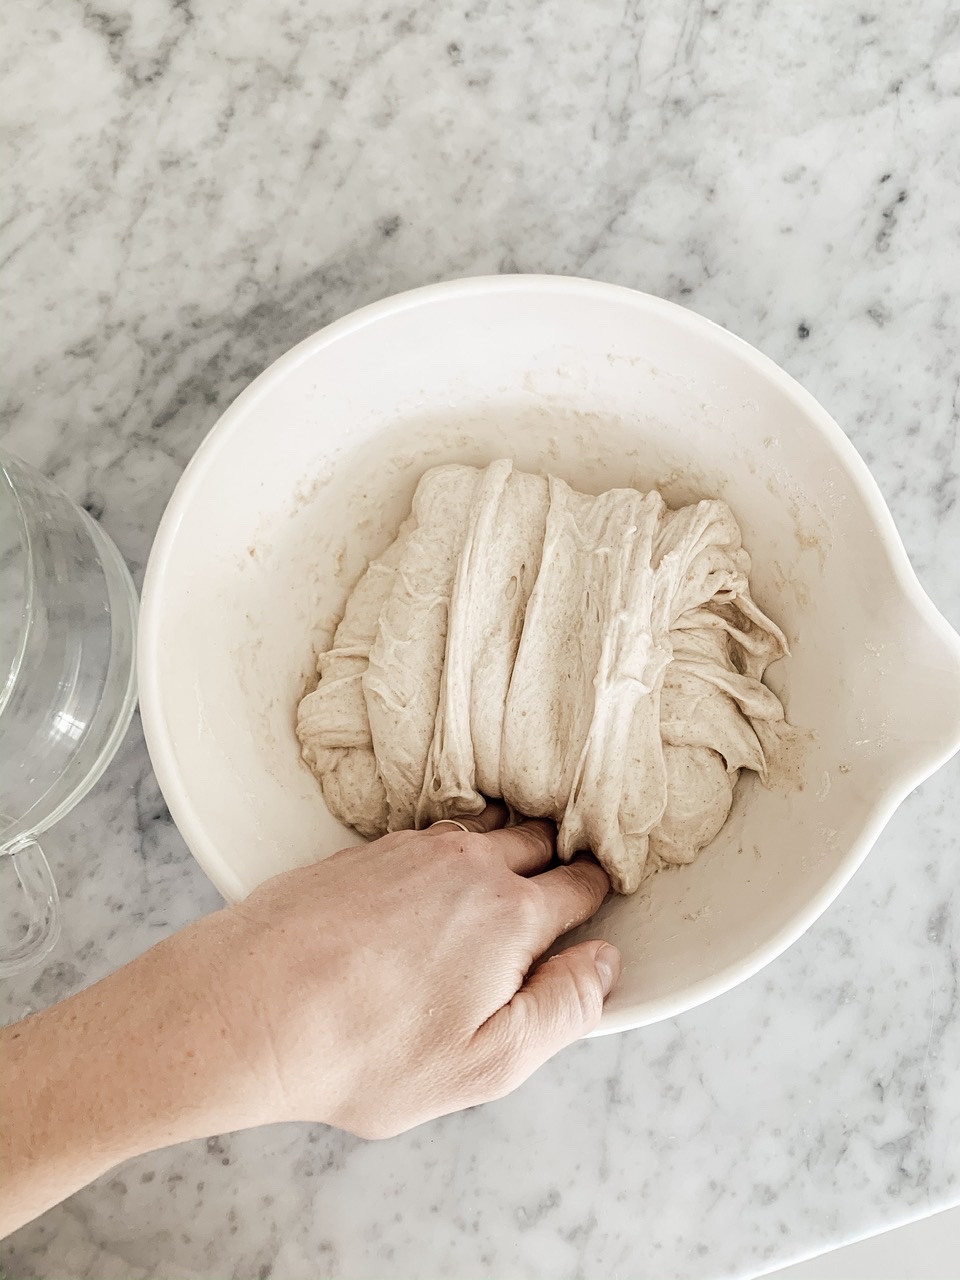
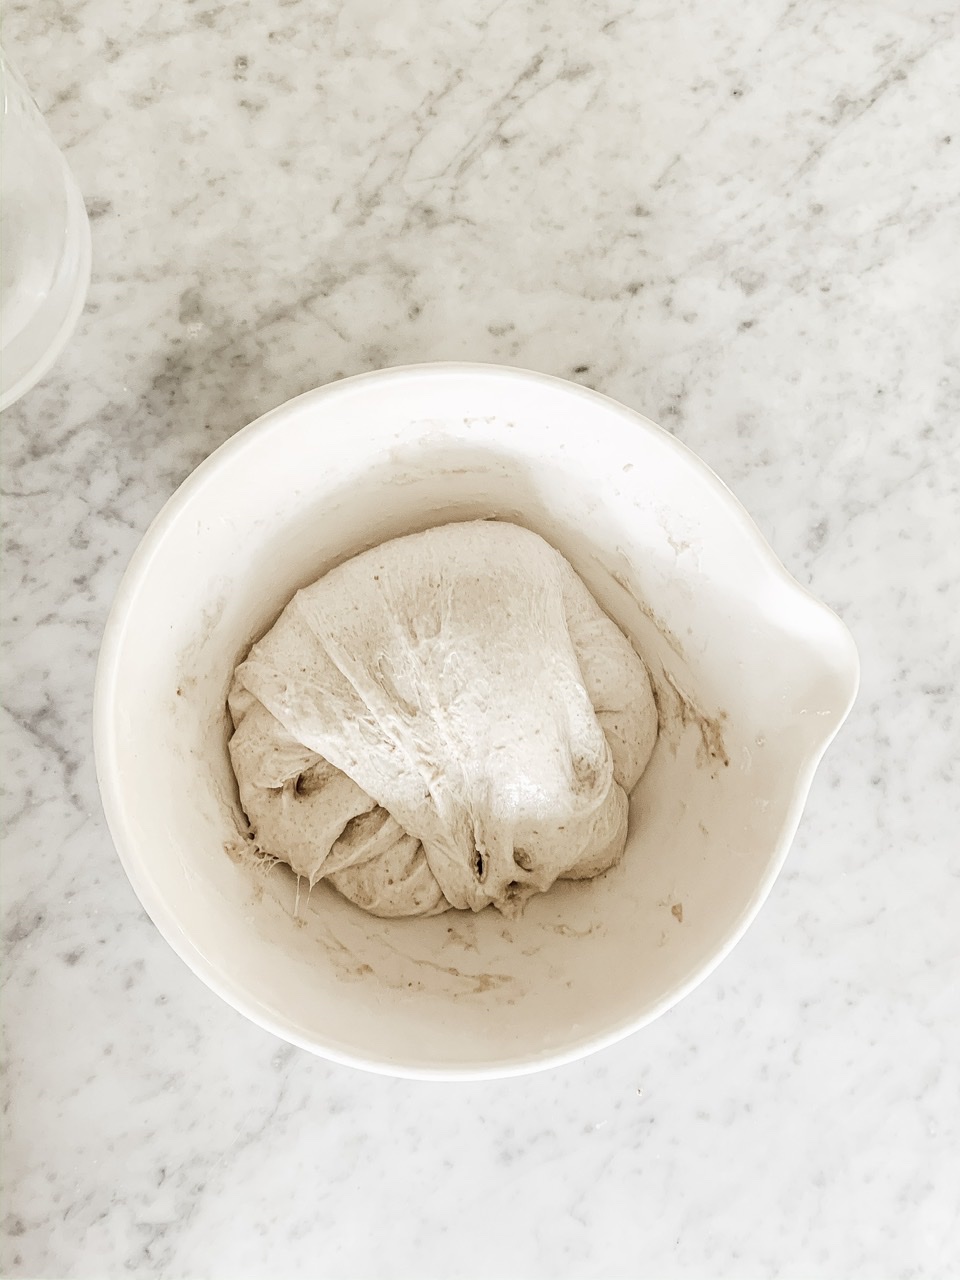
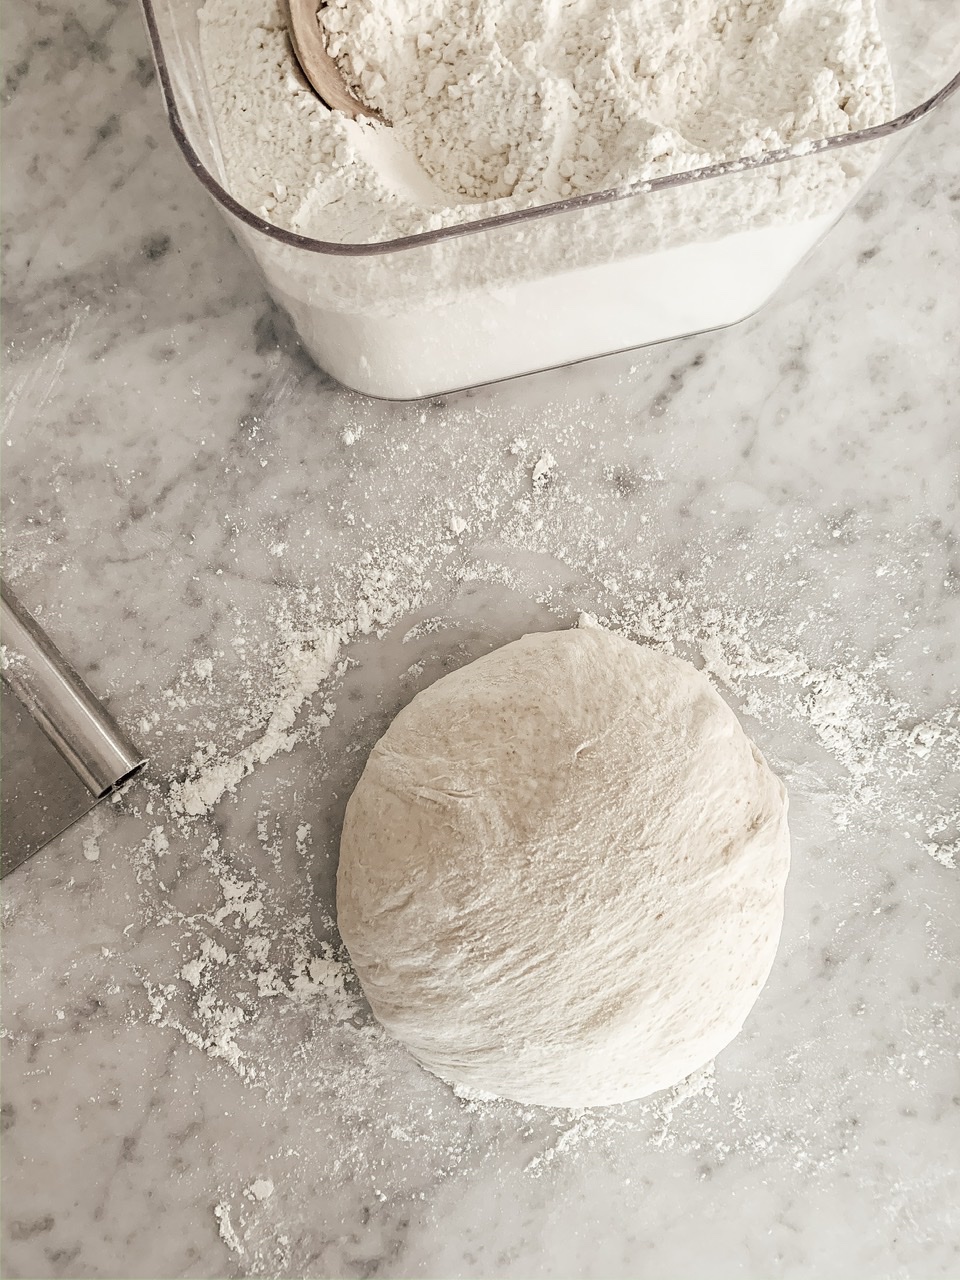
When the four hours of stretching is over, your dough will be light and airy with visible air pockets. Sprinkle the dough and your countertop with flour and use your dough scraper to release the dough from the bowl, onto the counter. Stretch the dough a couple times to form into a round loaf shape.
This will be your last dough rest. Let it rest on the counter for 30 minutes, then flip it upside-down into your floured proofing basket. Make sure to flour the dough and the proofing basket liner to prevent sticking.
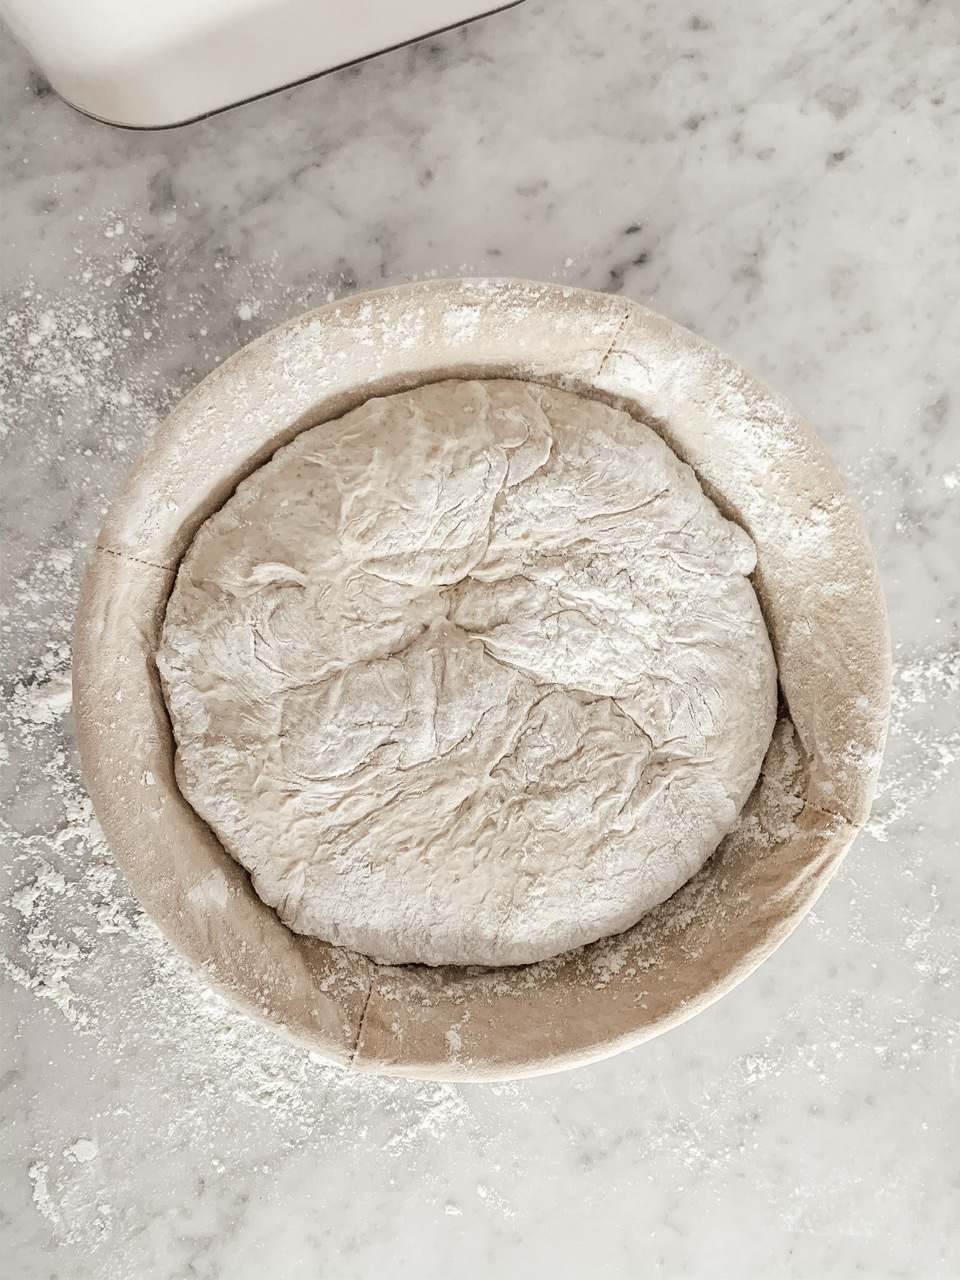
Cover it with a towel and proof the dough by refrigerating it overnight. (Alternatively, you could let it proof on the counter for 4 hours. Proofing it longer overnight will result in a more complex flavored bread and a dough that is easier to score.)
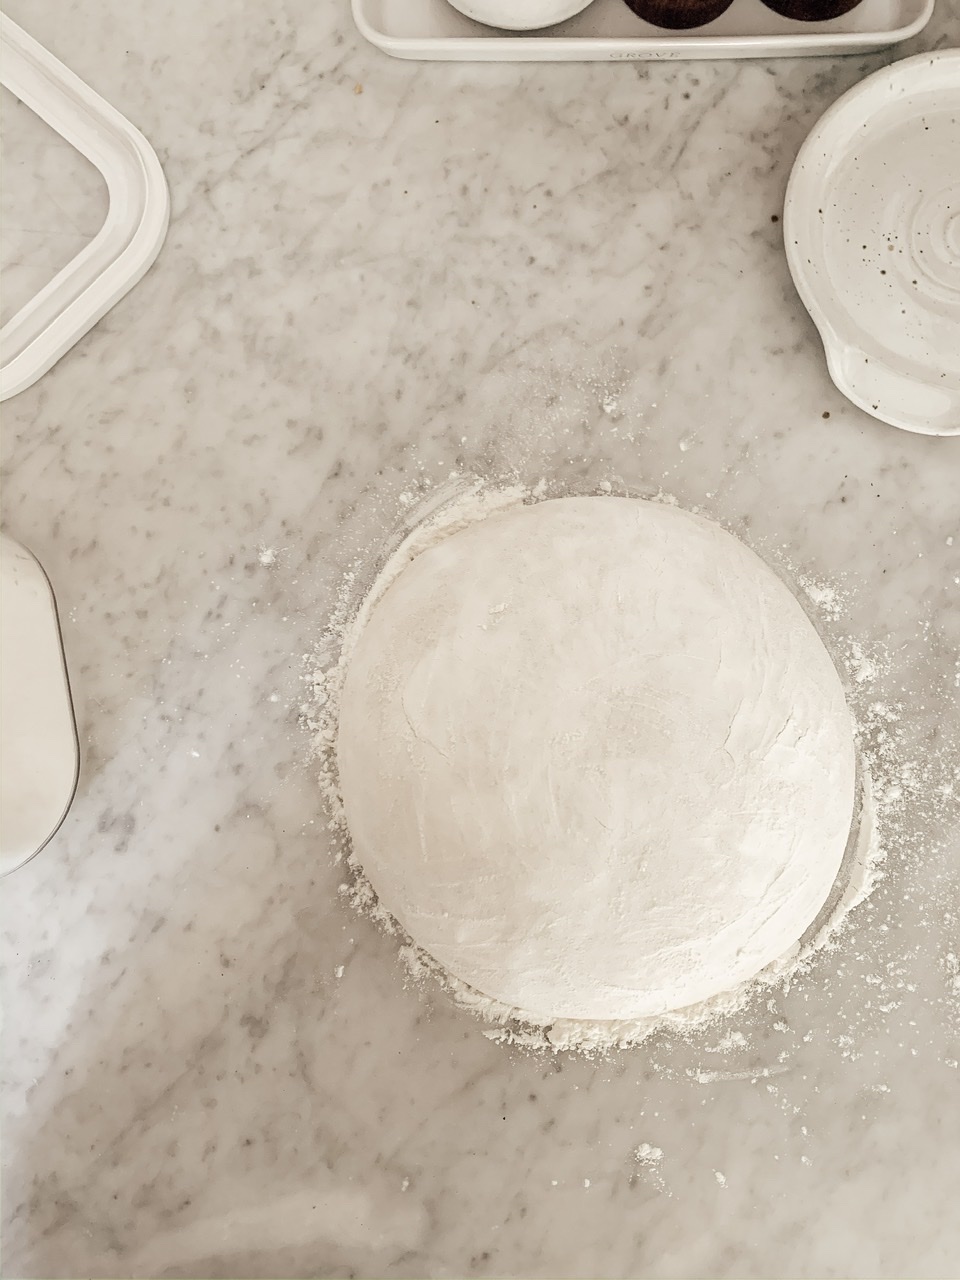
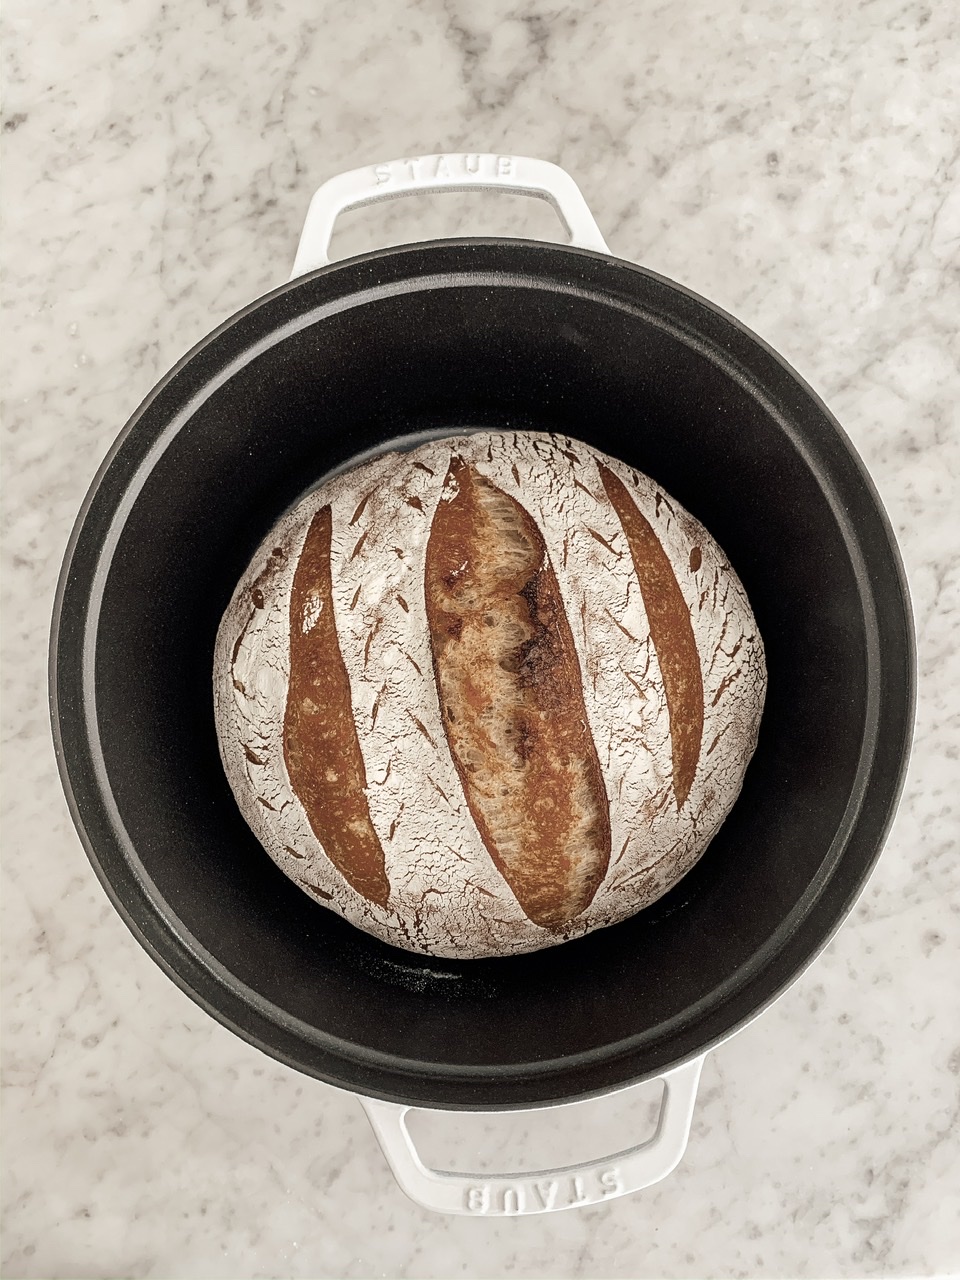
In the morning after proofing, preheat the oven to 475 degrees Fahrenheit with your dutch oven inside and the lid on. When the Dutch oven is heated fully in the oven, take your proofed dough out of the fridge. Lightly flour the counter and dump the dough onto it. If you want to score your bread to make a pretty pattern, sprinkle the top with flour and smooth the flour across the entire top of the dough before scoring. This will help the pattern show up better!

Score the dough however you like and place the dough into the Dutch oven with the lid on. Place the Dutch oven into the preheated oven and lower the temperature to 425 degrees. Bake for 30 minutes, then remove the lid and continue to bake for another 10 minutes. Remove from the oven and take the bread out of the Dutch oven immediately and cool on a cooling rack. Let cool completely before cutting into it!
Comments